
From the minute November begins, the best Christmas decorations start popping up in stores and commercials, reminding you that the time to adorn your home for the season is fast approaching. Whether you plan to bring out your classic pieces from last year or are looking forward to newer and more exciting designs, there's something magical about DIYing your own decor, especially if you want to invite some Christmas spirit into your home.
Here are six awesome ideas for DIY Christmas decorations that will have your family swooning for the holidays.

DIY Door Bells
These makeshift bells are made from mini Bundt cake pans and can be customized to match your existing Christmas color scheme. We recommend hanging them on your front door in the middle of a wreath or adding a few over the mantel of the fireplace.
Here's how to DIY bells for your door.
Step 1: You will need three mini Bundt pans for each bell.
Step 2: Paint the Bundt pans before assembling them. Once dried, stack them to form a bell shape, using glue or epoxy to affix them together.
Step 3: Add mini ornaments to the bottom to emulate the clapper.
Step 4: Glue ribbon loops and bows at the top of each bell to make them easier to hang.
Step 5: Feel free to add greenery, sparkles, or lights to add a little extra festivity.

Bottle brush trees
Buying bottle brush Christmas trees can get expensive, but making them is fun, easy, and cheap. If you already craft often, you will likely have most of the supplies needed on hand, other than the bottle brushes themselves.
Here's how to DIY bottle brush trees.
Step 1: All you need for this project is natural colored bottlebrush trees (available at most hobby supply stores), acrylic paint, glitter, paintbrushes, and spray adhesive.
Step 2: Paint each tree the desired color, spray with the adhesive, and sprinkle with glitter.

Mason jar votives
These mason jar votives are simple to make and add the perfect soft illumination to any Christmas display. Kids will love to paint these jars and show off their handiwork, making this an easy (and inexpensive) way to keep the little ones busy while you complete your holiday to-do list.
Here's how to DIY them.
Step 1: Grab quart, pint, or smaller-sized mason jars. Red and green chalky paint bring in the much-adored Christmas color scheme, but feel free to get creative with the colors as you see fit, adding in ivory, burgundy, gold, or silver as well.
Step 2: Use painter’s tape to create the silhouette of a Christmas tree (or snowflake, snowman, reindeer, etc.). Use an Exacto knife to cut out the shape and place it on the smooth side of the jar. Be sure to seal the edges of the tape tightly.
Step 3: Paint the jar with chalky paint, and once dried, remove the tape.
Step 4: Decorate the jar with ribbon and a few small bells if desired.
Step 5: Fill the bottom of the jar with sand or Epsom salt, insert a tealight, and add these homemade votives to the dinner table, Christmas mantel decor, or side tables.

Mitten tree
If you have small children, you are probably quite familiar with how often a mitten or two goes missing. Instead of stockpiling mismatched mittens for years, turn them into a festive DIY project!
Here's how to DIY a mitten tree.
Step 1: Use cardboard as the back for your tree and arrange mittens from largest to smallest (from the bottom up) in the shape of a tree. Feel free to draw a template on the cardboard to use as a guide.
Step 2: Glue the mittens in place and pin pom-pom ornaments to the branches to complete the look.

Vintage cookie cutter ornaments
This DIY project uses up all of those old Christmas cards and other festive decorations that have been stored away for a few years. This way, you can give all these memories a new life by using them as decor instead of stowing them away in storage. All you need is a glue gun, some cookie cutters, and some ribbon.
Follow these steps to DIY cookie cutter ornaments.
Step 1: Trace the cookie cutter on the holiday card and cut it just inside the line.
Step 2: Use hot glue to secure the card inside the cookie cutter, then glue vintage beads or flowers around the perimeter.
Step 3: Feel free to add glitter with spray adhesive for some extra Christmas cheer.
Step 4: Use ribbon or thin wire to create a small loop so you can hang it from the tree.
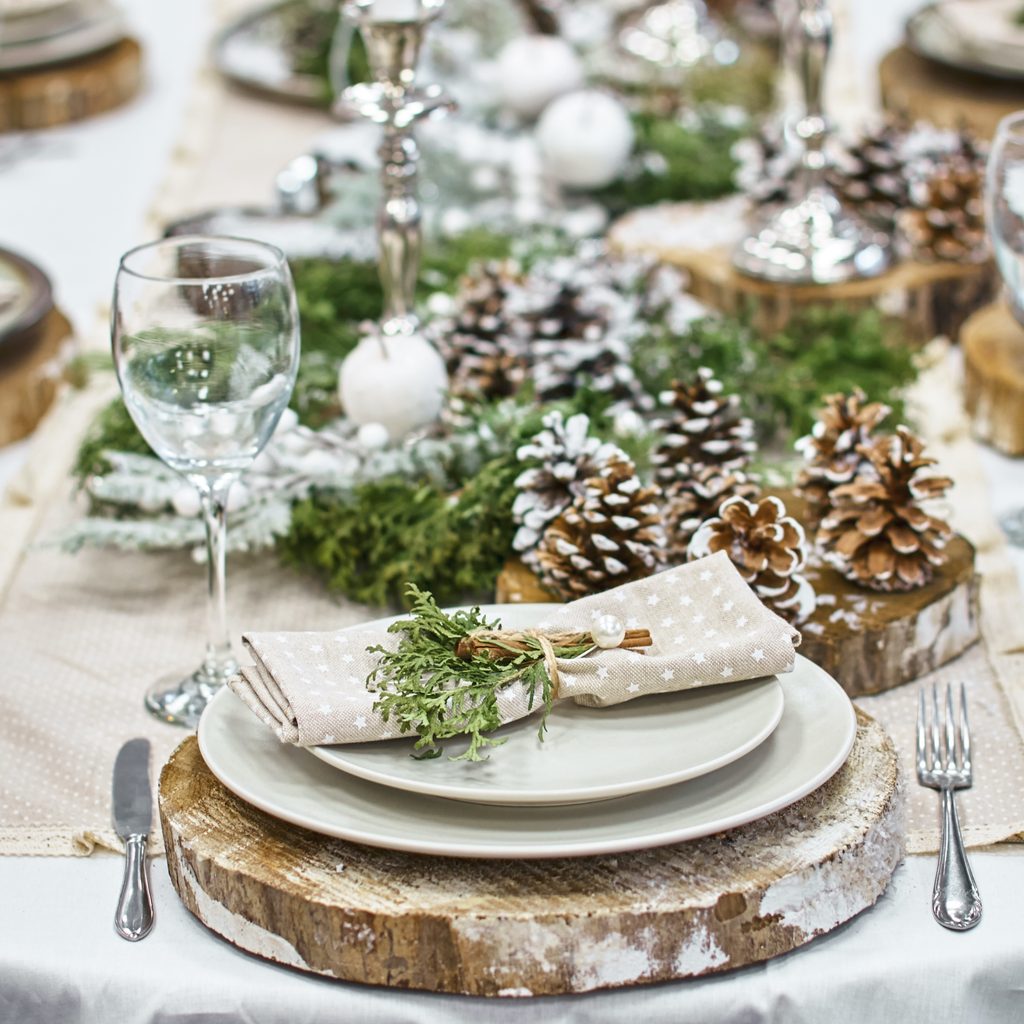
Pine cone mini-Christmas trees
Creating mini Christmas tree decorations with pine cones is a fantastic choice for DIY holiday decor. Not only is it budget-friendly, but it's also a sustainable holiday decoration that offers a chic festive design to enhance various areas of your home. You can adorn your Christmas dinner table with these adorable trees or add them to garlands, the mantel, your porch, and more.
Here's a simple step-by-step process to make these charming pine cone ornaments:
Step 1: Start by collecting pine cones, which can often be found in your backyard, local park, or purchased inexpensively from a craft store.
Step 2: Remove any dirt or debris from the pine cones, and ensure they are completely dry before proceeding.
Step 3: You can customize your pine cones with paint in holiday colors like red, green, or gold.
Alternatively, leave them natural for a rustic Christmas style. Allow the paint to dry thoroughly.
Step 4: Enhance the holiday spirit by adding small ornaments, miniature bows, or even a dusting of glitter to your pine cones. This step adds a touch of elegance to your DIY decorations.
Step 5: To hang your mini pine cone trees, secure a piece of string or thin wire to the top of each pine cone. Make a loop to easily hang them wherever you desire.
Step 6: If you'd rather place them on a table top, set them on top of a candle holder or a small decorative bowl with rocks or stones around them to keep them upright.
Everyone could probably use a few new Christmas decorations this year, and DIY decorations are a great way to use old old items that would otherwise end up in the trash or at the bottom of a storage bin. So break out the hot glue gun and glitter and give one (or all) of these DIY Christmas decorations a try.


