Move over, Sweden. Some neighborhoods in these parts also turn into beautiful Christmas villages and winter wonderlands each December. The lights illuminate some of the darkest nights of the year, while some homes even play music that perfectly coincides with the way the lights flash. Each Christmas offers homeowners the opportunity to take part in this winter festivity by adorning their spaces with whimsical holiday fun.
Let’s face it: There can be an unspoken competition between neighbors to see who can have the most tricked-out lawn or flashiest house (literally). One way to set yourself apart from the pack and lower your electric bill is to get crafty and creative by making your own outdoor decor. So, we have some amazing DIY outdoor Christmas decorations that will boost your holiday curb appeal.

Create a 6-foot wooden snowman
White Christmases are often hard to come by, but that doesn’t mean you can’t have a giant snowman on your lawn on December 25. Making one from scratch can add a healthy dose of Christmas magic to your landscape.
Step 1: You’ll want to start with a 20-by-72-inch solid wood panel that is 3/4-inch thick.
Step 2: Trace a snowman on the wood and cut it out. Next, trace a hat and snow boots and cut those out.
Step 3: Paint the snowman white and its hat and boots black.
Step 4: When the snowman has dried, use black paint to make the eyes and a thin mouth.
Step 5: Use extra wood to cut out a nose in the shape of a carrot, and paint it burnt orange.
Step 6: You can also paint on black buttons or grab some colored tinsel snowflakes from a craft store and use those.
Step 7: Finish the big guy off with a scarf from your closet.

Try your hand at a wreath sign
Festive lawn signs and vignettes are on the nice list this time of year. This sign from Fynes Designs creatively uses a wreath to represent the “O” in joy.
Step 1: To create this sign, you’ll need a 4-by-2.5-foot slab of plywood.
Step 2: Then, you’ll want to cut out the wooden letters “J” and “Y” from a separate piece of wood (or buy them from a craft store).
Step 3: You can paint them white for a clean look or opt for metallic for added shimmer.
Step 4: Use a brad nailer and wood glue to affix them to the plywood.
Step 5: Using a coat hook, attach the wreath to the plywood between them.
From there, you can rest it against a railing, fence, hedges, or the exterior of your home. For an extra touch, create a vignette with other winter-themed decorations, such as a potted tree or old ice skates.

Tree gnomes can be adorable decorations
Gnomes aren’t just for spring gardens, and elves don’t get to have all the fun on Christmas. This year, turn faux evergreen garland into a porch gnome.
Step 1: Make the gnome in a triangular shape, so it resembles a tree, and use a wreath stand to keep it upright.
Step 2: Repurpose a pair of old pantyhose by rolling it into a ball and attaching it to the gnome as the nose.
Step 3: Dress up the gnome using old mittens and a Santa hat.

A crate train will be a neighborhood must-see
As we turn the calendar to 2023, let’s all agree to leave the Milk Crate Challenge in the past. Though milk crates may have gotten a bad reputation this year, they can serve a festive purpose.
Step 1: Grab five 18-by-12-inch wooden crates with lids and repaint them red and green using acrylic paint.
Step 2: Attach the lids to four of the crates with a drill and screws.
Step 3: Take the unused crate and cut it in half with a saw.
Step 4: Drill it to the top of the lead crate to create the engine.
Step 5: Make a smokestack with a tall tin.
Step 6: Then, round up some old Christmas decorations, like tinsel and bows, that you were planning to phase out this year. Attach them to the crate.

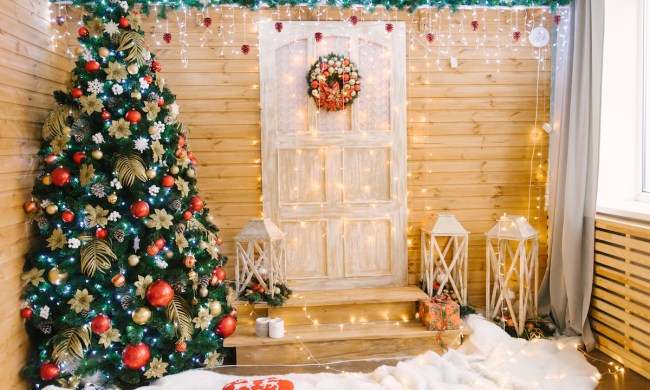
Ornament wreaths offer more character and charm
Placing an evergreen Christmas wreath on your door is a time-honored tradition. This year, consider changing it up to surprise and wow your guests. Christmas balls can add some serious shine to your front door.
Step 1: Use a plain 18-inch straw wreath as your base.
Step 2: Wrap a 20-gauge wire around it, twisting it as you go. Cut what is left of the wire with a wire cutter.
Step 3: Then, wrap silver or gold tinsel around the wreath. Attach it to the wreath with U-pins at the beginning, middle, and endpoints.
Step 4: Next, pin balls in whatever color scheme you’ve chosen to the wreath using U-pins. Each bulb should have its own U-pin. If a bulb is loose, secure it by adding regular glue or hot glue to the ornament.
Step 5: Keep going, ensuring that the balls are spread evenly around the wreath.
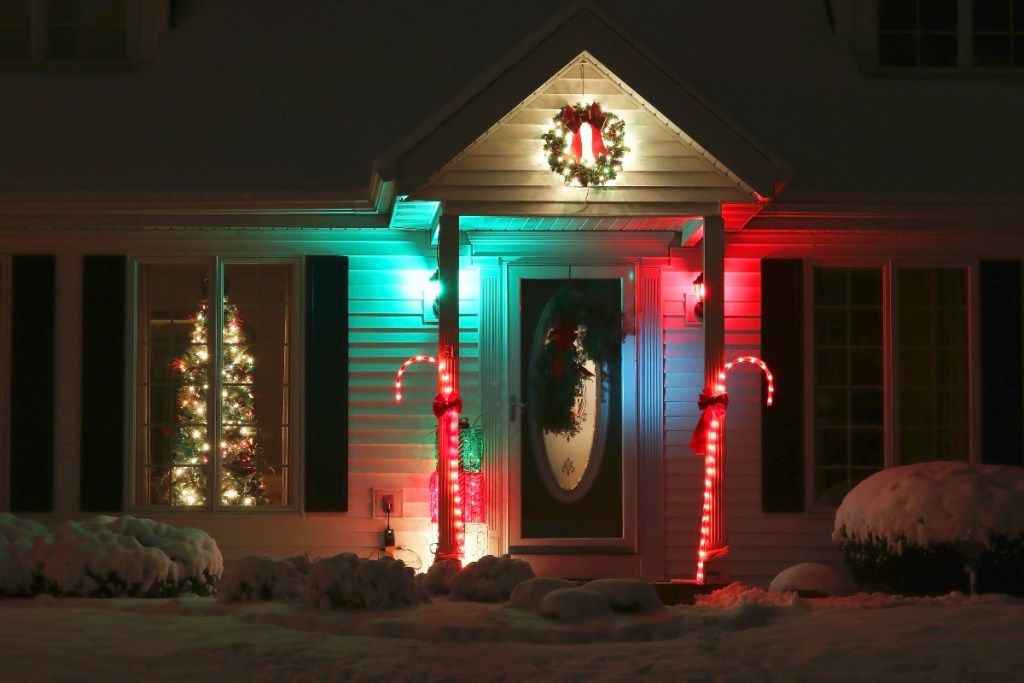
Opt for PVC candy canes for something more extravagant
Candy canes are a favorite stocking stuffer, and they make for sweet outdoor decoration, too.
Step 1: You’ll need a 24-inch PVC pipe, P-trap, and drain. Clean the pieces, and put them together to create a candy cane.
Step 2: Spray it with a primer and let it air dry.
Step 3: Then, spray the candy cane with two coats of white spray paint and allow it to dry.
Step 4: When it’s dry, remove the drain and P-trap (the U-shaped part at the top). Wrap the straight portion of the candy cane with strips of red tape. You can make them as wide or thin as you’d like, but keep it consistent. Use a ruler or measuring tape to ensure the spacing is equal. Do the same on the P-trap.
Step 5: Drill holes into the white portions of the PVC pipe and P-trap.
Step 6: Push string lights through the bottom hole, just above where the drain will go, and continue to push the lights upward and through the candy cane. Keep the plug on the outside.
Step 7: Keep the candy canes grounded by putting some rocks in the drain and reattaching it.
Step 8: Attach bows (optional).
Step 9: Plug the lights into the side of your home, and voilà!
We don’t just deck our halls this time of year. Even our lawns get into the Christmas spirit. However, sometimes the scene can feel stale. How many blow-up Grinches can one street have? This year, get creative with DIY outdoor Christmas decorations to ensure your outdoor space is dressed to impress. Repurposing items you already have, such as old PVC pipes to make candy canes or scarves and Santa hats to adorn handmade wooden snowmen or porch gnomes, is a way to cut down on your decor’s price tag and carbon footprint.