If you have silver jewelry, serving ware, or candlesticks, you may be wondering how to clean them at home. There are tons of silver cleaning solutions and gadgets out there, but what if you don’t want to use chemicals or spend money? If you’ve been neglecting your precious silver and think it’s time to make it sparkle again, keep reading. We have step-by-step instructions for how to clean silver with baking soda, how to test silver with vinegar, and some other tricks using items that you have in your pantry right now.
Routine upkeep
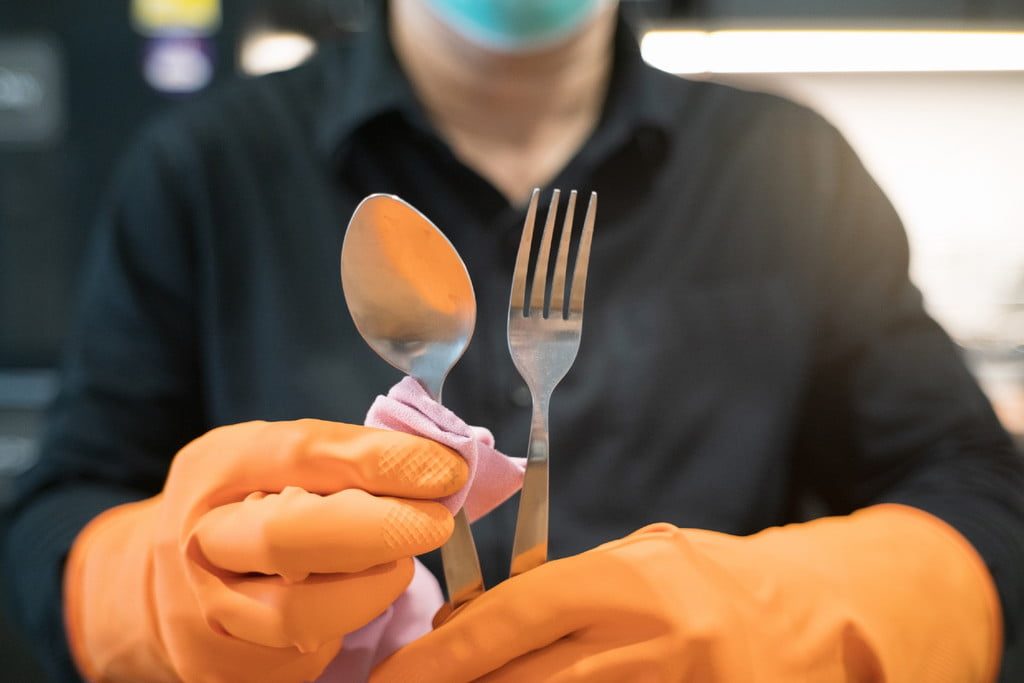
Routinely washing your silver pieces may not seem like a task you want to add to your regular cleaning list. However, a quick wash in warm soapy water can prevent excessive tarnish and save you some work in the long run. Gently washing, rinsing, and buffing dry before storing in a cool, dry place will help delay the tarnish process.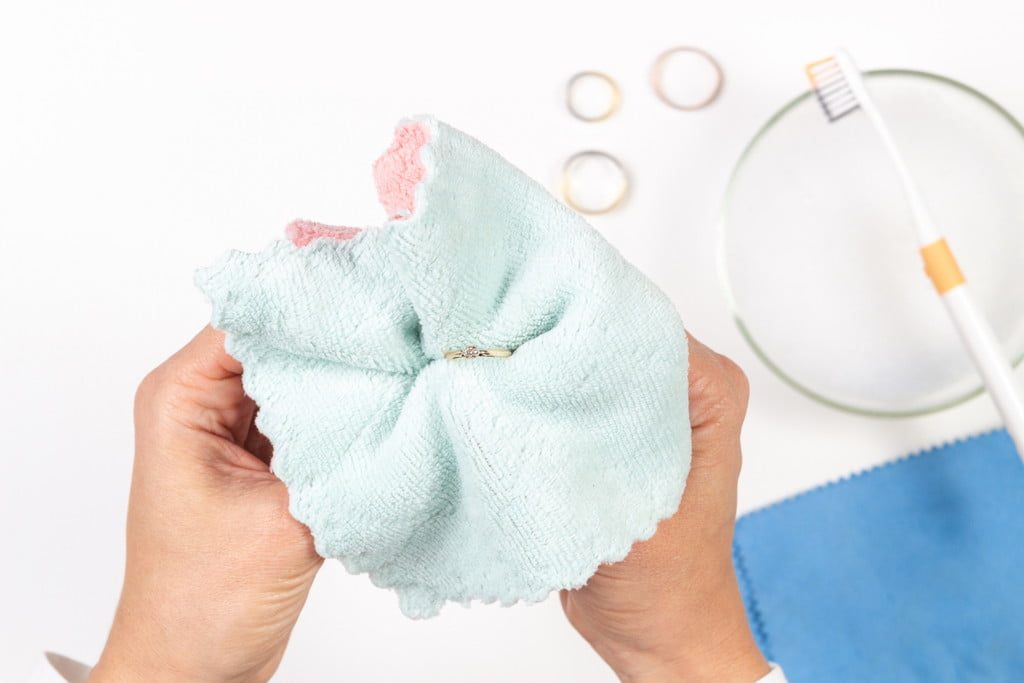
How to clean silver with items from your pantry
You can clean your silver with a simple solution made of ingredients you probably already have on hand. Using a combination of baking soda, salt, and aluminum foil, you can achieve a like-new shine on both large and small silver pieces. You’ll need a soft cloth, kosher salt, baking soda, a large pan or pot, aluminum foil, and boiling water to get started. Be sure to test the solution on an inconspicuous spot of something silver to be sure you’re not going to damage the piece instead of restoring it to its former glory.
Small pieces
For small pieces like jewelry and silverware, line a pot with aluminum foil, and be sure the foil covers the entire surface. Fill the pan with boiling water, add ¼ cup baking soda and 2 teaspoons of kosher salt to the water, and stir. Stirring should cause bubbles to form. Place your silver in the solution and mix gently, taking care to ensure the pieces don’t smash into each other or the sides of the pan. Let sit for up to five minutes, remove the pieces, and dry completely with a soft cloth.
Large pieces
The process for large silver items is very similar to the process for small things, but you’ll use your kitchen sink as a vessel for cleaning items such as trays and serving dishes. First, line your sink with foil, making sure to cover the entire surface. Pour boiling water into the sink, ensuring all of your silver items are fully submerged. Add 1 cup of baking soda and 1 cup of salt to the water, and stir to form bubbles. Place your pieces into the solution, and allow to soak for up to 30 minutes. Remove items when cool, and dry them with a soft towel.
You can also add white vinegar to the above mixture for especially tarnished pieces. The addition of white vinegar is a good method for silverware.
Myths
Though the processes above are do-it-yourself (DIY) and consist of items you likely already have on hand, not all homemade remedies will clean your silver. The methods below are myths, so beware next time you search the internet for ways to clean silver with items you already have on hand.
Toothpaste
Despite what you read online, toothpaste will not clean your jewelry. In fact, toothpaste can actually damage your gemstones and gold. It boils down to the Mohs Hardness Scale, a guideline for the hardness of different gemstones and metals. Toothpaste is 3 to 4 Mohs, and 14-karat gold, for example, has a hardness of 3 to 3.5 Mohs. All this means that toothpaste can scratch your gold rings. The same applies to gemstones and pearls; toothpaste can discolor your pearls.
Chlorine
Though you may not be trying to clean your silver with chlorine, you probably don’t think twice about swimming or using a household cleaner with chlorine in it while wearing your jewelry. Chlorine can damage gold by breaking down the alloys and causing pitting. Chlorine can also cause silver to change color and lose its shine.
Boiling water
Some people believe that boiling water emulates the ultrasonic cleaners that jewelers use. This is not true — ultrasonic jewelry cleaners use high-frequency sound waves and heat to remove dirt from the nooks and crannies of your pieces. Boiling water can damage your gemstones, and extreme heat can damage metals. Expanding metal is a bad thing, especially if the metal is holding a precious stone in the form of a setting.
Alcohol
When used to soak or rinse jewelry, the thought that rubbing alcohol will remove grease buildup is a myth. Alcohol contains chemicals that can leave a coating on your metals and gemstones. Some gems, such as emeralds, are oil- and water-based, meaning the stone will absorb the alcohol and eventually cause it to dry out and crack.
Now that you know exactly how to clean your silver at home, it’s time to take all your silver pieces out of storage and the jewelry box and give them a polish. You’ll be amazed at the difference it makes!


