It may seem like a dull and painstaking task to wash your walls, but it’s truly the best way to prep walls for paint. Failing to clean your walls prior to applying primer and paint can result in issues with the adhesion of your paint. Poor adhesion leads to blistering, cracking, and peeling that will ultimately lead to you having to re-paint the wall or even hire a professional to repair damage to the drywall.
Avoid the stress and cost of having to remodel further and give your walls a through clean before slapping on that beautiful new paint. We’re going to review the best way to wash walls based on what room of the house you’re painting and what kind of grime you need to tackle.
What type of cleaning solution should you use?
Since different walls in your house are exposed to different types of dirt and grime, there are varying methods for cleaning them prior to painting. Certain solutions are milder and are appropriate for walls that aren’t extremely dirty. Others can cut through the nastiest stains and grime in the busiest areas of your home.
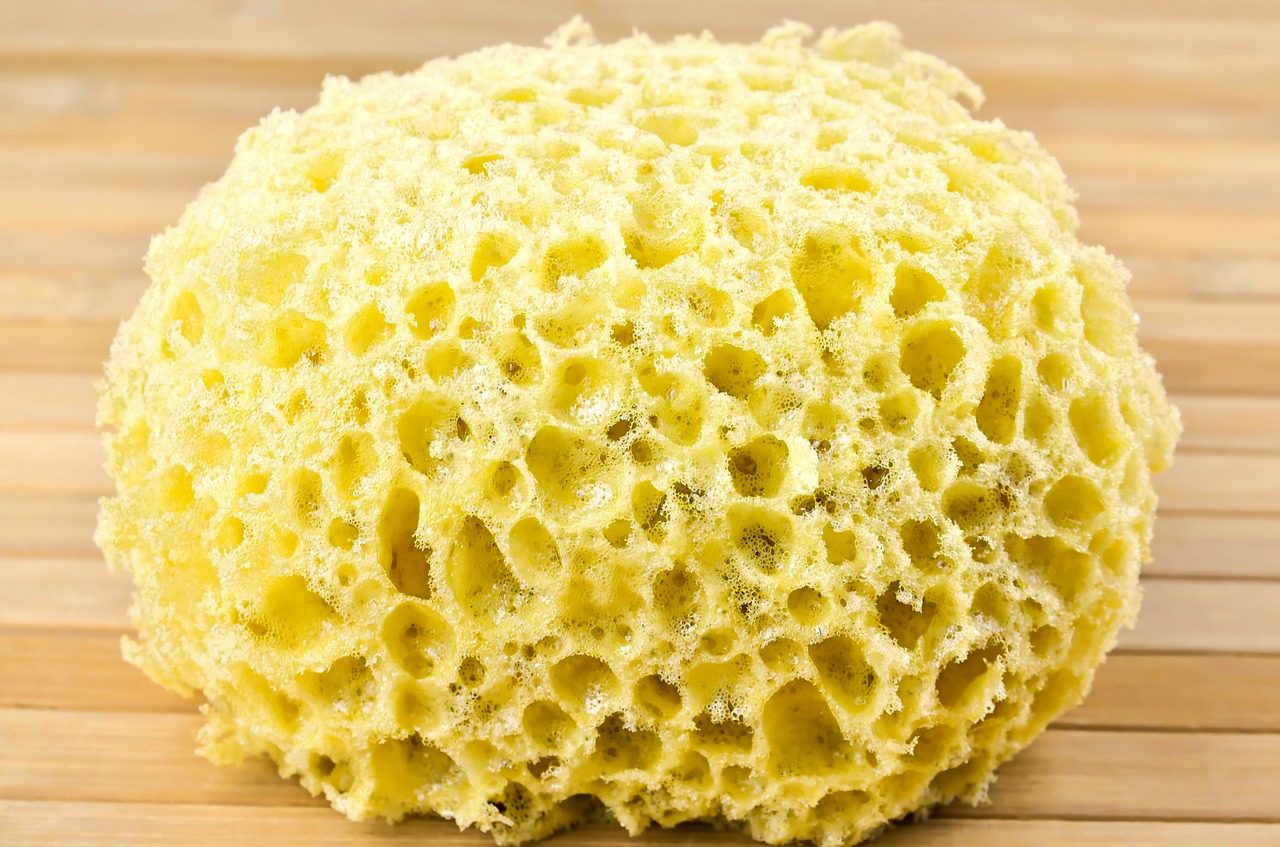
When you’re cleaning your walls, be sure you are wiping with a damp sponge instead of one that is dripping wet so you can avoid excess moisture from seeping into your walls. Here’s how to clean different types of walls:
-
Relatively clean interior walls
Certain interior walls, like living room or bedroom walls, don’t get a lot of grime on them. For these walls, you can use water with a mild soap to get them clean before painting. Simply fill a bucket with water, add the soap, and soak Buy at Amazon or lint-free cloth in the solution. Wring the sponge out and wipe away!
-
Walls with mold or mildew
When mold or mildew are present on the walls you’ll be painting, you’ll need to get rid of it before painting. If you simply paint over the mold, it will just grow through your new paint and cause a host of issues.
To clean up mold and mildew, mix a solution of three or four parts water and one part bleach. Soak your sponge in the solution, wring it out, and wipe the mold or mildew away.
-
Kitchen and bathroom walls
Your kitchen’s walls get a lot of gunk on them. Cooking causes splatters, grease buildup, and grimy films from heat and steam to collect on your walls. To clean your kitchen walls, use a mix of grease-cutting detergent like dish soap and water to remove the stubborn, greasy substances.
Bathroom walls tend to get equally as yucky from steamy showers as well as hair and bath products being used daily. You can certainly use water and a mild soap to wash these walls, and it will do the job fine, but it’s even better to use a tougher cleaning solution on these dirtier walls to get that stubborn film off. A good option is TSP cleaner, which is a tough cleaning agent meant for cleaning walls prior to applying primer. Apply TSP as directed on the container and be sure to rinse the wall thoroughly.
-
Walls with smoke stains
In order to prevent the color and the smell of smoke stains from seeping through your new coat of paint, you’ll want to thoroughly clean off smoke residue beforehand. One of the best solutions to use for smoke-stained walls is water and Buy at Amazon . Baking soda not only removes the yellow smoke stains, but it also helps to neutralize the smell of smoke that has soaked into your walls.
After scrubbing, rinse your walls with 1 cup of vinegar and 1 gallon of water and use this solution to wash the walls one more time. This will help to rid the wall of the baking soda residue, and it will further neutralize the smoke smell.
Let your walls dry after washing
Before you move on to priming your walls and eventually putting on that fresh coat of paint, be sure you allow adequate time for your walls to dry thoroughly after washing them. If you apply primer and paint to a wall that’s still moist, you may see some disappointing results.
Mold and mildew can form between the layers of paint, and lingering moisture can also cause the paint to eventually bubble up, blister, and peel. Then you’ll be back to square one with your painting project.
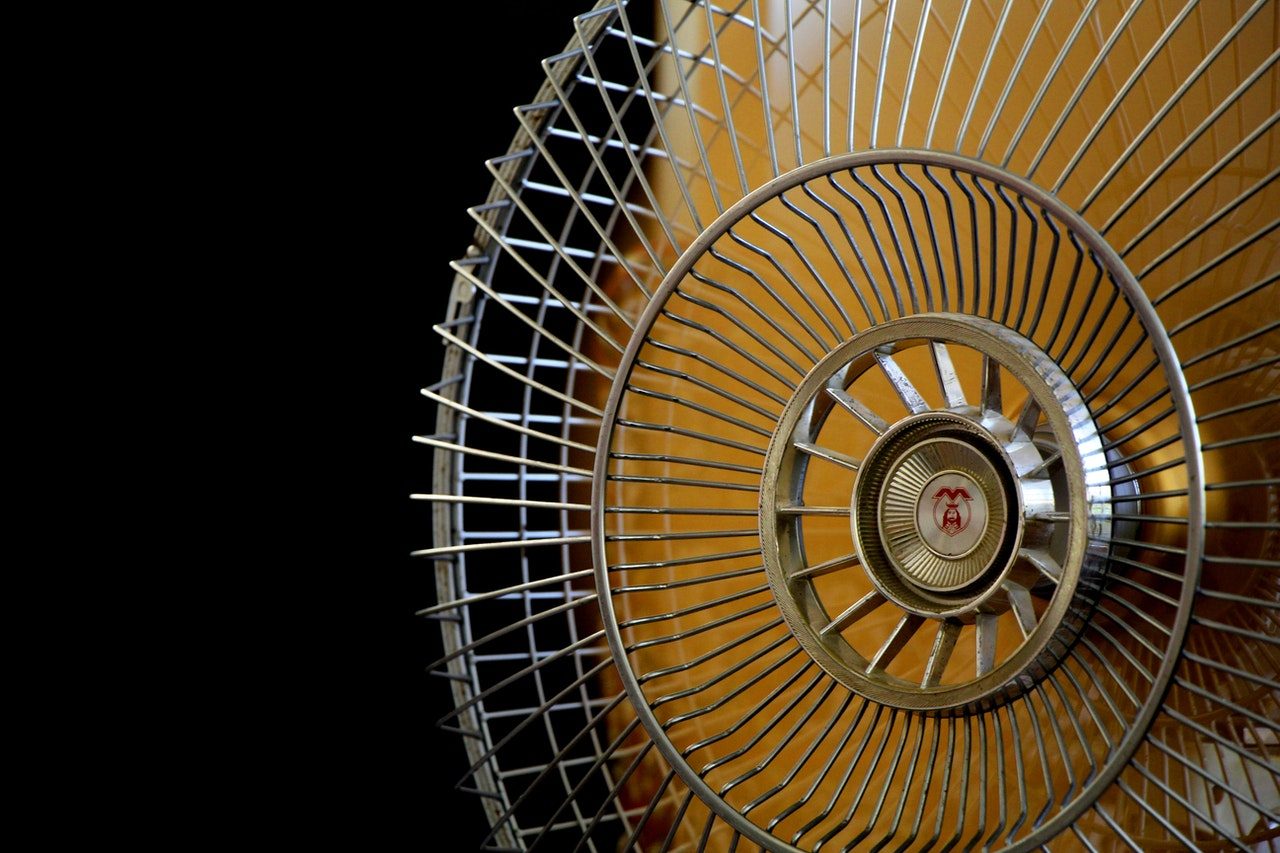
A good method for drying your freshly washed walls is allowing air to circulate from open windows. You can also set up some Buy at Amazon in the room to help the air flow more freely and dry the walls quickly. Avoid the headaches and expense of having to do the job twice, and let your walls dry thoroughly.
Painting your walls is a big project that costs you a lot of time and energy. Washing your walls and allowing them to dry thoroughly are crucial steps in the preparation process and will ensure that your new paint adheres well and doesn’t blister or peel down the road. If you want the job done right the first time, and you want your new paint to last for years to come, be sure you’ve prepped your walls adequately before tossing up that beautiful paint.


