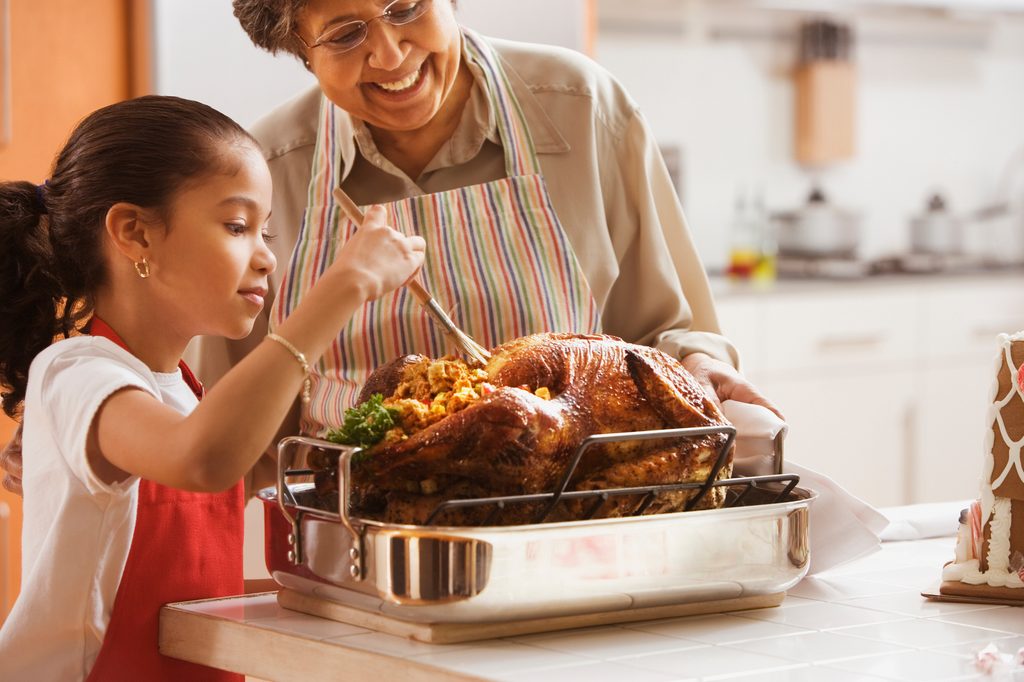
If you’re hosting Thanksgiving, you understand the pressure of making the side dishes, baking the pies, setting the perfect holiday table, and most of all, delivering a perfectly cooked, juicy, golden-brown turkey. But getting the turkey from the grocery store to the serving platter can be a very daunting task. From knowing what size turkey to buy to understating the ins and outs of seasoning, roasting, and carving, there are so many opportunities to make a mistake that could ultimately ruin your Thanksgiving feast.
But fear not. We’re going to walk through the most common pitfalls of turkey roasting and provide all the tips and tricks you need to avoid them. Consider this your guide to becoming the host with the most fabulous Thanksgiving turkey on the block.

Thanksgiving turkey mistakes … before you even start cooking
Buying the wrong size turkey
Purchasing a too-small turkey will leave you with hungry guests, but an oversized bird will result in more leftovers than you know what to do with. To pick the right size turkey, figure about 1 1/2 pounds of turkey per person. So, if you are hosting 10 people for dinner, your turkey should be 15 to 20 pounds. If you’re a fan of leftovers, you can always increase the size by a few pounds, so you have plenty of poultry for sandwiches, soup, and salads.
Misjudging the defrosting time
Frozen turkey takes a very long time to defrost — likely longer than you think. It can take four days or more to defrost your turkey in the refrigerator, depending on the size of the turkey. To plan accordingly, budget 24 hours in the refrigerator for every five pounds of turkey. In any case, it’s better to be safe than sorry to pad your timeline by a couple of days to make sure you don’t wake up on Thursday morning with a frozen bird.
If it’s getting close to Thanksgiving and your turkey still feels too frozen, speed up the process by placing the turkey in a cold water bath. Keep in mind that you will need to change the water about every 30 minutes. Note that it’s an unsafe food practice to thaw your turkey on the countertop. Turkey should always defrost slowly, over the course of several days, inside of your refrigerator to prevent bacteria from building up.
Neglecting to wash the inside and outside of the turkey
Before you season the turkey and place it in the roasting pan, it will need a thorough rinsing, both inside and out. Also, don’t forget the remove the packaged gizzards stuffed into both openings of the body cavity — many turkey-making failures involve forgetting to take these organs out. Once everything has been rinsed, pat the turkey dry with paper towels before seasoning.
Putting a cold turkey in the oven
Always bring your turkey to room temperature before putting it into a hot oven; otherwise, you could end up with an unevenly cooked, dry turkey.
Mistakes to avoid when cooking your Thanksgiving turkey
Forgetting to season every part of the turkey
For an immensely flavorful main dish, be sure to season your turkey well, inside and out.
Neglecting to use an oven rack
If you forgo using an oven-roasting rack, it’s very likely that the bottom of your bird will be dry and overcooked. It could even end up burning and filling your kitchen with smoke, derailing all of your holiday plans. A good oven rack is well worth the small investment, but if you’re in a pinch and don’t have time to pick one up, DIY it by roasting your turkey on top of a bed of celery and carrots.
Opening the oven door too much
We know it can be tempting to sneak a peak, but each time you open the oven door to check on the progress of your turkey, much-needed heat escapes from your oven. Keep the oven door shut, and check on your turkey using the oven light instead.
Cooking in an overheated oven
Do you find yourself with burnt turkey skin but undercooked turkey? Likely, this means you start with an oven temperature that’s too high. The trick with turkey is to cook it slowly and allow the crispy golden skin to develop over the course of the entire cooking time. It’s best to cook a turkey for multiple hours at a lower temperature, between 325 and 400 degrees Fahrenheit.
Carving your turkey too soon
After your turkey comes out of the oven, resist the urge to start carving it right away. Carving your turkey too quickly will allow the juices to pour out onto your cutting board, leaving you with a dry turkey. Allow the turkey to rest, tented in foil, for 20 minutes or more to let the juices settle into the meat.
Butchering the turkey when it’s time to carve
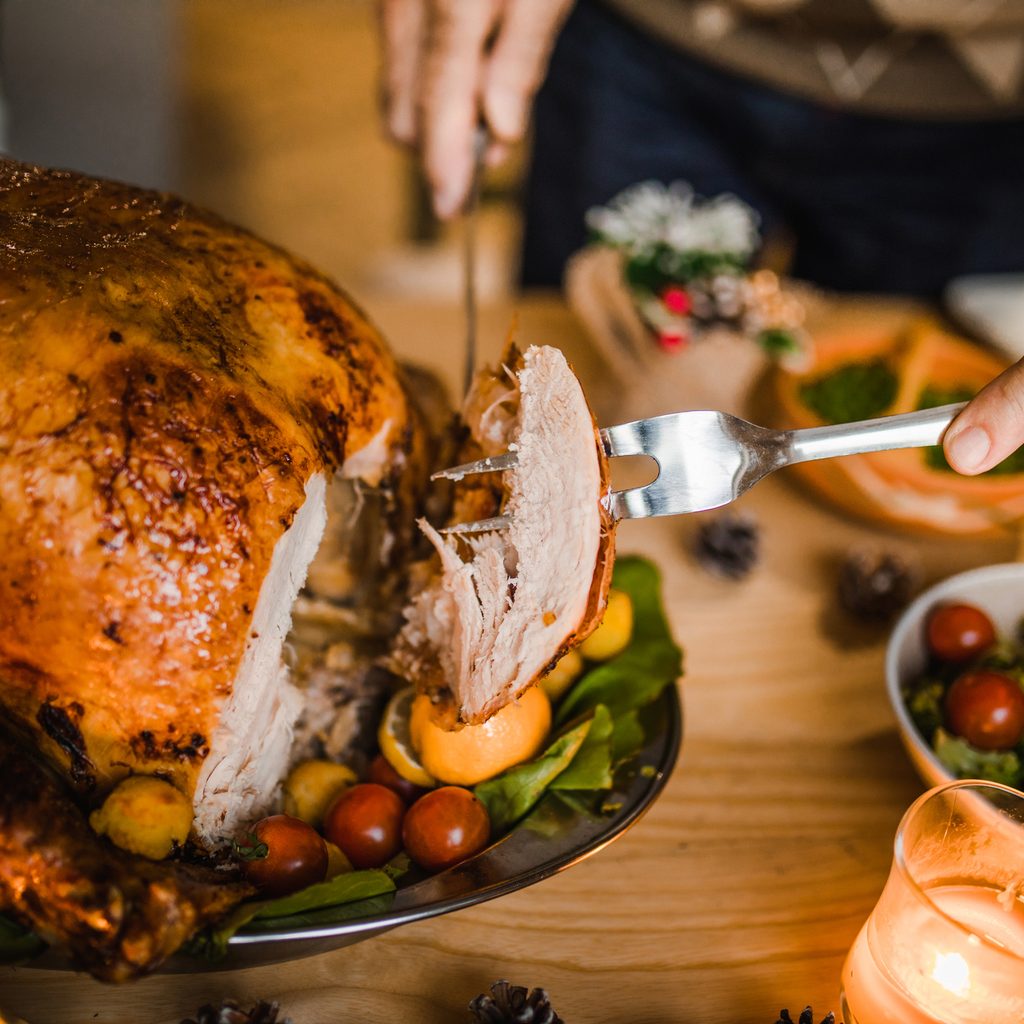
The last thing you want is for all your hard work in turkey preparation and cooking to go to waste. A poorly cut turkey can result in a mess that not only ruins the presentation for the dinner party but could also cause a loss in all the juicy goodness. That’s why it’s important to cut the turkey the right way.
- First, cut off the legs and wings using a sharp knife. Try to take your take and cut at the joints, bending the bones back just enough to reveal the soft spots. Don’t yank the bones too hard or begin sawing away at the meat, as this will cause an unnecessary mess.
- Once the legs and wings are off, you can separate the drumsticks from the thighs. Take the bones out of the thighs and set the dark meat aside for cutting.
- Next, carefully remove the turkey breasts one at a time. Once removed, slice the breast and thigh meat using long, intentional cuts. Avoid trying to saw your way through the meat.
- After you’ve cut your white and dark meat and prepped your drumsticks and wings, you can save the carcass for bone broth.
Serve your cut meats warm for guests to enjoy.
Your Thanksgiving turkey is going to be the centerpiece of your holiday, so make sure it’s one to remember — for the right reasons. By avoiding these common mistakes, you can ensure that this year’s feast is as mouthwatering as possible.


