
Most consider making fudge a laborious process, and that’s true for traditional chocolate fudge. Peanut butter fudge isn’t quite as difficult, though, and there are several ways to get great results. Instead of stress-buying last-minute Christmas gifts that special someone doesn’t want, go home and make some peanut butter fudge!
At its core, peanut butter fudge is a nutty dessert that is essentially sweetened peanut butter with added fat, typically butter. Recipes often call for brand-name peanut butter like Jif or Skippy because they’re laden with emulsifiers and stabilizers that help the fudge retain its form factor and resist melting if left out. (We prefer natural peanut butter, but there’s a good reason to use "traditional" peanut butter too — read on to find out why.)
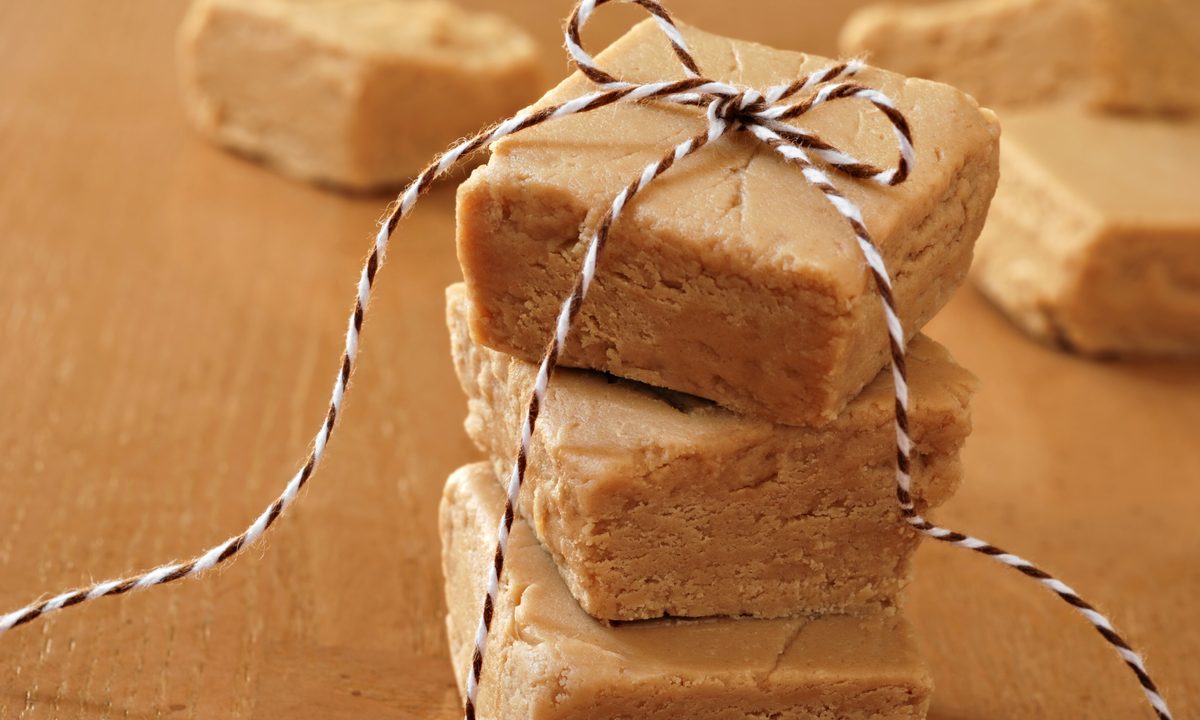
The recipe below is about as basic as you can get, though we’ve found an even simpler method we’ll include in our FAQs.

Alton Brown's Easy Peanut Butter Fudge
Alton Brown’s recipe uses peanut butter, powdered sugar, butter, and vanilla. He tosses his fudge in the microwave, too. All told, this is about the simplest recipe we could find which still gives you a fudge you’d be proud to gift.
Notes for making peanut butter fudge
- Pro tip: grease pan with butter wrappers.
- Parchment paper is optional but preferred. If you don’t have parchment paper, wax paper works. Plastic wrap can also be used but makes unmolding fudge from the pan difficult and doesn’t yield the smoothest results. If you want beautiful fudge, parchment is best.
- You can use just about any square or rectangular pan to ‘set’ fudge; just be mindful that larger pans will give you small fudge cubes. Larger pans also make it more difficult to remove fudge. We prefer an 8×8 or 9×13 pan; if you need smaller fudge cubes, just keep cutting them down.

How to make peanut butter fudge for Christmas
Step 1: Place butter and peanut butter in a microwave-safe bowl.
Step 2: Cover the bowl with plastic wrap and poke a few holes in the plastic to allow steam to escape.
Step 3: Microwave on high for 4 minutes, stirring halfway through.
Step 4: While butter and peanut butter are heating, butter and line an 8 x 8 or 9 x 13 pan.
Step 5: Carefully and quickly mix powdered sugar into the heated butter and peanut butter mixture.
Step 6: About halfway through mixing, add vanilla extract.
Step 7: When ingredients are fully incorporated, dump the fudge into the prepared pan.
Step 8: Smooth to the edges and cover loosely with parchment paper.
Step 9: Refrigerate for at least 2 hours.
Step 10: When the fudge is set, simply remove it from the pan and cut as desired.
Step 11: When you’re ready, put the fudge in any gift-wrapping receptacle you like and gift it!

Peanut Butter Fudge FAQs
I don’t like big-brand peanut butter. Can I use natural peanut butter?
Absolutely, just know results may vary. Food Wishes has a great video on making fudge with natural peanut butter, but the results are a bit crumbly. If you’re not worried about aesthetics, we say go for it.
Is there an easier way to make peanut butter fudge?
Wow, really? Easier? Yeah, we’ve got you. Take two cans of sweetened condensed milk, and five cups of peanut butter chips, and microwave on high for 90 seconds, stirring every 30 seconds. When peanut butter chips are melted, dump the mix into a prepared pan and let set for 2 or more hours. Cut as desired.
I’m vegan, now what?
Joshua Weissman has a great vegan peanut butter fudge using coconut oil and maple syrup. Check it out.
The holiday season is stressful enough when you're rushing to buy and make gifts for everyone you love. Make this year's holiday to-do list a bit simpler by giving easy-to-make, delicious peanut butter fudge as last-minute Christmas gifts.


