Did you know that it’s recommended to clean your dishwasher once a month? This is because dishwashers are one of the most used appliances in the home, and over time, they gather a lot of grime and funky dishwasher smells, which can lead to poorly washed dishes.
Moreover, many homeowners forget one of the most vital steps when it comes to cleaning a dishwasher! So, if your machine needs a little TLC, we have a super simple step-by-step guide on how to clean your dishwasher.
How to clean a dishwasher

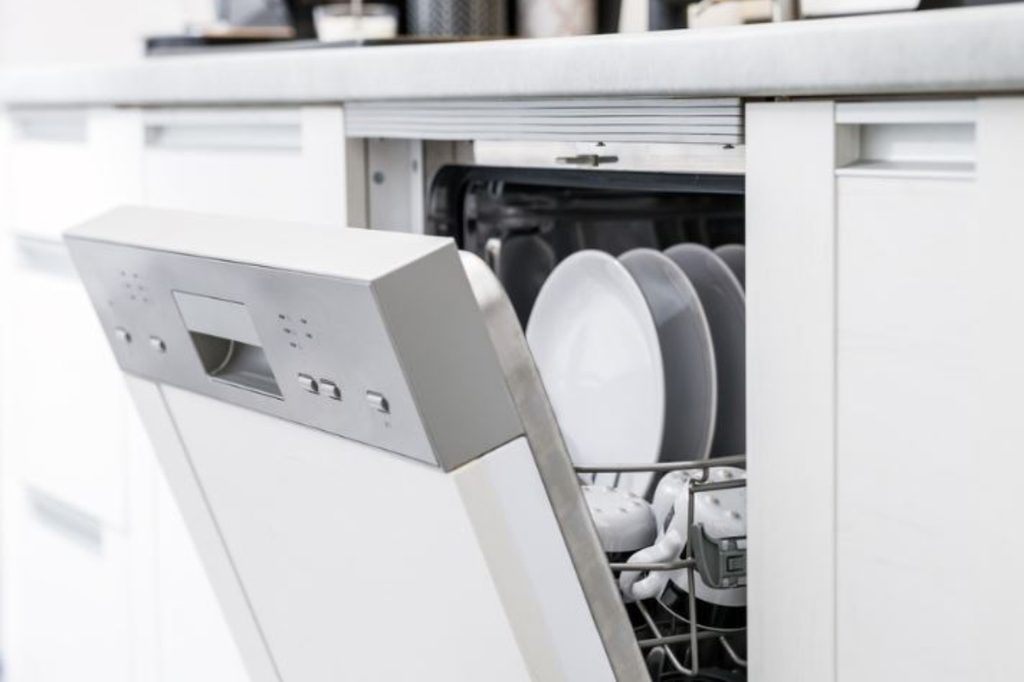
1. Remove the filter
In 2022, a trend floated around on TikTok about cleaning the dishwasher filter. Surprisingly, several homeowners had no idea their dishwashers had filters, let alone that they needed cleaning! This has proven to be the one step nearly everyone forgets when it comes to cleaning their dishwasher.
The first thing you need to do is remove the filter from your dishwasher. Most filters are located at the bottom of the appliance. Depending on the manufacturer, it could be elsewhere on the machine. It’s best to look to your dishwasher’s service manual to remove the filter appropriately.
2. Rinse and soak the filter
Once you remove the filter, rinse and soak it. Run water over the filter to clear away any built-up grime and debris. Then, place the filter in a bowl of warm water with 1 cup of white vinegar. Let the filter soak for about 30 minutes.
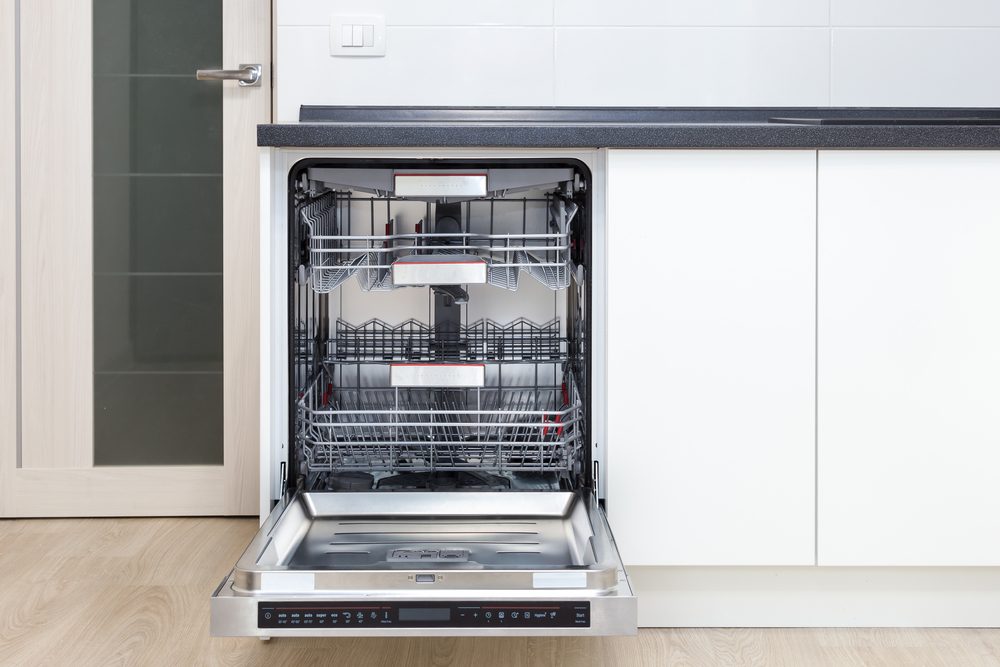
3. Rinse and soak racks and utensil holders
Remove the drying racks and utensil holders. Then, rinse and soak these parts to remove any debris. Or, use a microfiber cloth to wipe down the racks by hand.
4. Wipe down the inside of the dishwasher to clear away debris
Using a cleaning cloth, begin wiping down the inside of your dishwasher to clear away any visible food debris. A spray bottle with the warm water and vinegar mixture can be handy for this step as well. Be sure to check all the tiny crevices in the machine and clear away any lodged debris with a cloth or a small cleaning brush.
5. Put white vinegar in a bowl at the bottom of the dishwasher and run on a hot water cycle
Using a dishwasher-safe bowl, add 1 cup of white vinegar and place the bowl at the bottom of the dishwasher. Your dishwasher should be empty during this step. Then, run the machine on a hot water cycle. The vinegar and hot water will help loosen any stuck-on debris and will give your dishwasher a nice deep clean.
6. Run a short cycle with baking soda
This step is optional but can provide you with a sparkling and fresh-smelling dishwasher. Remove the bowl with the vinegar. Then, sprinkle some baking soda at the bottom of your dishwasher and run it again on a short cycle. Don’t add too much baking soda! A little goes a long way, and the baking soda will remove any smelly scents from the dishwasher.
7. Wipe down the door of the dishwasher on the outside portion
Depending on the material of your dishwasher, find an all-purpose cleaner or use a water and vinegar mixture to wipe down the surface of your machine. Remove any sticky residue or fingerprints, and then use a cloth to towel dry the face of the dishwasher once you’re finished.
8. Put the filter and racks back in place
Once 30 minutes have passed and your filter and racks have been rinsed and soaked, you can place them back in the dishwasher. Be sure to put the filter back per the instruction manual and ensure that the filter is secure. Then, add your racks.
How often should you clean your dishwasher?
Cleaning your dishwasher regularly actually maintains its efficiency and prolongs its lifespan. Experts recommend cleaning it as often as once a month. Neglecting cleaning can lead to a host of issues in this essential kitchen appliance, including unpleasant odors, reduced cleaning efficiency, and even potential damage to your dishwasher over time.
Food particles, grease, and soap scum can build up, clogging filters, spray arms, and drains. This buildup not only affects the cleanliness of your dishes but also creates a breeding ground for bacteria. By adhering to a quick and easy dishwasher cleaning schedule, you can ensure your dishwasher operates at its best, providing hygienic and efficient dishwashing results every time you use it.
Cleaning the dishwasher is a simple cleaning task, though many homeowners don’t do it nearly enough. Additionally, many people neglect to clean out the dishwasher filter once a month, and some had no clue there was a filter at all! Be sure to use your service manual, and remember to clean out your dishwasher routinely to keep it functioning properly.


