Magic Erasers are truly incredible for cleaning. They can scrub off that stubborn ring that’s been on your bathtub for ages, make plastic outdoor furniture look new again, or remove scuff marks from your favorite pair of sneakers. However, knowing when not to use a Magic Eraser is just as important as knowing its ideal uses. There are times when these useful cleaning tools might work a little bit too well and ruin the very object you’re trying to save.
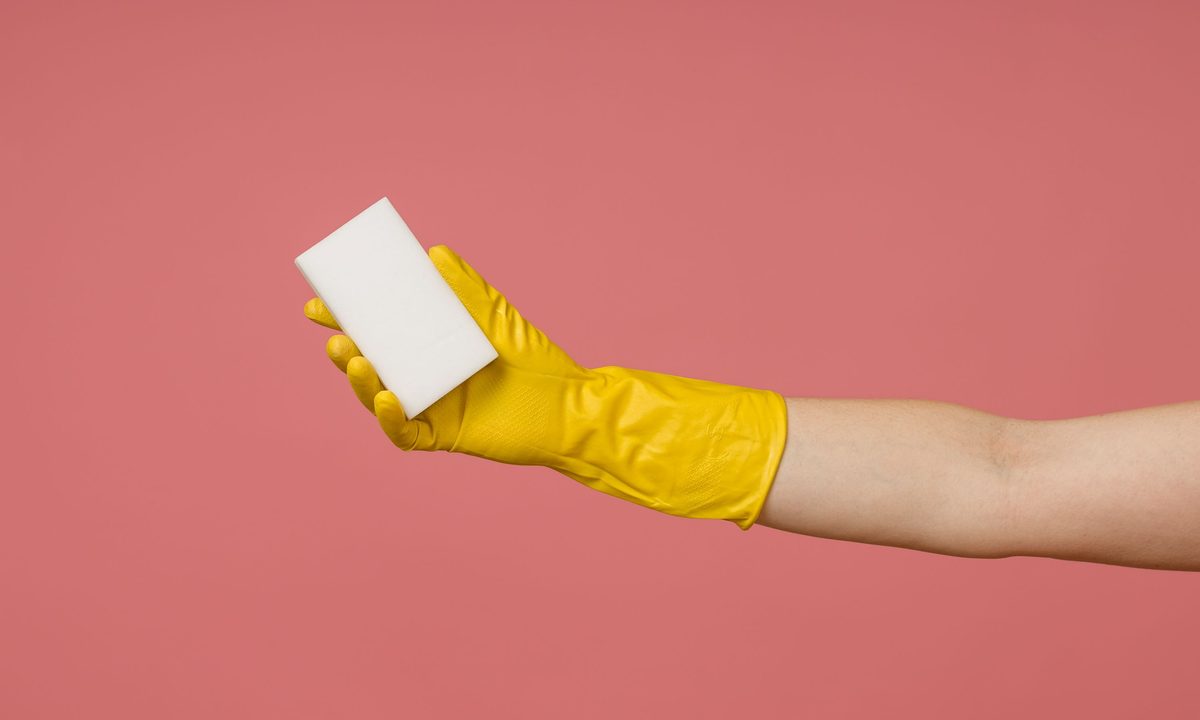
Even though Magic Erasers look a bit like ordinary sponges, they don’t perform in the same manner. They are a deceptively abrasive and effective cleanser. To ensure your most prized possessions don’t end up in ruins, you need to know their limits.
How does Magic Eraser work?
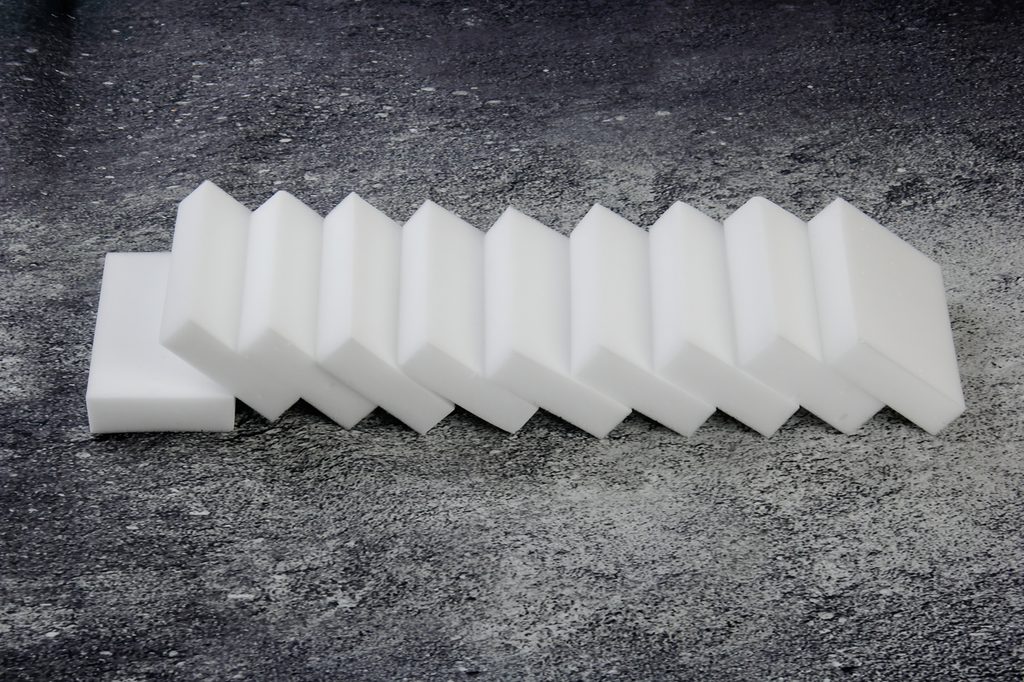
Now that we know a Magic Eraser is not a sponge, what is it? It’s actually blocks of melamine foam composed of microscopic air bubbles encased by threads of hardened melamine resin — and it’s every bit as tough as it sounds. Those hardened melamine resin threads are sharp when broken — similar to shards of glass.
When you rub Magic Eraser across a surface, the blend of melamine resin and those microscopic air bubbles work together to clean, unlike any other product. The resin is the scraper, the air bubbles are the absorber, and if anything survives that powerful one/two punch, a bit more pressure will break the melamine down into even more tiny abrasive particles. It’s like a hand-sanding machine with a built-in vacuum function.
When not to use a Magic Eraser
Can you use a Magic Eraser on any surface? Definitely not. There are some surfaces that this cleaning product is too abrasive for.
If you’re at all unsure if you should use Magic Eraser on a specific surface, do a quick ‘patch’ test before committing to the cleaning project. Overall, it’s fabulous at cleaning so many different types of messes around your home, especially in your kitchen and bathroom. While there are plenty of Magic Eraser uses, there are also times you should find another cleaning method.
Magic Erasers don’t magically erase everything — here’s where not to use them:
- Shiny painted, enameled, sealed, or varnished surfaces. Magic Eraser can strip away the finish.
- Wood. Magic Erasers can scratch and strip the finish.
- Your car. You can damage the paint job.
- Natural stone surfaces. You can damage the sealant on surfaces like quartz and granite and make your countertop appear lifeless and dull.
- Non-stick pots and pans. Magic Eraser can scratch the teflon, and then that coating can get in your food.
- Stainless steel. Like natural stone, Magic Eraser can make stainless steel look dull.
- Screens. The Magic Eraser would quickly scratch and ruin the screen.
- One-of-a-kind collectibles. If you have something that holds sentimental value, don’t test out Magic Eraser on it. The risk isn’t worth it.
What are Magic Erasers safe to use on?
Ordinary dirt, grime, and sticky messes are no match for Magic Eraser. With a simple wipe across the surface, most stains are history. For tougher stains, a bit of extra elbow grease should do the trick. Magic Erasers are ideal to have around if you have small kids or pets and frequently get smudges on walls, floors, and other surfaces. No amount of hand washing or cleaning off paws can help some days, so having another tool in your arsenal to help stop the surfaces in your home from looking like a sticky, muddy mess means more peace of mind for you.
Here’s our dirty dozen list of ordinary cleaning chores Magic Eraser will ace:
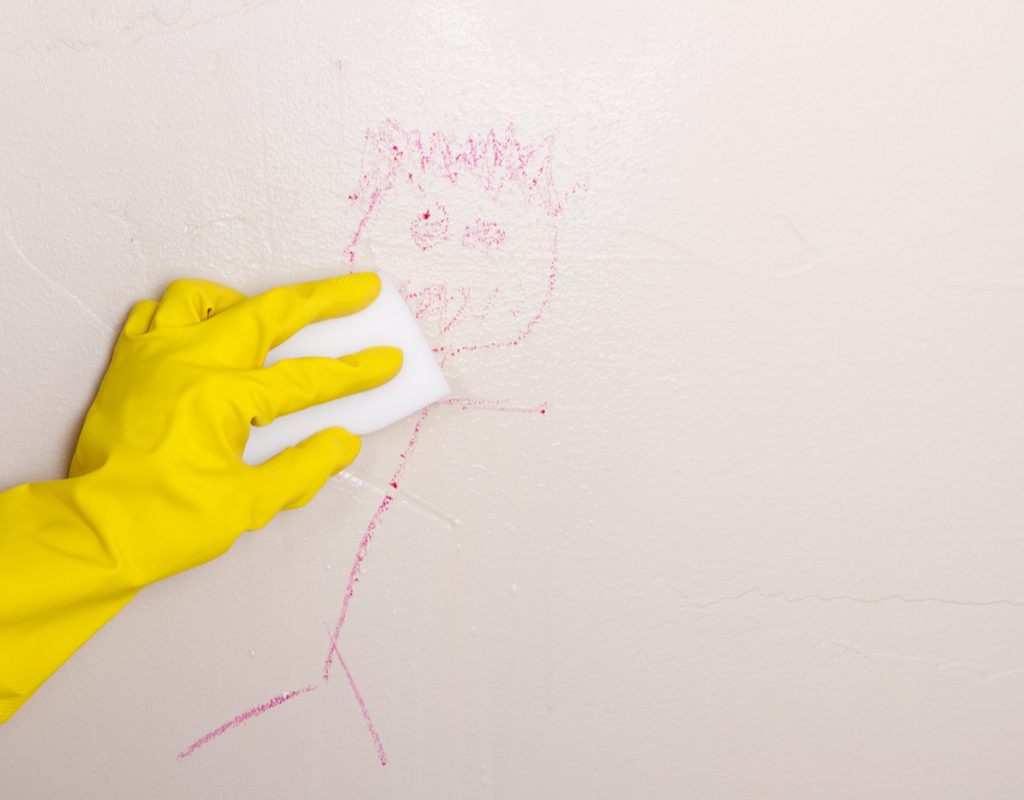
- Removes scuff marks and crayon, pen, and marker stains from walls and baseboards.
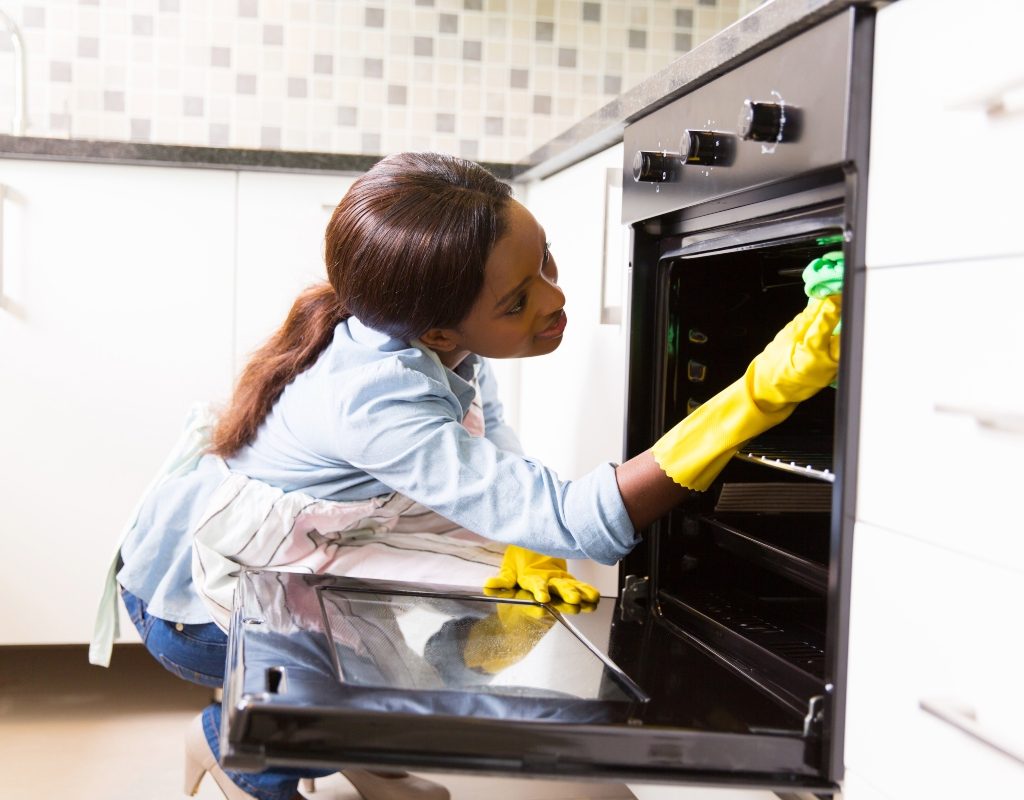
- Eliminates baked-on grease and food splatters from oven doors.
- Whitens graying grout and brings back your tile’s shine.
- Removes layers of soap scum from shower doors.
- Makes a greasy stovetop shine again.
- Scrubs off sticky label residue from wine bottles and glass jars.
- Removes burnt-on grime from glass baking dishes.
- Eliminates years of buildup from curling irons and flat irons.
- Removes rust rings in your tub or bathroom sink.
- Wipes away stuck-on splatters inside your microwave.
- Makes bathroom faucets and handles sparkle like new.
- Removes wine or juice stains from Formica counters.
Is a magic eraser truly safe on painted walls?
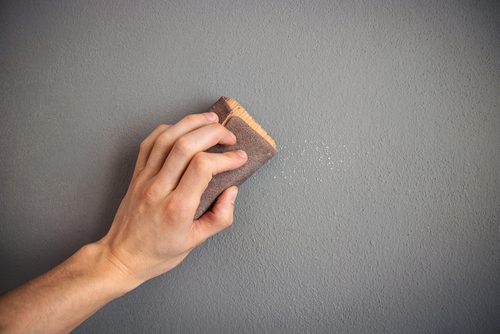
Unfortunately, there’s no guarantee that a magic eraser won’t ruin the paint on your walls. Typically, magic erasers are fantastic for removing crayon and pencil markings from the walls in your home. However, there have been instances reported by homeowners that prove not every wall is created equal. High-gloss and semi-gloss wall paints, in particular, are susceptible to scratches from the magic eraser scrubber. This can lead to some irritation if you notice the paint job is a little cracked or damaged once you’ve cleaned the wall.
Additionally, some wall paint colors can rub off onto the magic eraser, leaving a discolored patch behind. This could be due to pigmentation, the type of paint sheen, or even the brand. Though, most people won’t experience any issues using a magic eraser on their walls. Still, it’s best to play it safe by testing your magic eraser on a part of the wall hidden by furniture or in a small corner that won’t be seen before using the product anywhere else.
Tips and cautions for using Magic Erasers in your home
Magic Erasers are a powerful cleaning tool, but they require careful use to avoid damage. Follow these tips and cautions before diving in with your new favorite cleaning pal:
- How to use them: For best results, dampen the eraser slightly and use gentle pressure on surfaces like walls, baseboards, and countertops.
- What to avoid: However, avoid using them on delicate surfaces like glossy finishes, stainless steel, or nonstick cookware, as their abrasiveness can cause scratches.
- Spot test: Always test in an inconspicuous area before applying to a larger surface.
- Protect yourself: Wear gloves if you have sensitive skin, as the melamine foam can be slightly irritating.
Used correctly, Magic Erasers make cleaning effortless!
While there is no magic way to avoid having to clean your home, Magic Eraser is the next best thing. In an unassuming sponge-like disguise, this perfect blend of ultra-strong abrasives gets things incredibly clean — faster, better, and easier than you ever thought possible.


