
How to clean oven racks the easy way

Get your oven looking like new without all the scrubbing

Gloved hand cleaning an oven
Pixel-Shot / Shutterstock

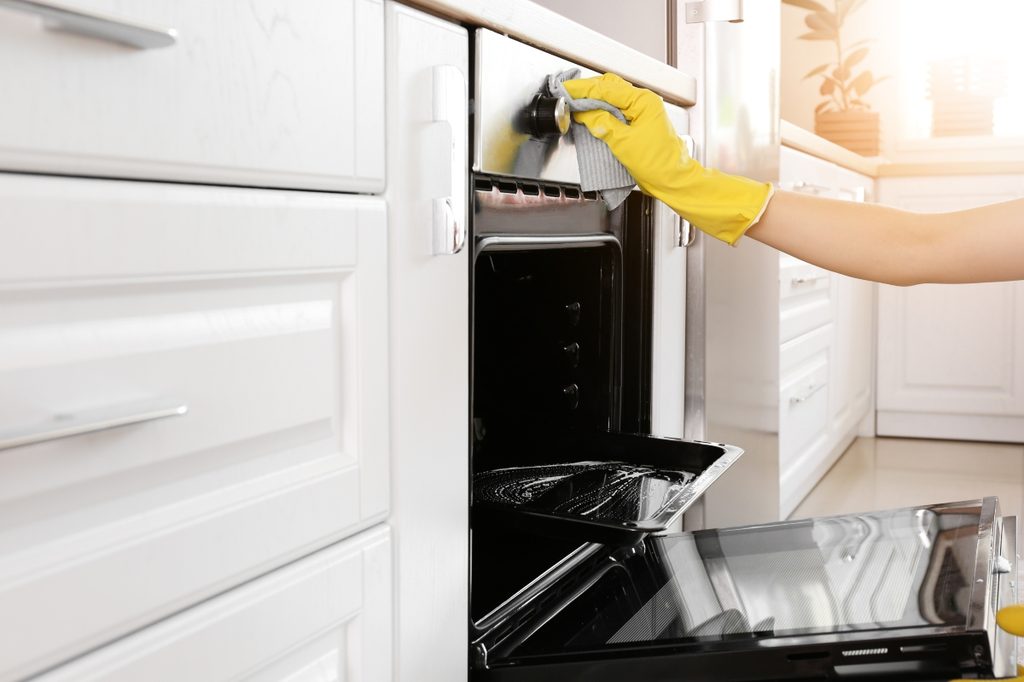
Keeping your oven clean is essential for maintaining a clean kitchen and ensuring your meals taste as delicious as they should. However, one often neglected aspect of oven maintenance is cleaning the oven racks. Over time, these racks can accumulate grease, grime, and baked-on residue, making them unsightly and potentially affecting food flavor. With the right methods and a little elbow grease, you can easily learn how to clean oven racks efficiently and restore them to their former glory.

How to clean oven racks with oven cleaner

inside of a black oven with oven racks
StockSnap / Pixabay

Oven cleaner is a potent solution designed specifically for cutting through tough grease and grime in ovens and on oven racks. You’ll need a large trash bag, rubber gloves, and a well-ventilated area.

  1. Remove the oven racks from your oven and place them inside a large trash bag.
  2. Spray the oven cleaner generously over the racks, ensuring they are thoroughly coated.
  3. Tie the trash bag securely, ensuring there are no gaps for fumes to escape.
  4. Allow the racks to sit in the sealed bag for about an hour.
  5. Carefully remove the racks from the bag and rinse them thoroughly with warm water.
  6. Dry them with a clean cloth before returning them to the oven.
Recommended Videos

While this method is highly effective, it does produce unpleasant fumes, so be sure to work in a well-ventilated area and wear gloves to protect your skin.

How to clean oven racks with Bar Keepers Friend

open oven door on silver stove
New Africa / Shutterstock

Bar Keepers Friend is a versatile cleaning product that can tackle even the toughest stains and grime. You’ll need the cleaner, water, a sponge, and gloves.

  1. In a small bowl, mix Bar Keepers Friend with water to create a thick paste that’s similar in consistency to peanut butter.
  2. Using a sponge or brush, spread the paste evenly over the surface of the oven racks, paying extra attention to any stubborn stains or buildup.
  3. Allow the paste to sit on the racks for about 45 minutes to penetrate the grime.
  4. Using a non-abrasive sponge or brush, scrub the racks thoroughly to remove the loosened dirt and residue.
  5. Rinse the racks with warm water to remove any remaining cleaner,
  6. Dry them thoroughly before reinserting them into the oven.

This method is highly effective at removing tough grime without producing excessive fumes, making it a popular choice.

How to clean oven racks with vinegar and baking soda

Baking soda and vinegar in glass jars
focal point / Shutterstock

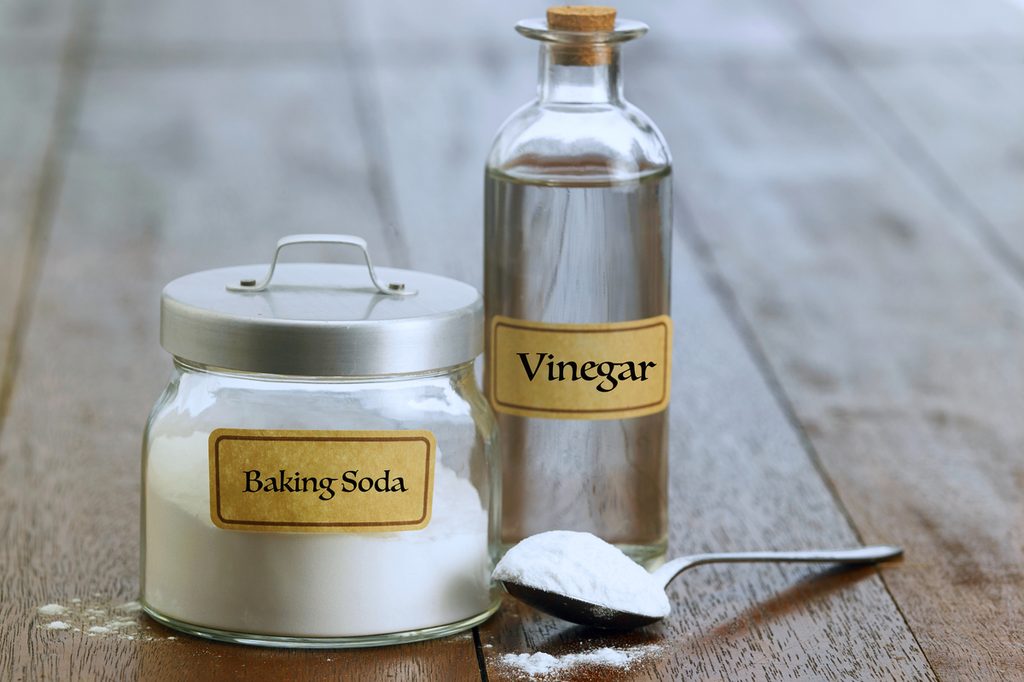
For those who prefer a more natural approach to cleaning, vinegar and baking soda offer a safe and effective solution. These household staples can help cut through grease and grime without the need for harsh chemicals.

  1. Place a clean towel on the bottom of a clean bathtub and place the oven racks on top of it.
  2. Fill the tub with warm water until the oven racks are just submerged.
  3. Add 2 cups of distilled white vinegar, followed by 1 cup of baking soda.
  4. Allow the mixture to sit on the racks for 2 hours, allowing the fizzing mixture to loosen the dirt and grime.
  5. Use a sponge or soft brush to scrub the racks if any grime remains.
  6. Rinse the racks with warm water to remove the cleaning solution.
  7. Dry them completely before returning them to the oven.

This method is the most natural way to clean oven racks and produces no toxic fumes, making it safe for you and your family.

How often should you clean your oven racks?

Scrubbing the oven with a sponge
michaeljung / Adobe Stock

The frequency of cleaning your oven racks depends on how often you use your oven and how quickly they become dirty. As a general rule, aim to clean your oven racks every three to six months to prevent buildup and ensure optimal performance.

Tips for keeping oven racks clean for longer

Mother and daughter putting food in the oven
antoniodiaz / Shutterstock
  • Place a baking sheet or aluminum foil beneath the food to catch spills and drips.
  • Wipe down the oven racks with a damp cloth after each use to catch spills right away and prevent crusty buildup.
  • Use a silicone oven liner to protect the racks from spills and drips.
  • Regularly remove and clean oven racks to prevent grease and grime from accumulating.

Cleaning oven racks may seem like a daunting task, but with the right techniques and products, it can be a quick and straightforward process. Whether you prefer the efficiency of abrasive cleaners or a natural solution, there’s a method to suit every preference. By following these tips, you can keep your oven racks looking like new for years to come.

Editors' Recommendations

Veronica Sparks
Veronica Sparks is a writer from Milwaukee, Wisconsin who loves writing about gardening, home décor, and DIY life. She’s…
Avoid a huge fire risk in your home: How to clean your dryer vent
Use these tips and tricks for a safer, more effective dryer
Outside dryer vent

A clean home can cultivate peace and kick stress to the curb, but it can be difficult to keep up with those often-neglected areas of the home. The laundry room is one of those areas, but it's also a space that's downright dangerous to neglect. In fact, FEMA reported that clothes dryers cause around 2,900 fires in residential buildings every year, resulting in widespread damage, serious injury, and even death.

However, you can prevent catastrophe in your home by cleaning your dryer regularly. If you don't know where to start, don't worry. We’ll walk you through how to clean the dryer vent so your laundry room and your home will be both clean and safe.
What you need
Before you begin, gather these items:

Read more
Sick of cloudy glasses? This is the cleaning hack you need
Say goodbye to cloudy glasses with this simple item you probably have in your kitchen
Water glasses upside down on a rack

Dishwashers are a godsend for busy families, saving you from the elbow grease needed to clean a sink full of dishes with a scrubbing brush or sponge. But the downfall of these machines is pulling your supposedly clean drinking glasses out of the dishwasher only to find them cloudy and dull. It's a common frustration that many households face, but fear not, there's a simple solution to cloudy glasses that's been making waves on social media.

Enter the cloudy glasses Instagram hack -- a viral cleaning trick that promises to banish cloudy residue and leave your glasses sparkling clear. Let's dive into what causes cloudy glasses, the Instagram that's taken the internet by storm, and other methods to keep your drinking glasses gleaming.
What does it mean when glasses are cloudy?

Read more
How to clean glass shower doors the right way (say goodbye to streaks)
The natural way to get a sparkling, clear shower door — without all the chemicals
Shower with a glass door

Glass shower doors add a touch of elegance to any bathroom, but they can quickly lose their sparkle because of soap scum, grime, and pesky streaks. Fear not! With the right cleaning techniques and a few simple ingredients, you can restore your glass shower door to its pristine condition. Let's explore effective methods for how to clean glass shower doors without leaving behind streaks.
What is the best thing to use to clean glass shower doors?

When it comes to cleaning glass shower doors, you have two primary options: DIY natural cleaners or commercial glass cleaners. DIY solutions are often cost-effective and environmentally friendly, while commercial cleaners may offer convenience and specialized formulas for tough stains.
White vinegar and dish soap for cutting grime
For a powerful yet natural cleaning solution, mix equal parts white vinegar and water in a spray bottle, adding a few drops of dish soap. Spray the solution onto the glass surface and let it sit for a few minutes to loosen the grime. Then, scrub gently with a sponge or microfiber cloth and rinse thoroughly with water. However, exercise caution when using vinegar on surfaces like natural stone, as it can cause damage.
Baking soda and dish soap instead of vinegar solution
If you prefer to avoid vinegar, a mixture of baking soda and dish soap can also effectively tackle grime on glass shower doors. Create a paste by mixing baking soda with a small amount of dish soap, then apply it to the glass using a sponge or cloth. Scrub gently in circular motions, focusing on areas with stubborn stains, before rinsing thoroughly.
Lemon and lemon oil to kick streaks to the curb
Harness the power of citrus to banish streaks from your glass shower doors. Simply cut a lemon in half and rub it directly onto the glass surface, focusing on areas with visible streaks. The acidic properties of the lemon help dissolve residue while leaving behind a fresh, citrusy scent. For added protection against future water marks, lightly coat the glass with lemon oil after cleaning. Your glass won't streak again for a long time!
Tips for keeping your glass shower doors clean and streak-free

Read more