Repairing drywall is a skill that every thrifty homeowner should have on their resume. Whether it’s a small touch-up or patching large holes in drywall, fixing that eyesore isn’t complicated, doesn’t require specialty tools, and takes just a little time.
After the initial shock of breaking a 6-inch or larger hole in a wall, you may at first think it’s a job for a professional, but that might not actually be the case. If you’re a DIYer with a few basic hand tools, there’s no need to hire out this project. You can tackle the job in just a day or two (including drying time), and you’ll spend less than $100 on materials to do it.
How to repair drywall: Small holes, cracks, and dents
If that heavy picture pulled your screw through the drywall or years of old nail holes are starting to build up, give them a quick touch-up using just a few inexpensive tools.
What you’ll need:
- Quick-drying spackle
- Putty knife
- Sandpaper with a fine grit
How to repair:
- Fill the hole or crack with a quick-drying spackle using a putty knife.
- Allow the spackle to dry for the amount of time recommended by the manufacturer.
- Once dried, lightly sand the area with your sandpaper to make it flush with the rest of the wall.
- Proceed to prime and paint the repaired area.
How to repair drywall: Medium-sized holes
For holes that are under 4 inches in diameter but too large to fill with spackle, use a drywall repair kit. These kits typically include all the tools you’ll need to complete the repair on your own.
What you’ll need:
- Mesh covering with adhesive
- Drywall spackle
- Drywall knife
- Sandpaper
How to repair:
- Apply the mesh covering over the hole completely so that it overlaps onto the wall by about one inch on all sides.
- Use a drywall knife to apply the spackle over the mesh, covering it completely. Be sure to apply the spackle as thinly as possible on the undamaged portions of drywall to prevent bulging.
- Allow the spackling compound to dry for the recommended time.
- Use sandpaper to lightly sand down and smooth the entire spackled area.
- Proceed to prime and paint the repaired area.
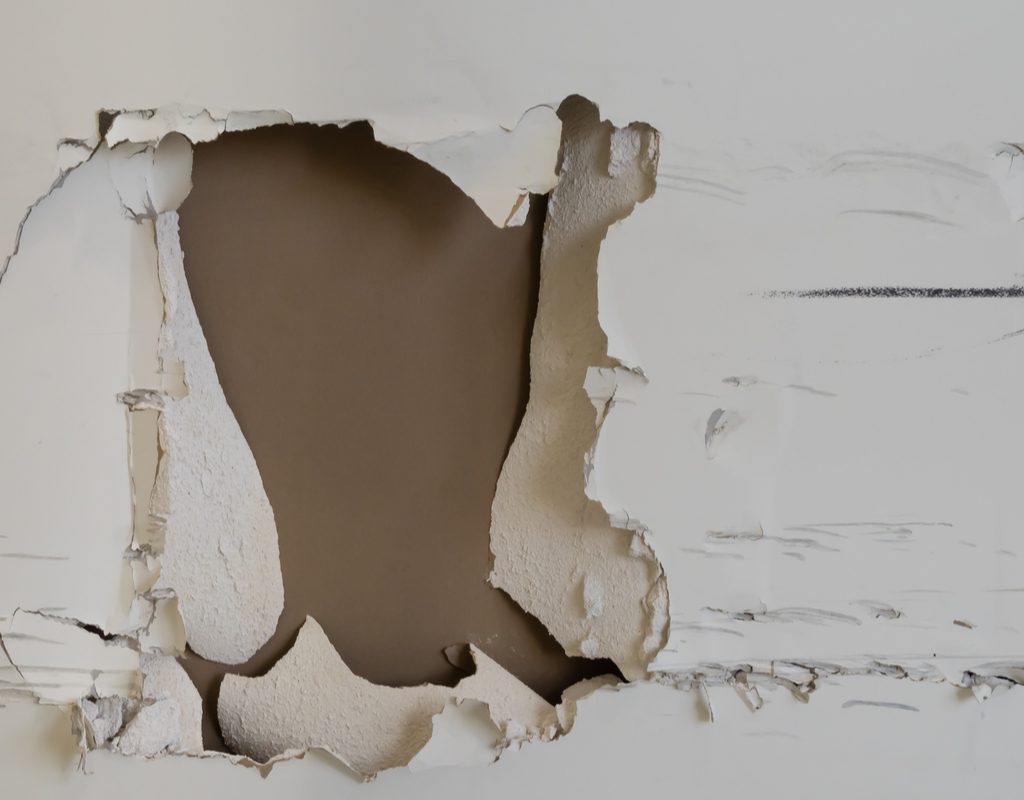
How to repair drywall: Large holes
For larger holes in your drywall that are bigger than four inches in diameter, you won’t be able to use putty or spackle to repair them. When repairing larger drywall holes, you’ll likely need to cut out some of the existing drywall. For this step, be cautious and avoid cutting any wires that run behind the walls. Typically, wires are attached to studs, so if the drywall hole is near a stud, call a professional for help.
What you’ll need:
- Tape measure
- Pencil
- Builder’s square
- Drywall saw
- Wood saw
- Utility knife
- Cordless drill/driver with #2 Phillips-head screwdriver bit
- Drywall taping knife
- Sanding sponge, 150-grit
- Dust mask
- Vacuum cleaner
- Tack cloth
- Rag
- Paintbrush
- Paint roller, roller cover, and pan
Project materials
- 1-by-4 common board (length varies based on the size of the hole)
- 1 1/4-inch coarse threaded drywall screws
- Drywall, the same thickness as that to be repaired
- Self-adhesive mesh drywall tape
- Drywall joint compound
- Primer
- Paint
How to repair:
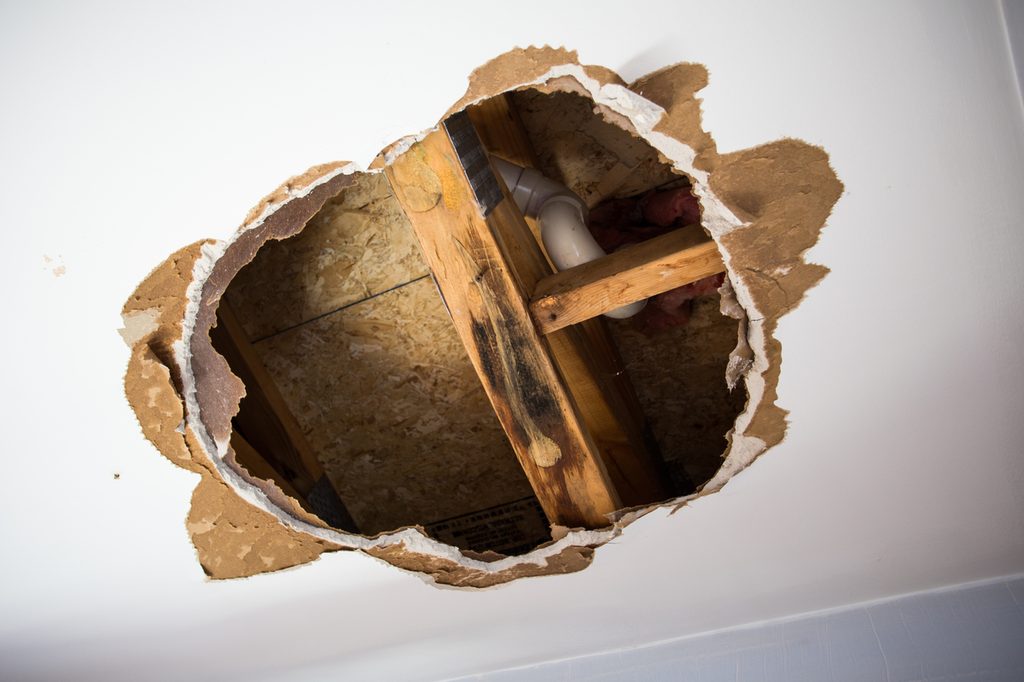
Prepare the wall
Gently remove any loose, broken pieces of drywall. Look for wiring, pipes, or ductwork in the wall space behind the area that needs to be patched. If any of these are present, be careful not to damage them during the repair. Next, use the builder’s square and a pencil to mark straight lines just beyond the edges of the broken hole to square it up. Use the drywall saw to carefully cut out the excess pieces.
Install backer boards
Cut two backer boards out of a 1-by-4 board, about 4 inches longer than the long sides of the opening. Install the first backer board inside the wall so that the face of the board is centered on the edge of the opening, half behind the drywall and half exposed. Each end should extend about 2 inches past the opening. Hold the backer board in place and secure it with drywall screws through the drywall and into the board. Space the screws 1 inch from the edge of the drywall and 6 inches apart. Sink the screw heads slightly below the surface of the drywall. Repeat the installation process with the second backer board along the opposite long edge of the opening.
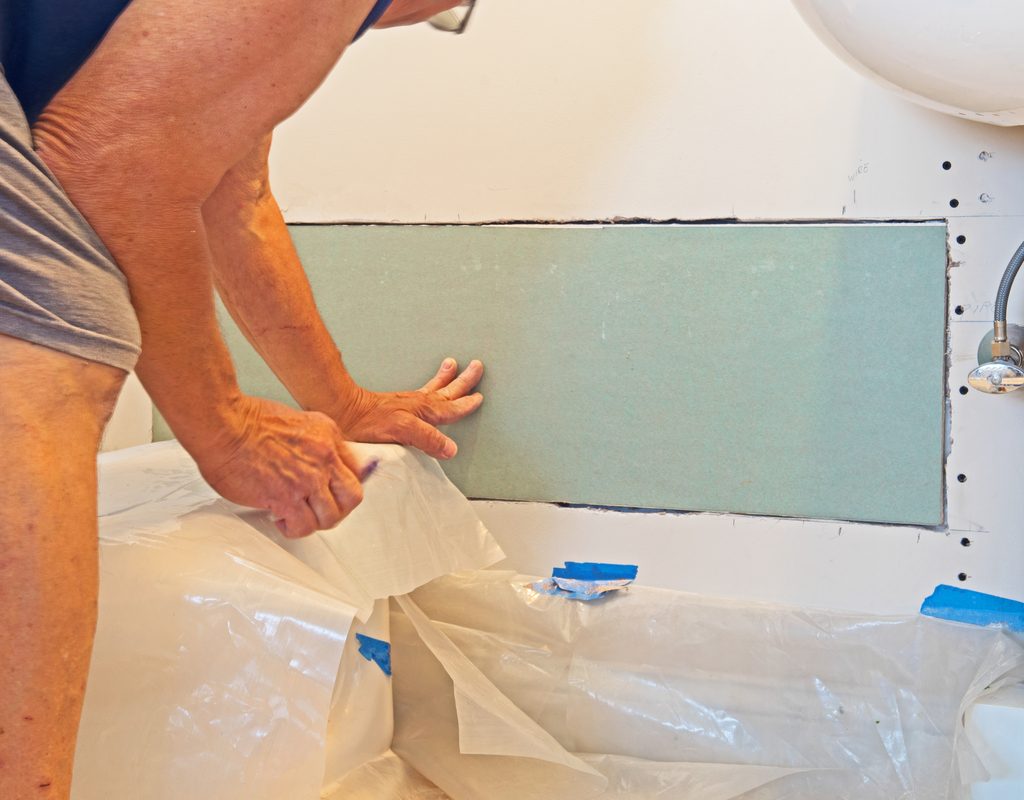
Cut and install the drywall patch
Measure, mark, and cut the drywall patch to the same dimensions as the opening. A little wiggle room is fine, but the gap between the patch and the existing drywall should be ⅛-inch or less. Place the patch in position and fasten it with more drywall screws. Space the screws 1 inch from the edge of the patch and 6 inches apart.
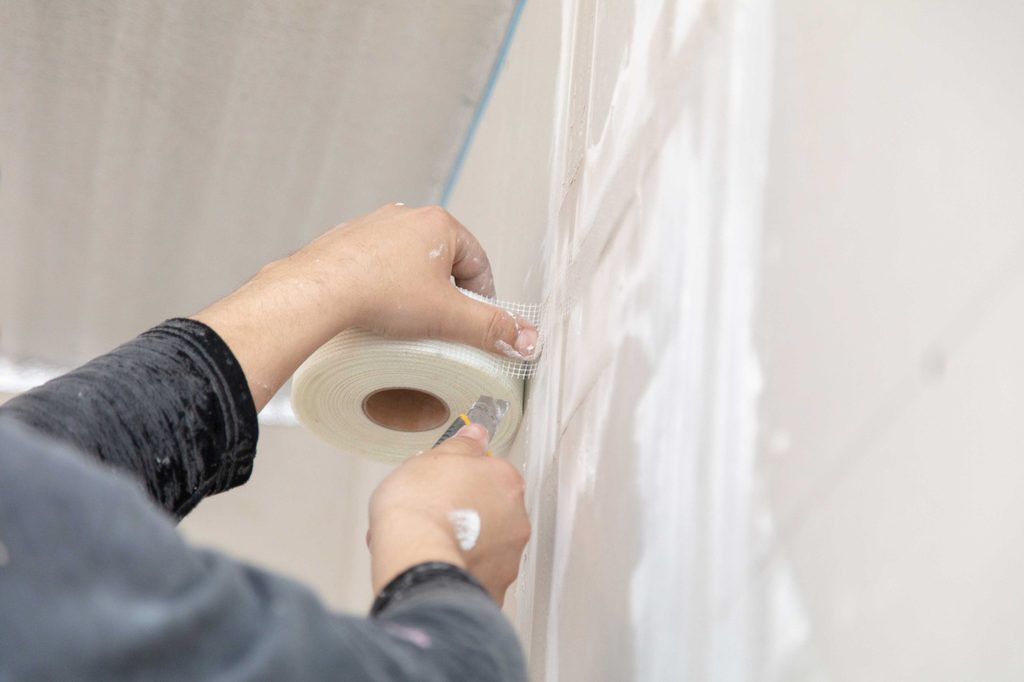
Tape the joints
Measure the lengths of the seams between the patch and the existing drywall, and use the utility knife to cut strips of mesh drywall tape. Tape over the lengths of all the seams, overlapping the tape at the corners. Be careful to avoid creating wrinkles and bubbles in the tape.
Mud the joints
Use the drywall knife to work a thin layer of joint compound into the mesh tape. The mesh’s texture should still be visible. Allow the mud to dry, then scrape it with the knife to smooth it out. Apply a second thin layer of joint compound to smooth the tape’s texture further. Use the drywall knife to feather out the wet compound beyond the tape’s edges. Let it dry, and scrape to smooth again. Apply a third and final layer of compound. Feather it out to blend with the surface of the wall beyond the patch, then let it dry.
Sand
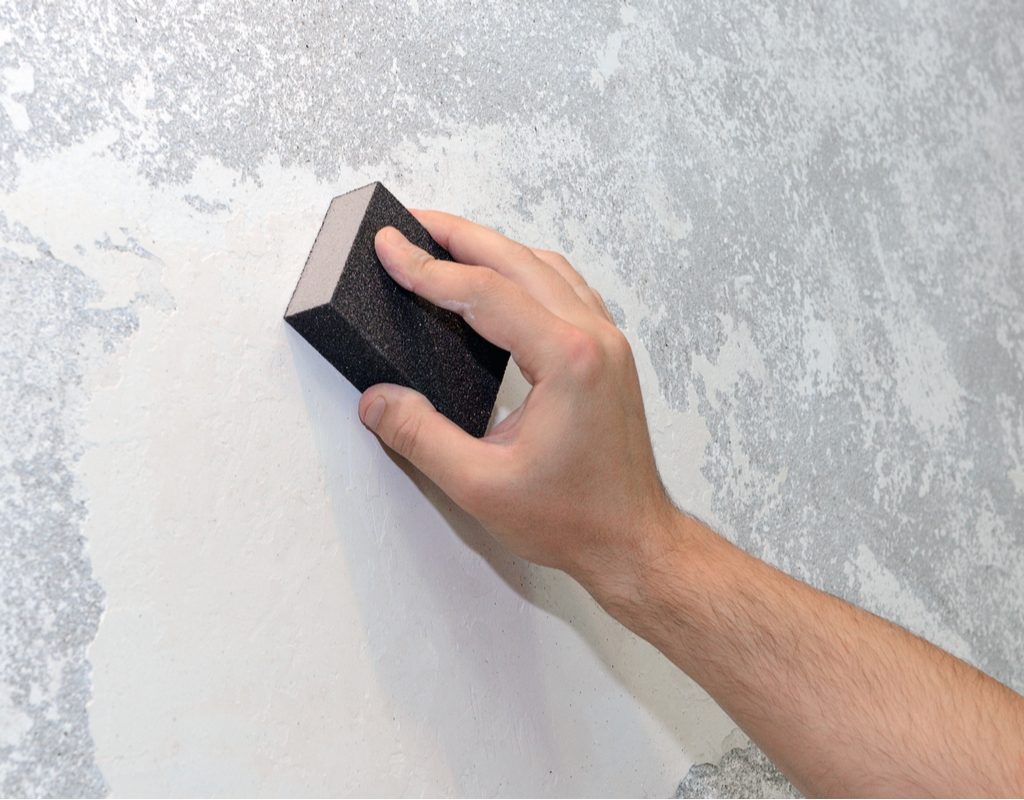
Put on the dust mask and use the sanding sponge to smooth out the surface of the drywall compound, being thorough but not aggressive. Over-sanding will cause the mesh tape to show through, which would then require you to re-mud, dry, and sand all over again. After sanding, clean up the dust with a vacuum cleaner and wipe down the patch with the tack cloth.
Paint
Use the paintbrush to apply a coat of primer over the patched area. Let it dry thoroughly, then use the roller to apply two or three coats of paint to match the rest of the wall. For the best paint color match, paint the entire wall instead of just the repaired area.
When to call in the pros
When it comes to repairing holes in drywall, knowing when to call in the pros can save you time and frustration and ensure a flawless finish. While small holes and minor dents can often be tackled by most DIYers, massive holes, extensive damage, or issues involving structural concerns are often best left to professionals. If the hole is larger than several inches in diameter, spans across multiple panels, or involves electrical wiring or plumbing, it may be time to bring in an expert.
Professional drywall repairers have the experience, tools, and materials to seamlessly blend repairs with your existing walls, ensuring a smooth and durable result that enhances the overall appearance. integrity, and value of your home.
To save big money on home repairs, learn to do the basics yourself. Repairing drywall is neither difficult, time-consuming, nor expensive, so it’s a perfect do-it-yourself project for thrifty homeowners. With this guide, you’ll be able to grab the tools and materials you need and quickly fix those unsightly holes and other drywall damage in no time at all.


