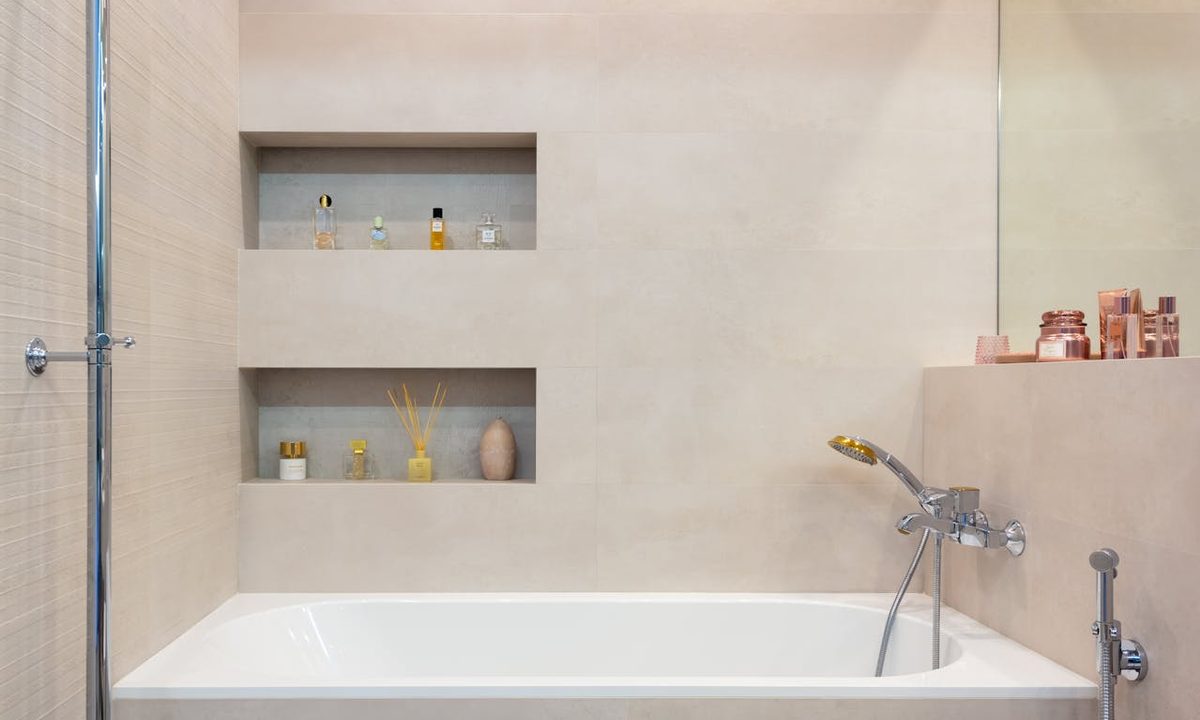
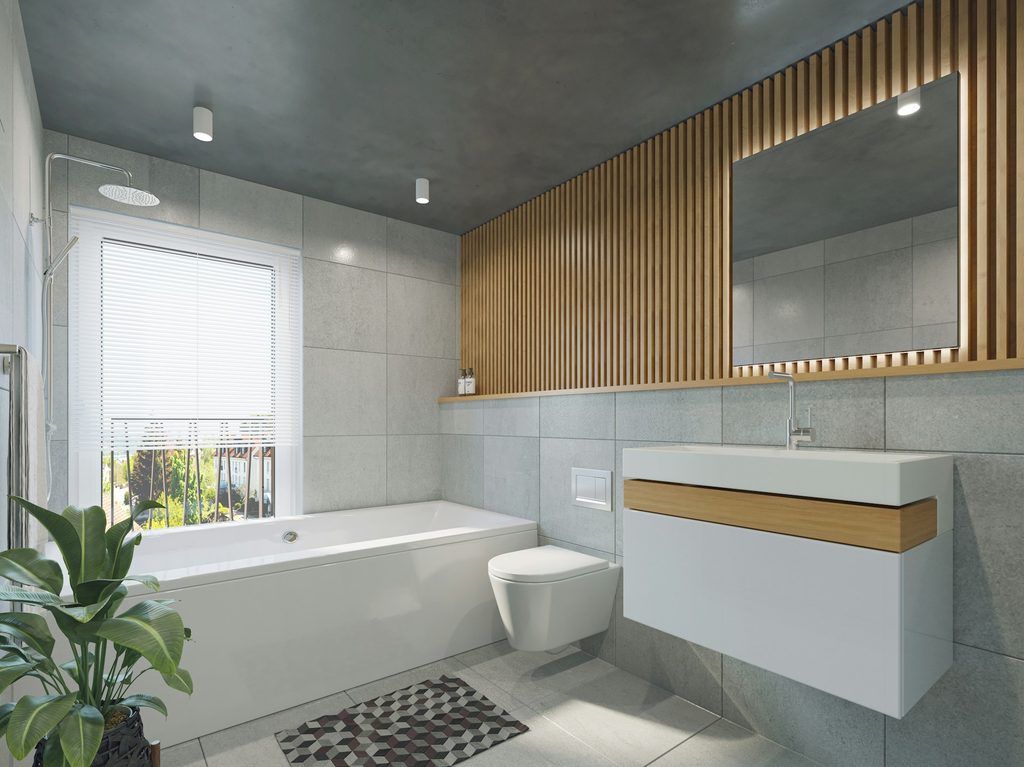
Bathtubs are durable and can withstand years of use. However, there may come a time when your tub is in need of a quick restoration. Instead of pulling out your wallet to fork over a hefty payment for a new tub, consider refinishing it instead. Bathtub refinishing can fix many minor problems and save you lots of money. Here’s what you should know.
When to refinish your bathtub
For most homeowners, your bathtub can last years without refinishing. However, if you experience any of the following, it may be time for a facelift.
When to refinish your tub:
- Staining that won’t lift even after a deep clean
- Rust buildup
- Cracks or blemishes in the tub
- Small holes or dents
- The old coating is peeling
- Your tub is still in good working condition, and it is more cost-effective to repair it rather than purchase a new one
Reglazing vs. refinishing a bathtub
Bathtub refinishing and resurfacing are often used interchangeably to describe the entire process of restoring your bathtub to its original look and feel. Refinishing is a longer process that allows your tub to look “as good as new.”
Reglazing; however, is a part of the refinishing process, where you add an epoxy coat to the bathtub. During refinishing, you might seal cracks, fill holes, and sand the tub’s surface. Reglazing is one of the finishing touches on the overall refinishing project where you add the protective coating.
Cost to refinish a bathtub
Refinishing a bathtub is much more affordable than replacing one. You can save thousands by going this route. The average cost of a full bathtub refinishing kit can range from $100 to $200. Or you can hire a professional and expect to pay anywhere from $300 or more, depending on your area.
How to restore your bathtub
If your tub only has some light staining or damage, you can easily refinish and restore it by following these steps.
Clean the bathtub
You’ll need to deep clean your tub before you can refinish it. Take your time scrubbing any grime or mildew buildup with abrasive sponges. You may also need to use bleach or special chemical stain removers. Remember to adequately rinse the entire tub and allow it to dry before starting your refinishing project.
It’s also highly recommended that you scrape up and remove any old caulking so you can add a fresh coat once you have finished resurfacing your tub.
Prep the room
You’ll want to prep the room before you begin. First, open a window or turn on an exhaust fan to help ventilate the space. Then, use painter’s tape and drop cloths to protect your floors and walls from the epoxy coating. Also, ensure that you wear the proper protection, like gloves and a face mask, before working with the epoxy.
Remove hardware
Next, you’ll want to remove any hardware like the faucet spout, shower heads, handles, cover plates, or any other additional fixtures. You can easily reattach them after you’ve finished the project.
Repair minor blemishes
Once your space has been fully prepped, you can begin with the repairs. Seal any small cracks, chips, dents, or blemishes with epoxy putty. Follow the manufacturer’s recommended drying time on the container before you begin sanding.
Sand the tub surface
Once you’ve filled minor blemishes with the epoxy putty, you can begin sanding the surface. Using sandpaper or an etching powder, prep your tub’s surface by sanding down all areas. Be sure to pay careful attention to any blemishes or uneven spaces like those you filled with putty so you can create a smooth and adhesive surface.
When you’re done sanding, rinse the tub and wipe it down to thoroughly remove any powder or debris. Then, wait for the bathtub to fully dry.
Prime the tub surface
Check to see if your bathtub refinishing product is self-priming. If not, you’ll need to buy a special primer from your local home improvement store. Then, use a small roller to prime the surface of your tub as directed in the product instructions.
Mix the epoxy
Follow the manufacturer’s instructions on your epoxy refinishing product. You’ll need to mix the epoxy resin and the hardener together to create your refinishing blend. You may need to work quickly as the coating will harden in a short period of time.
Expect to do each coat in one sitting. Most brands recommend doing a first coat and then waiting a few hours to do the second. Follow package instructions so you don’t waste product.
Apply the coating
As you apply the coating, use a roller and brush in both horizontal and vertical strokes to maximize coverage and prevent dripping. You may also need to use a sponge to coat corners and any nooks or built-ins. Most products recommend waiting a few hours before applying the second coat. Again, we highly recommend getting familiar with the package instructions before you begin your project.
Once you have applied all of the necessary coats, allow your bathtub to cure for one or two days. Make sure to keep your space ventilated during this time.
Caulk the edges
Next, you’ll need to seal the edges with caulking. Work slowly and use a scraper to clean up any lines.
Reinstall your hardware
Once your caulking has cured, reinstall your hardware and seal any gaps.
Bathtub refinishing is an affordable way to get your tub looking as good as new without purchasing a whole new setup. Save some money by updating and restoring your existing tub so that it serves you for years to come.


