
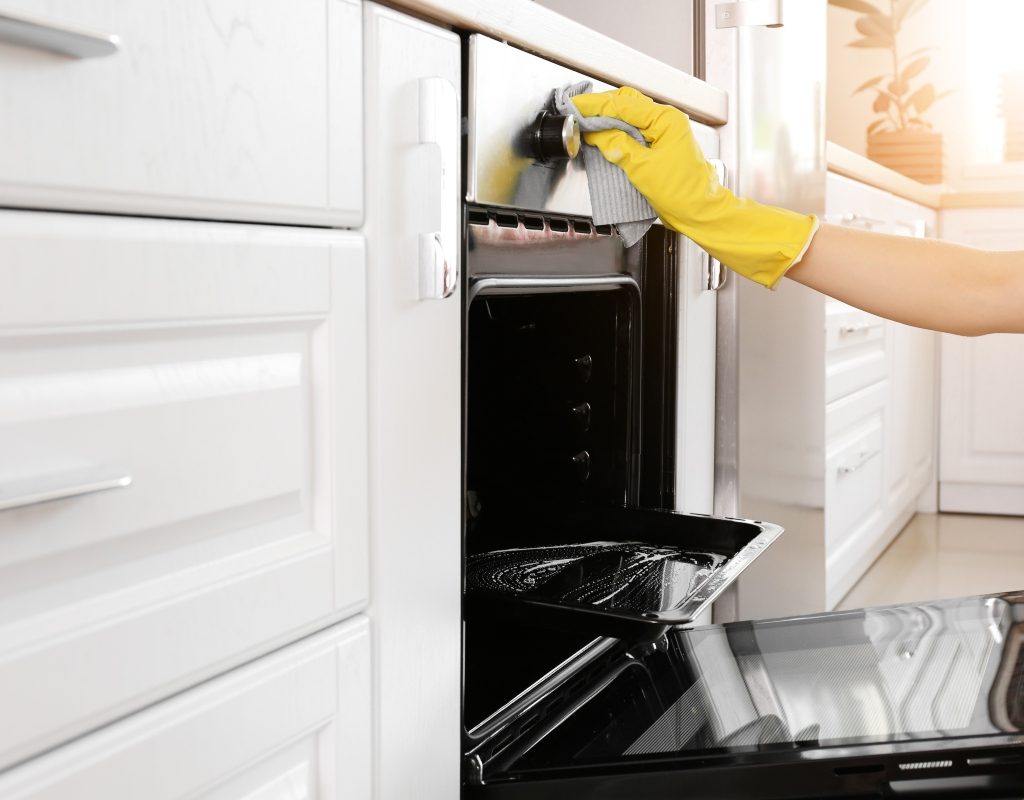
If you love getting creative in the kitchen, there’s a good chance your oven looks like a war zone. Overflowing sheet pans, falling crumbs, and exploding cakes — these things happen to the best of us, and they lead to a really grimy oven. The good news is that there are a lot of tricks and hacks you can use to get an oven that looks brand new.
While baking soda is the go-to cleaning solution for many, there’s also a less common method that may revolutionize the way you clean your kitchen. We've got the scoop with oven-cleaning tips.

Why not use baking soda to clean your oven?
The typical chemical-free method of cleaning the oven is making a baking soda paste and layering it on the bottom of the oven to loosen up all that stuck-on grime. While baking soda is non-toxic and quite effective at lifting grease and stains, there are a couple of downfalls with this tried and true method.
First of all, it's messy. Sure, it works well, but at what cost? If you’ve ever used a baking soda paste to clean your oven you know it’s a messy process. The paste eventually dries and you either wipe it up or scrape it off, leaving you with clumps and powder all over your floor and body.
It also takes a long time to work. Using baking soda to clean your oven is definitely not a quick cleaning project. Once you create the paste and plaster it all over the bottom of the oven, you then have to wait 12 to 24 hours for the baking soda to really take effect and lift up that grime. If you’re looking for a rapid clean, baking soda won’t cut it.
Steam clean your oven instead
Steam is highly effective at loosening stuck-on grime, particularly in the kitchen. This is similar to the microwave-cleaning hack where you microwave a mug of water for a few minutes before wiping out the microwave itself. The heated water creates steam which loosens burnt-on dirt and grime. Adding vinegar to the mix for this method sanitizes and deodorizes your oven as well.
Note that this cleaning method works best while the oven is hot. Here’s how you do it.
Step 1: Turn the oven on and pre-heat it.
Step 2: Mix equal parts boiling water and vinegar and pour it into the baking pan.
Step 3: Once the oven is pre-heated, place the filled baking pan in the oven on a rack and turn off the oven.
Step 4: Wait roughly 20 minutes, or until the oven is no longer hot to the touch before moving forward.
Step 5: Remove the pan from the oven and discard the liquid solution.
Step 6: Use the paint scraper to remove any large chunks of grime and wipe away dirt and debris with a clean rag.
Step 7: Use steel wool or a scrubbing brush to remove any lingering stuck-on grime.
More oven-cleaning tips and hacks
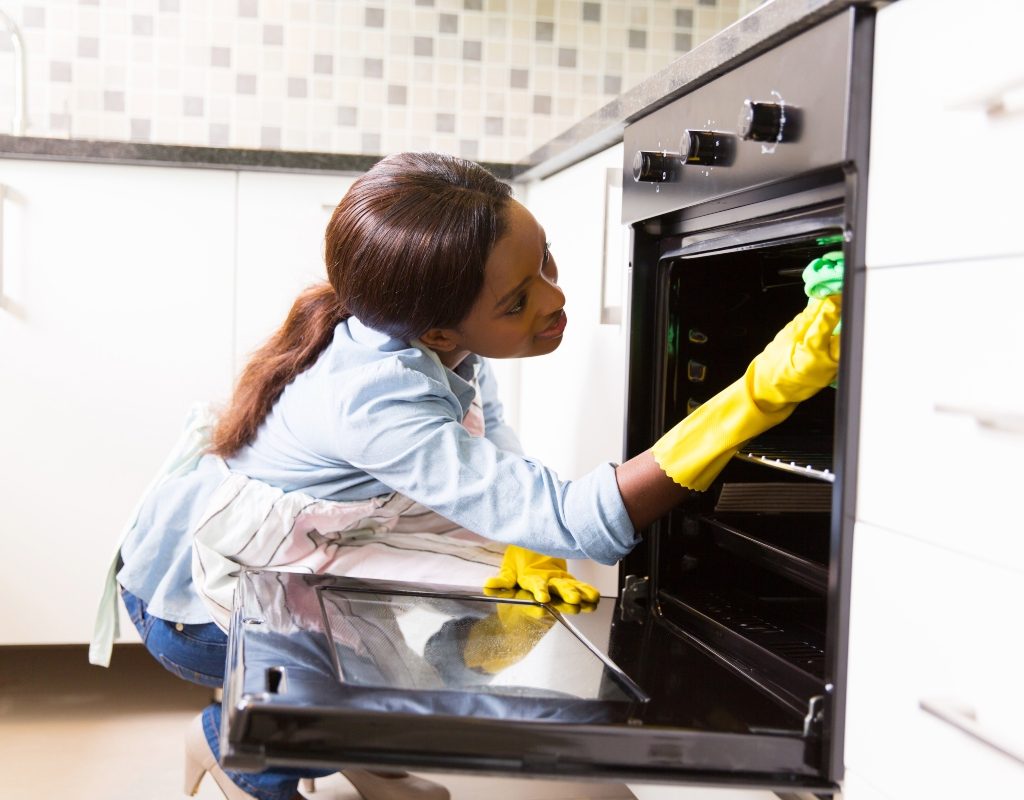
A sparkling clean oven can warm the heart of any avid baker. If you use your oven regularly, you need cleaning methods that make it easy to keep your kitchen pristine without wearing yourself out. Here are a few more oven-cleaning tips and hacks that may be useful for you.
Remove your oven door before cleaning
Many people don’t know that their oven doors are easily removable. If you take the door off the oven before cleaning, it makes it easier to access the inside of the oven and clean the underside of the door where food scraps tend to get trapped.
Use a vacuum attachment first and last
Vacuuming inside the oven? It seems odd, but using your vacuum attachment to snatch up all those loose pieces of food before giving your oven a deep clean makes your life a lot easier. You can also remove the oven drawer and use the vacuum attachment to clean underneath the stove.
Use steel wool on the oven racks
Steel wool removes all the debris from the bottom of your oven, but you can also use it to quickly remove buildup on the oven racks. A rag can only get up so much, but steel wool will leave the racks shining.
Use a magic eraser on the oven window
That window certainly gets grimy, and a regular window cleaner doesn’t always cut it. To get your oven’s window clean and transparent, use a handy Magic Eraser. Just dampen it and scrub!
Use a butter knife to clean outer crevices
We often forget to clean in that tiny gap between the stove and the counter, but it definitely collects a lot of spilled liquids and dinner crumbs. To easily clean that narrow crevice, wrap a Clorox wipe around a butter knife and use it to wipe in between the shallow opening.
Use salt for stains
If you have a single, pesky stain that you want to quickly clean up without cleaning the whole oven, we suggest sprinkling some salt on it first. Then, wait until the oven has cooled and scrub it off or clean it up with any of the methods above. This is a cheap, easy way to remove a small spill or erroneous stain without having to clean the entire oven all over again.

What NOT to do when cleaning your oven
When cleaning an oven, there are a few things you should stear clear of:
- Avoid using harsh, abrasive cleaners or steel wool, as they can damage the oven’s interior.
- Never mix chemical cleaners like ammonia and bleach, as this creates toxic fumes.
- Avoid spraying cleaner directly onto heating elements or igniters, which can cause malfunctions.
- Do not clean a self-cleaning oven with commercial oven cleaners, as this can ruin the oven’s protective coating.
- Always ensure the oven is completely cool before cleaning to prevent burns.
- Never leave food debris or grease buildup unattended for too long, as this can lead to unpleasant odors and even potential fire hazards.
An oven is an essential appliance in the kitchen, but it’s not very appetizing to cook dinner amidst grease, grime, and filth. Cleaning your oven doesn’t have to take a ton of muscle, and with these handy tips and tricks, you’ll breathe much easier during your next baking session.


