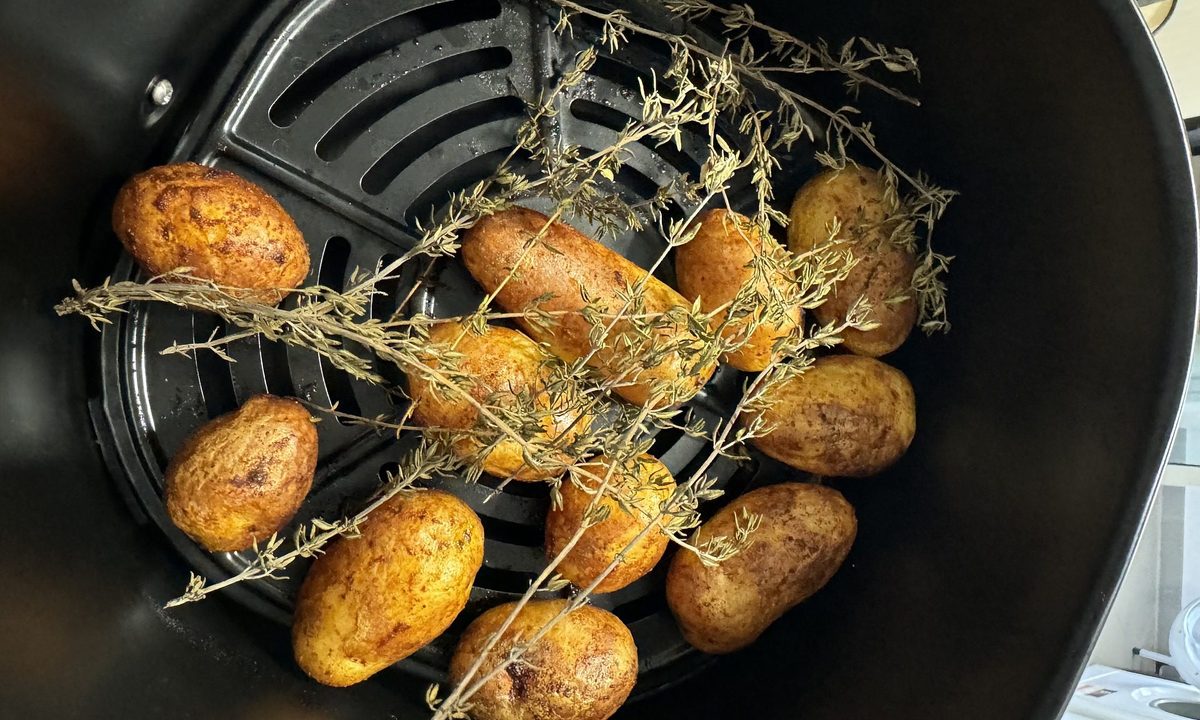
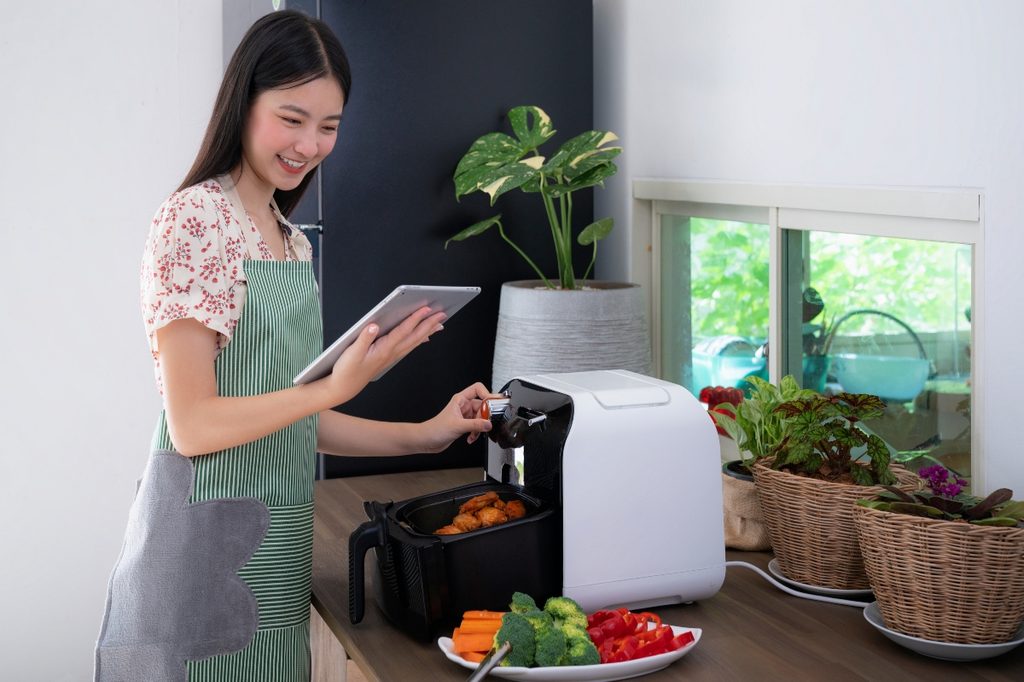
Air fryers are a beloved kitchen appliance for many households. They allow you to fry foods faster and in a healthier manner than traditional deep-frying could ever dream of. Air fryers work by circulating hot air around the food to provide an even bake without adding any extra calories from fats and oils.
But what happens when dinner is done? If you’re wondering how to clean air fryer appliances now that you have one, this quick guide will show you the best methods for cleaning and protecting your equipment.
What you’ll need
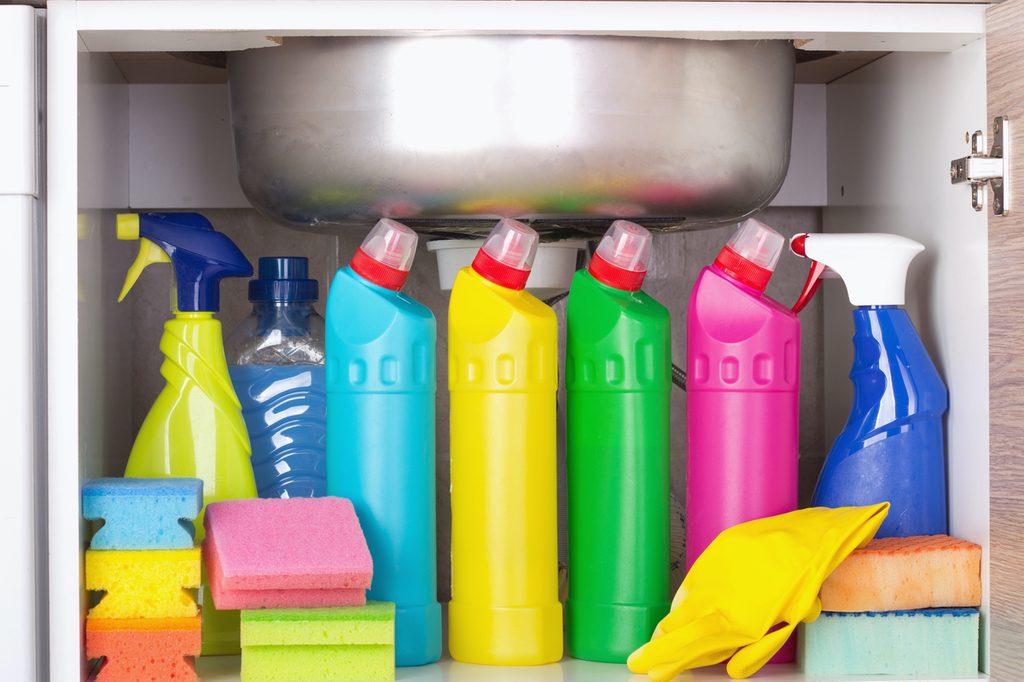
Before you begin cleaning your air fryer, you’ll need a few tools.
- Dish soap
- Warm water
- Cleaning cloth or towel
- Sponge
- Scrub brush
- Dishwasher (optional)
You can put some air fryer components in the dishwasher for cleaning. However, be sure to read your manufacturer’s instructions before using the dishwasher, as this method can damage some air fryers.
Additionally, never submerge the air fryer’s main drawer underwater. Doing so could damage the electrical components and render your air fryer unusable.
How to clean an air fryer

1. Unplug and disassemble
The first step to cleaning your air fryer is to unplug the appliance and allow it time to cool. Air fryers can become extremely hot while they cook your food, so it’s essential to allow them to cool before you begin cleaning.
Once cooled, begin disassembling the air fryer. You can do this by pulling out the main drawer and basket. There’s no need for further disassembling as the food is always heated inside the basket of the main drawer. If you are curious about how to clean the exterior of the air fryer, we will discuss the best way to do so later.
2. Wash the interior parts
With your parts removed from the air fryer, it’s time to begin cleaning. Your air fryer has two removable components: The basket and the main drawer, which both require cleaning to ensure the fryer operates at its optimal performance.
Basket
Some baskets can be further disassembled into two parts. Often, you can remove the wire base of the basket to allow for more efficient cleaning. To clean the basket, place the parts in warm soapy water and use a sponge or scrub brush to remove any food residue. Once clean, rinse these parts and set them aside to dry. If your manufacturer’s instructions permit it, you may also use a dishwasher for this step if you prefer.
Main drawer component
The main drawer component holds the basket when cooking and is often the part that you open and close when accessing the interior of the air fryer. This component has electrical parts within its makeup and cannot be fully submerged in water. Due to this, it’s also important to check your manufacturer’s instructions before placing the main drawer in a dishwasher.
The main drawer often catches a lot of food debris during frying, so it’s important to clean it after every use. Simply use warm soapy water and a sponge or scrub brush to clean the interior of the drawer. Rinse well and set it aside to dry.
3. Tackle stuck-on messes
If you have stuck-on messes that don’t seem to budge, a small amount of dish soap and a scrub brush should do the trick. If you’re having trouble cleaning tight corners or in-between the basket’s wiring, a toothbrush can be a helpful tool.
Try to avoid using any metal tools when cleaning as these materials could damage the non-stick coating within many air fryers. Soaking the removable parts, like the wire basket, in water can also help loosen any grime.
4. Wipe down the interior and exterior
As your removable parts are drying, you can opt for cleaning the interior and exterior of your air fryer. There won’t always be food stains on these parts after cooking. However, cleaning these parts after every few uses will keep the appliance looking good as new.
Use a damp cloth or dish towel and wipe down the interior and exterior of the air fryer. If necessary, use a small amount of dish soap to get rid of any stuck-on debris. Then, wipe down these components with a non-soapy wet cloth again and allow to air-dry or wipe down with a dry towel.
5. Dry and reassemble
Once all parts of the air fryer are dry, you can reassemble and put away your appliance. Be sure to check that all parts are dry before storage, as wet components can rust, damage, or create a foul smell in your machine.
Tips for keeping your air fryer clean
Prevention is always key in preventing big messes in the kitchen. To keep your air fryer cleaner and avoid a gunky, sticky situation, follow these tips:
- Use parchment paper liners or aluminum foil to catch drips and crumbs.
- Wipe down the basket and tray with a damp cloth after each use to prevent buildup.
- Avoid overcrowding the fryer, which can lead to splattering.
- Always check the manual for safe cleaning practices.
- It’s important to regularly clean this kitchen appliance and the heating element to maintain optimal performance.
With your air fryer clean, it will be ready for your subsequent use without any need for additional set-up. Just set it on your counter, plug it in, and begin making your favorite recipes to create healthy fried meals that cut back on the calories. Remember to clean your air fryer after every use to keep it working as good as new, and you’ll have plenty of delicious dinners to come!


