Is your space in need of a little illumination? Regardless of trendy home decor, comfortable furniture, or gorgeous color schemes, any living space can feel like it falls flat if it lacks proper lighting. Cluttering the room with large, imposing lamps isn’t always practical either, so brightening up your room may require installing new lights.
Can lights, also known as recessed lights, are a great option. They’re convenient, effective, and take up zero surface space in the room. If you’re looking to upgrade your home's lighting with more modern concepts, you’ve come to the right place. We'll walk you through installing can lights in existing ceilings.

What are canned lights and why are they so popular?
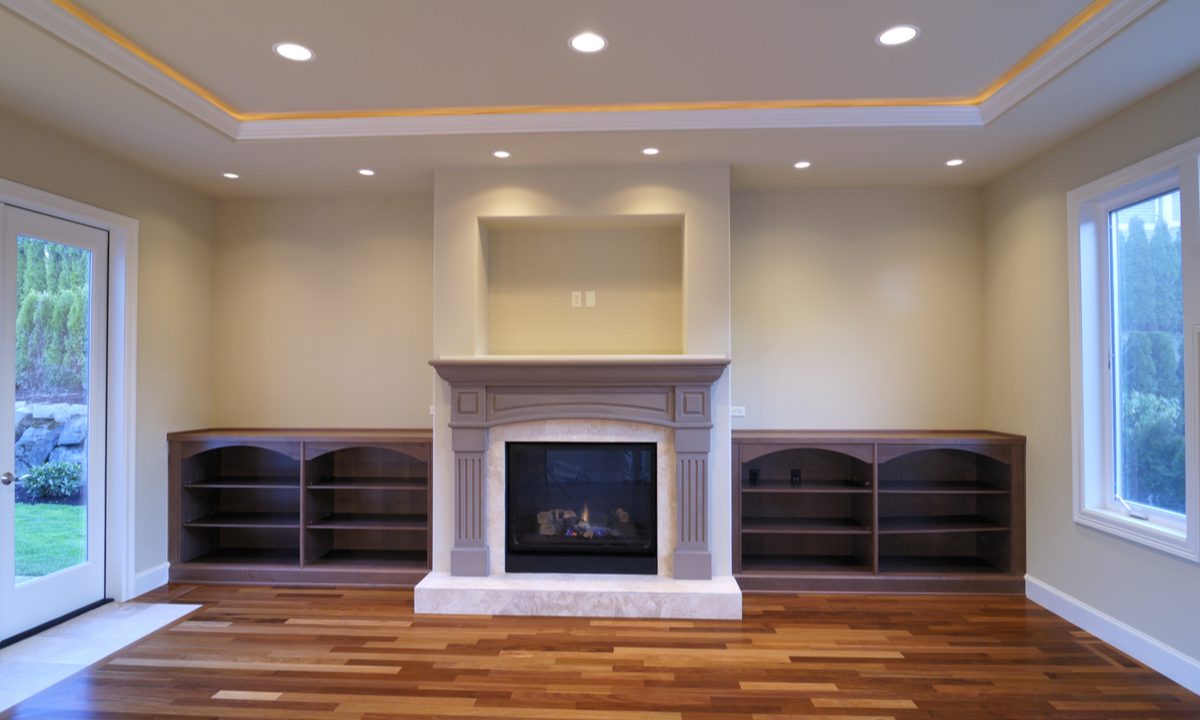
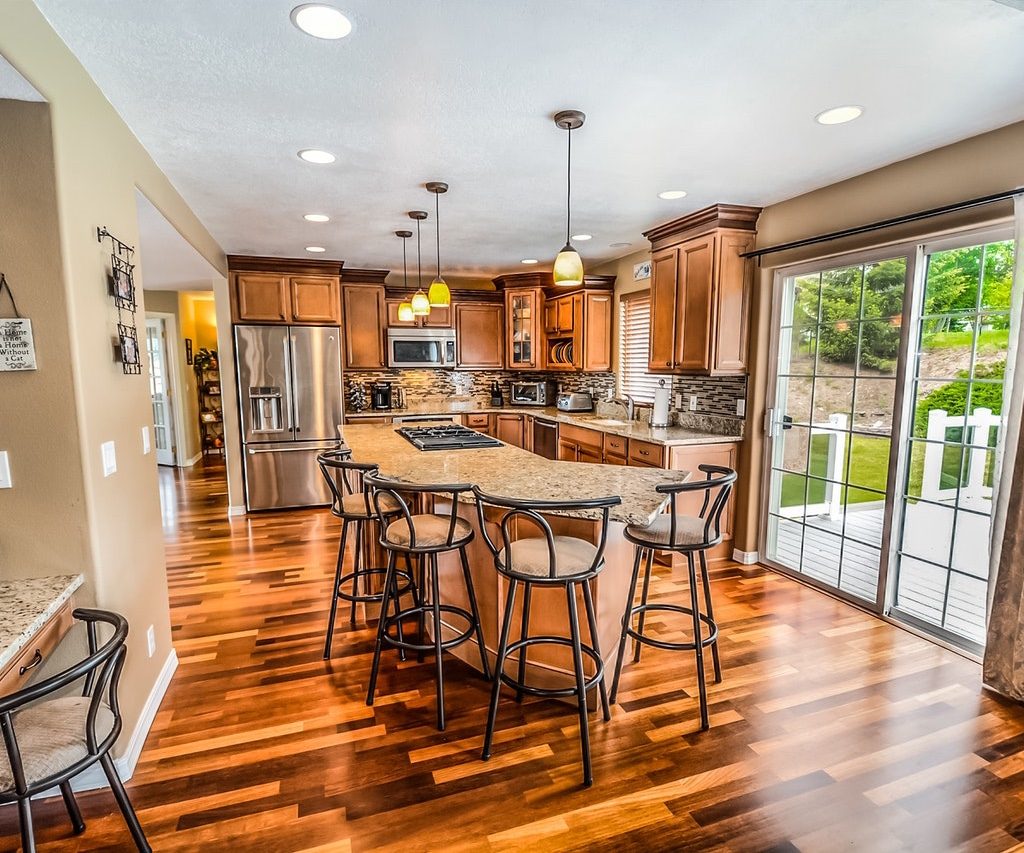
Recessed lights are bulbs that are installed into the ceiling’s material inside of “can”-shaped enclosures. As opposed to large chandeliers or bulky ceiling fan fixtures, these lights are unassuming, don’t clutter up the room, and effectively illuminate the space below. They’re also particularly useful where bright lights are welcome, like over kitchen and bathroom counters or above work desks.
Does adding recessed lighting require a professional?
Adding these lights to your ceiling involves knowing how to locate studs and joists behind the ceiling, cut and repair drywall, and rewire lighting fixtures. If you’re a seasoned DIYer, you may be able to complete the job entirely on your own, but we recommend consulting an electrician during the process. This will ensure you’re safely installing the electrical components of the lights and are aligned with any local codes and regulations.
How to install can lights
There are a couple of routes you can take when it comes to installing can lights in your ceiling. You can simply replace existing light fixtures with recessed lights, or you can install lighting in a brand-new spot on the ceiling. For the latter, you’ll need to cut new holes in the ceiling’s drywall and route electrical wires through the ceiling. While more time-consuming and energy-intensive, it’s often the best choice for older homes or those without plentiful overhead lighting fixtures.
Select the right can light fixtures
Not every fixture will work for your project, so be sure that the ones you select are appropriate. Depending on where in your ceiling you are installing the recessed lights, you must also be sure that the fixtures will fit properly into your ceiling and will not damage any insulation present in the ceiling bed.

Decide on light placement
Be completely certain when it comes to placing your recessed lights — you won’t be able to easily move them once installed. We recommend drawing a lighting plan for the space to set yourself up for success.
In your plan, include:
- Where there are no existing wires, joists, or plumbing
- How the lights will be spaced, both from each other and any nearby walls
- Where task lighting is most necessary, like over the desk in your home office
Turn off power before beginning
Whenever you’re working with electricity or electrical components, protect yourself and completely shut off power to the room where you’re working.
Step 1: Flip off the corresponding light switch.
Step 2: Turn off the circuit breaker.
Step 3: Test the light switch to be sure the room’s power is off.
Step 4: Keep the light switch off during installation.
Step 5: Use a voltage tester before touching any electrical wiring to ensure no electricity is flowing through.

Measure, mark, and cut
Step 1: Grab a sturdy ladder and place it under the location on the ceiling where the light will be installed.
Step 2: Using your measuring tape and pencil, make a visible mark on the ceiling where you intend to place the fixtures.
Step 3: Use a hole saw to cut a perfectly sized and shaped hole around the marks.
Run your wiring
Step 1: Run a wire that’s connected to your light switch to the nearest fixture.
Step 2: Run wires between the fixtures to give power to the remaining lights. Be sure to leave roughly 1 to 1.5 feet of extra wire hanging out of each fixture’s hole so you have enough to work with.
Step 3: Insert the wires into your junction box and connect them using wire nets, connecting white neutral wires, black power wires, and copper ground wires together individually.
Step 4: Push all wires carefully into the junction box and secure it shut.

Install the can light fixtures into the ceiling
Step 1: Push the junction box through the ceiling hole and into the ceiling bed.
Step 2: Secure the fixture’s housing snuggly into the hole.
Step 3: Following the manufacturer’s instructions on the fixture, engage the clamps to secure the housing into the ceiling.
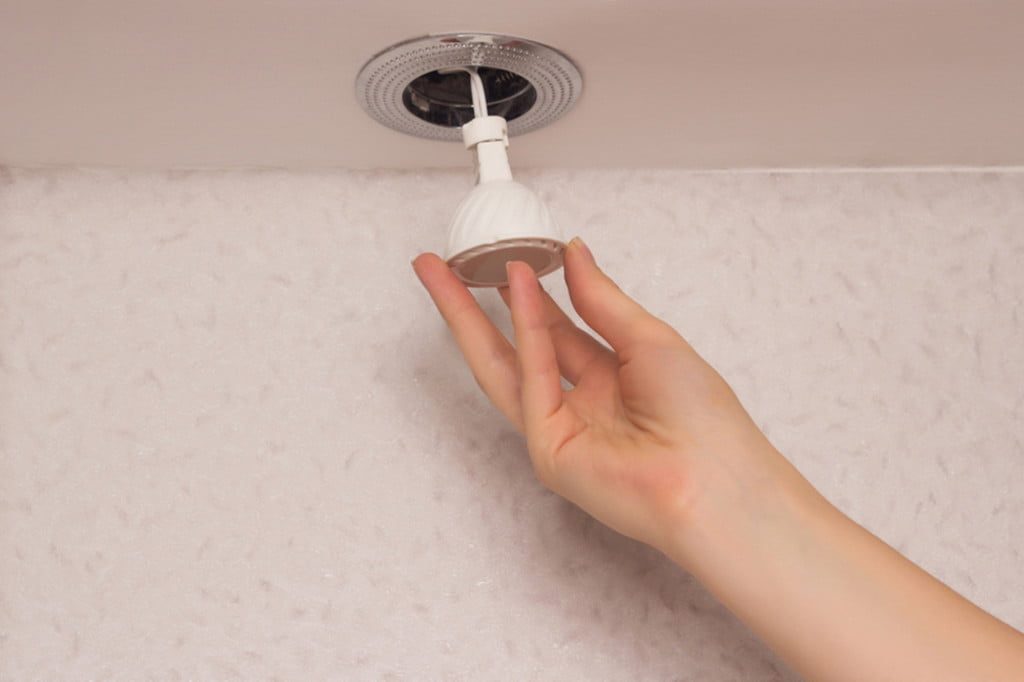
Step 4: Attach the light fixture into the housing and add any trim or additional housing pieces, as needed.
Step 5: Restore power and test out your new canned light by flipping the light switch on.

Does recessed lighting increase property value?
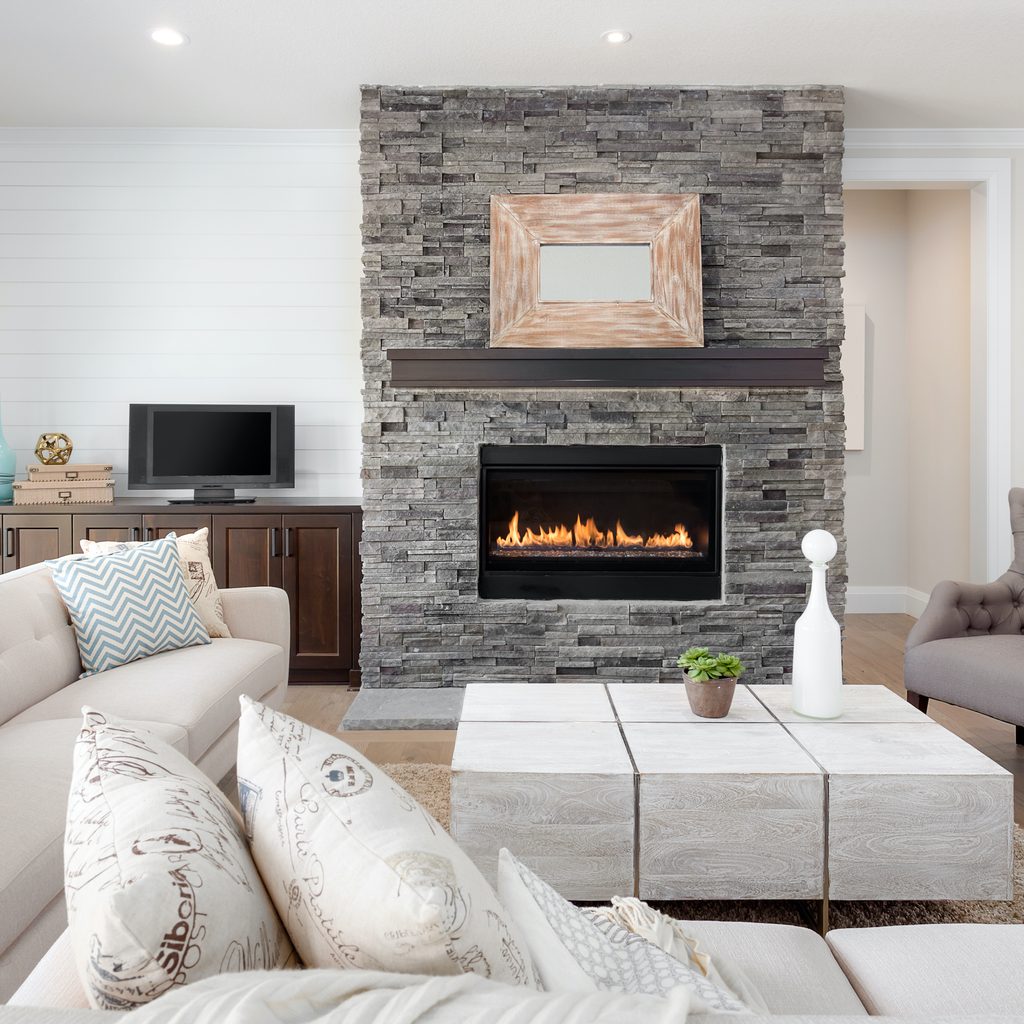
Can lights can indeed increase property value, as it enhances the overall aesthetics and functionality of a space. This type of lighting provides a sleek, modern appearance and can make rooms appear larger and more inviting. It also offers flexibility in directing light where it's needed most, creating a well-lit and visually appealing environment.
Moreover, recessed lighting is often associated with energy efficiency in homes, which can be a selling point for environmentally-conscious home buyers. It can also improve the overall lighting quality in a home, making it more attractive to potential buyers. However, the impact on property value can vary depending on factors like location, the quality of installation, and the preferences of potential buyers. In general, though, well-executed recessed lighting can contribute positively to a property's market appeal and value.
The lighting in your space sets the tone of the room, so make sure yours convey the right message. Can lights are an attractive, space-saving, and effective light source to illuminate vast rooms. While we recommend consulting a professional electrician before installation, much of the process is surprisingly DIY-friendly.


