You want your bathroom to be a clean, fresh, and safe room in your home. Bathroom fans help you accomplish this by pulling moisture out of the bathroom and expelling it outside. If you've discovered that your bathroom fan isn't vented properly, it's possible that the moist air being carried away is wreaking havoc in another area of your home. It's important to correct the venting as soon as possible, which is why we're going to discuss how to vent a bathroom fan on your own.
Less moisture means less mold, fewer filmy smudges on surfaces, and a more comfortable temperature in the bathroom.

Do bathroom fans need to be vented outside?
If your bathroom fan is venting into another area of your home, like the attic, you're simply transferring the moist air from the bathroom to another room. This will cause mold to grow and even wood to rot wherever the vent is expelling. It's best for your bathroom fan to vent out of the house completely to avoid costly repairs or unhealthy living conditions down the road.

Is it OK to vent a bathroom fan through the soffit?
Soffits are often already vented in order to improve airflow in the attic and prevent moisture from collecting up there. The ridge vent that runs along the very top of your roof expels hot air, while the vented soffits allow cool air to be pulled into the attic. If your soffits are already vented for this purpose, you should not vent your bathroom fan into the soffit. This will pull the moisture from the bathroom directly into the attic instead of expelling it outside.

Can you vent a bathroom fan into a plumbing vent?
Venting a bathroom through a plumbing vent is never a safe option. In fact, most building codes forbid it. If you vent your bathroom fan through the plumbing, you risk sewer gasses escaping into the bathroom, which are not only unpleasant but also a health risk. Aside from that issue, the moist air and dust particles from the bathroom could disrupt the operation of the plumbing's ventilation.

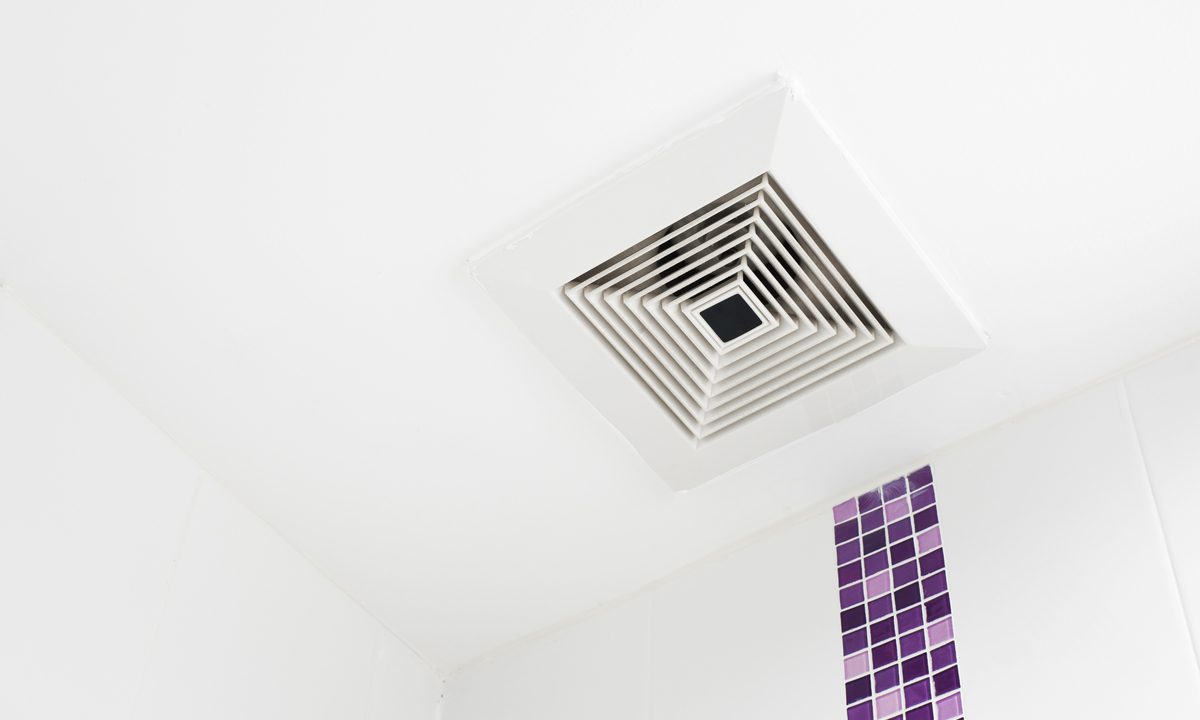
What is the best way to vent a bathroom exhaust fan?
The most logical and aesthetically pleasing method for venting a bathroom fan is through the roof. Not only is the vent hood out of the way and out of sight, but the moisture from the bathroom is expelled outside and not getting caught up in another area of your home.
Venting through the roof does require a good amount of DIY skill, particularly since you'll be spending some time working on the roof. Be sure you're feeling confident in your abilities to tackle this project, and always have a helper on hand while working at dangerous heights. A second set of hands will also help limit the number of times you have to ascend and descend the ladder during this project. This is how you vent a bathroom fan through the roof.

Create a hole in the roof for the duct
Step 1: Determine the best place in the roof to place the vent. If it was previously venting into the attic, it will be easiest to cut a hole through the roof and into the attic's ceiling.
Step 2: Hammer a long nail through the attic's ceiling where the vent will be placed so that the nail comes out the other side of the roof through the shingles.
Step 3: Use a ladder and proper safety equipment to climb onto the roof.
Step 4: Locate the nail you hammered through the attic ceiling.
Step 5: Measure the length and width of the vent hood's top (not including the flange at the bottom). Then, measure and mark out that length and width on the roof's shingles. Be sure the nail is at the center of the measurement.
Step 6: Use a utility knife to cut out the size of the vent hood from the shingles.
Step 7: With a hole saw, cut a hole through the roof sheathing and wood right in the center of the shingle-free space.
Step 8: Gently lift the shingles around the cut piece and fit the vent's flange under them so that it slides into place.

Prepare and secure the duct
Step 1: Fit a ducting hose connector into the end of the flexible duct that will be inserted through the hole and to the vent hood on the roof. Use foil duct tape to secure the duct to the connector.
Step 2: Have a helper feed the hose connector through the hole while you're on the roof.
Step 3: Use a pair of snips to cut square tabs on either side of the connector. Bend the tabs outward and nail them into the roof to secure the duct.
Secure the vent hood
Step 1: On the bottom side of the vent hood, use a caulk gun to apply sealant to the top and sides of the flange. Don't apply sealant to the bottom of the flange, as this is where moisture will be allowed to escape.
Step 2: Insert the sides of the vent hood flange under the lifted shingles so that the hood is over the duct.
Step 3: Hammer nails through the cut-out holes on the flange and into the roof.
Step 4: Apply sealant under the lifted shingles to secure them back to the roof and seal any gaps around the vent hood.

How do you vent a bathroom fan without outside access?
If the layout of your home or other factors prevent you from venting your bathroom fan through the roof, you have a couple of other options. For example, venting a fan without outside access can be achieved by connecting the exhaust to the home's existing ductwork, such as that used for a dryer. However, you'll have to ensure that it meets building codes.
Alternatively, you can install a recirculating fan with a charcoal filter, which can help reduce odors and moisture. These fans don't require external venting as they filter and recirculate the air back into the room.
Be sure to consult a professional in this situation to ensure compliance with local regulations and to maintain indoor air quality.
It's a bit of an undertaking to vent your bathroom fan properly through the roof. However, it's the best way to keep moisture from getting in all the wrong places in your home and promoting mold growth. With this project, both your bathroom and the rest of your home will be kept as dry and safe as possible.


