
If you’re wondering how to fix squeaky floors, you’re not alone. That annoying creak every time you step on a particular board can be frustrating, especially in quiet moments or during late-night trips to the kitchen. Squeaky floors are a common issue in many homes, but the good news is that fixing them doesn’t always require a major renovation. With a few simple home maintenance tools and techniques, you can silence those creaks and restore peace to your home.
In this guide, we’ll break down why floors squeak, how to fix them based on different flooring types, and even how to prevent them from coming back.
Why does my floor creak when I walk on it?
Understanding the cause of squeaky floors is the first step in fixing them. The most common reason floors creak is movement — either the floorboards rubbing against each other or the subfloor shifting against the joists below. This friction causes that familiar squeaky sound.
Here are a few common causes of squeaky floors:
- Loose floorboards – Over time, floorboards can loosen due to foot traffic, causing them to rub against each other or against the subfloor.
- Changes in humidity – Wood expands and contracts with moisture levels, which can lead to gaps and friction between the boards.
- Nails or screws coming loose – If the fasteners holding your floor in place loosen over time, the boards shift when stepped on, creating noise.
- Subfloor movement – If the subfloor isn’t properly secured to the joists, it can move slightly under pressure, leading to squeaks.
Now that you know why your floors might be squeaking, let’s look at the best ways to fix the issue based on your flooring type.
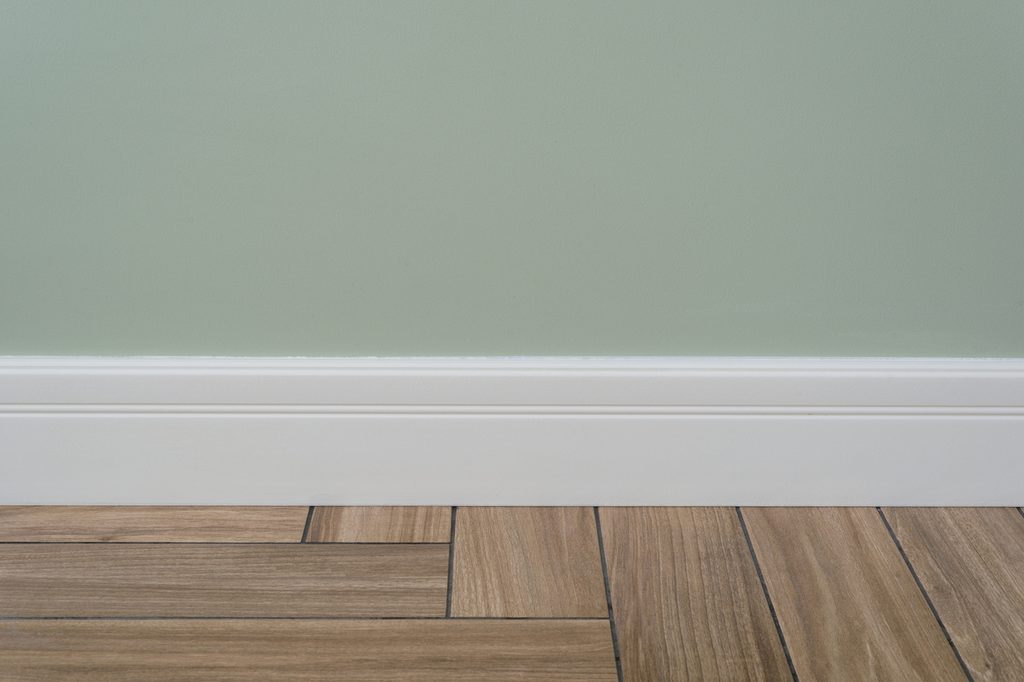
How to fix squeaky floors: Hardwood
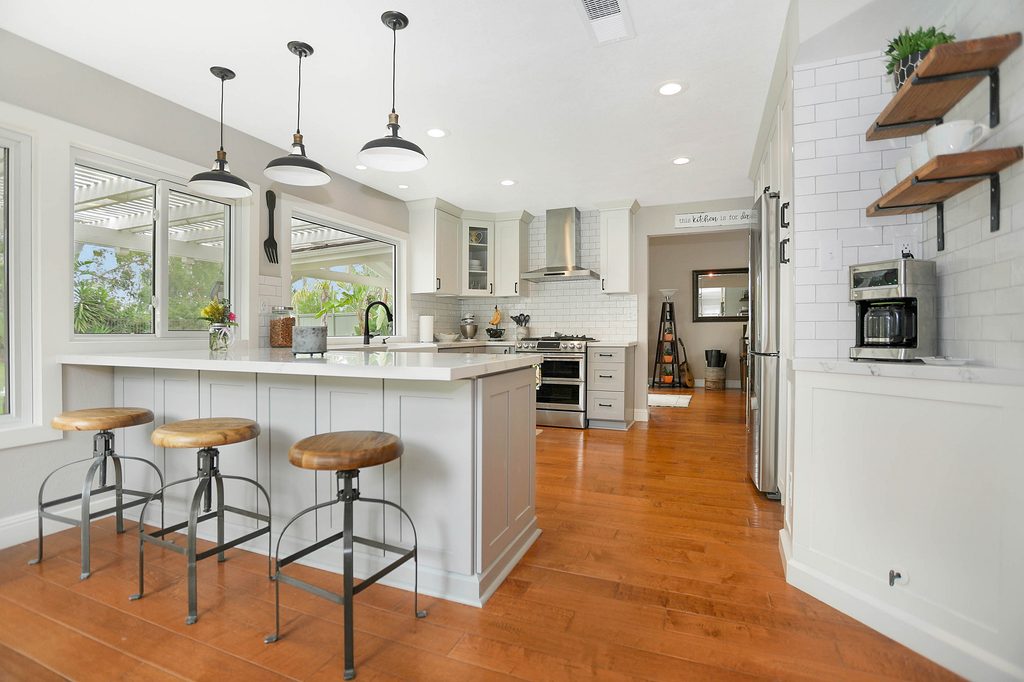
Hardwood floors are beautiful, but they can be one of the most common culprits for squeaks. Fortunately, there are two effective methods for silencing noisy hardwood floors.
Using a Counter-Snap Kit
A Counter-Snap Kit is an easy way to fix squeaky hardwood floors without leaving visible damage. This method works by securing the floorboards tightly to the subfloor, eliminating movement.
- Locate the squeaky area by walking over the floor and pinpointing where the sound is coming from.
- Use the Counter-Snap Kit, which includes a special screw designed to break off below the surface of the wood, making it nearly invisible.
- Drill the screw through the floorboard and into the subfloor, ensuring a tight fit.
- Once secure, the screw head snaps off just below the surface, leaving a clean finish.
Using wood filler and lubricants
For minor squeaks, you can try a low-maintenance fix using wood filler and lubricant.
- If the squeak is caused by friction between boards, apply a powdered graphite or talcum powder between the boards to reduce friction.
- If there are small gaps between the boards, use wood filler to seal them, preventing movement.
- Wipe off any excess filler and let it dry completely.
How to fix squeaky floors: Carpeted floors
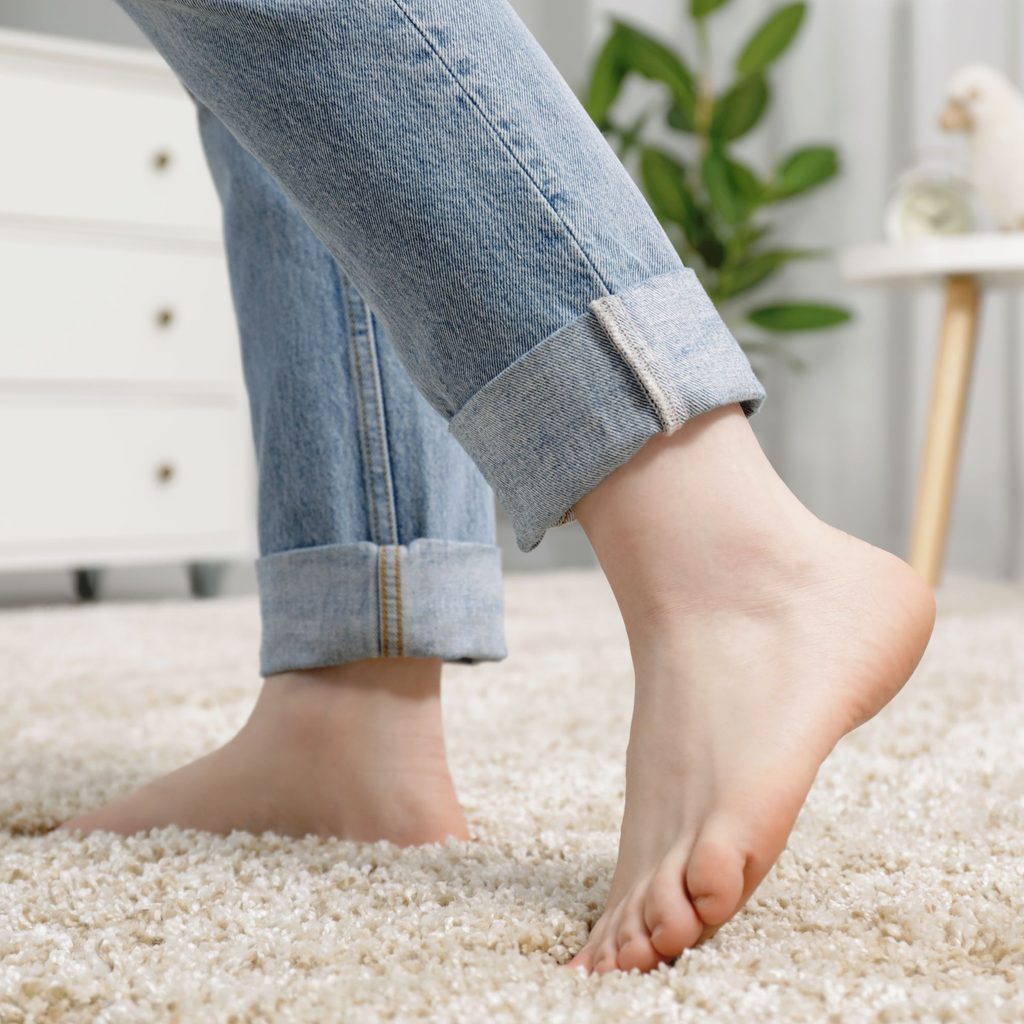
Carpeted floors can be tricky because you can’t see the boards beneath the carpet. However, two simple solutions can help silence the creaks.
Using a Squeeeeek-No-More Kit
A Squeeeeek-No-More Kit is designed specifically for carpeted floors and allows you to fix squeaks without removing the carpet.
- Locate the squeaky spot by stepping on the floor and identifying the movement.
- Use the special screw system included in the kit to secure the subfloor to the joist beneath.
- The screw will break off just below the carpet’s surface, making it unnoticeable.
Driving a thin finish nail through the flooring
For a quick fix, you can drive a thin finish nail through the carpet and into the joist.
- Locate the squeaky floor joist using a stud finder.
- Drive a thin finish nail at a slight angle through the carpet and into the joist below.
- Use a nail set to sink the nail below the carpet fibers, then fluff the carpet to hide the repair.
Can you fix squeaky floors from underneath?
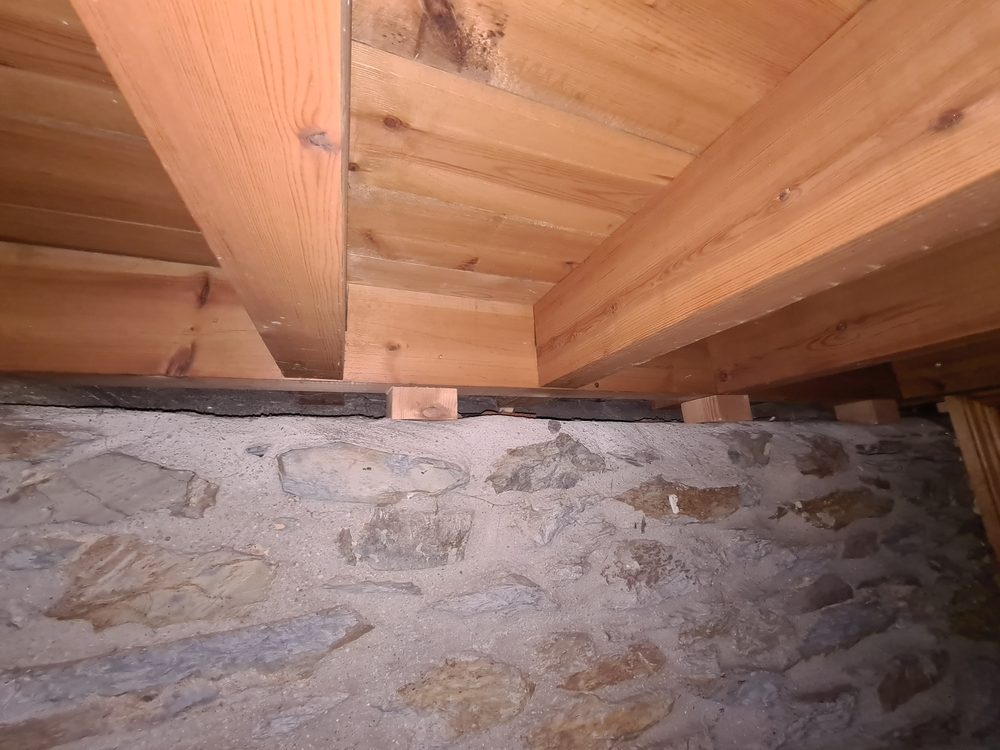
If you have access to your floor from below, such as in a basement or crawlspace, you have additional repair options.
The Squeak-Ender solution
The Squeak-Ender is a metal bracket that pulls the subfloor tightly against the joist, eliminating movement.
- Position the bracket beneath the squeaky area.
- Tighten the bolt until the subfloor is snug against the joist.
- Test the floor by walking on it to ensure the squeak is gone.
Using carpenter’s glue and shims
For minor gaps between the subfloor and joist, a shim and carpenter’s glue can provide an easy fix.
- Apply carpenter’s glue to a thin wooden shim.
- Gently tap the shim into the gap between the subfloor and joist.
- Let the glue dry completely before walking on the floor.
How to fix squeaky floors: Staircases
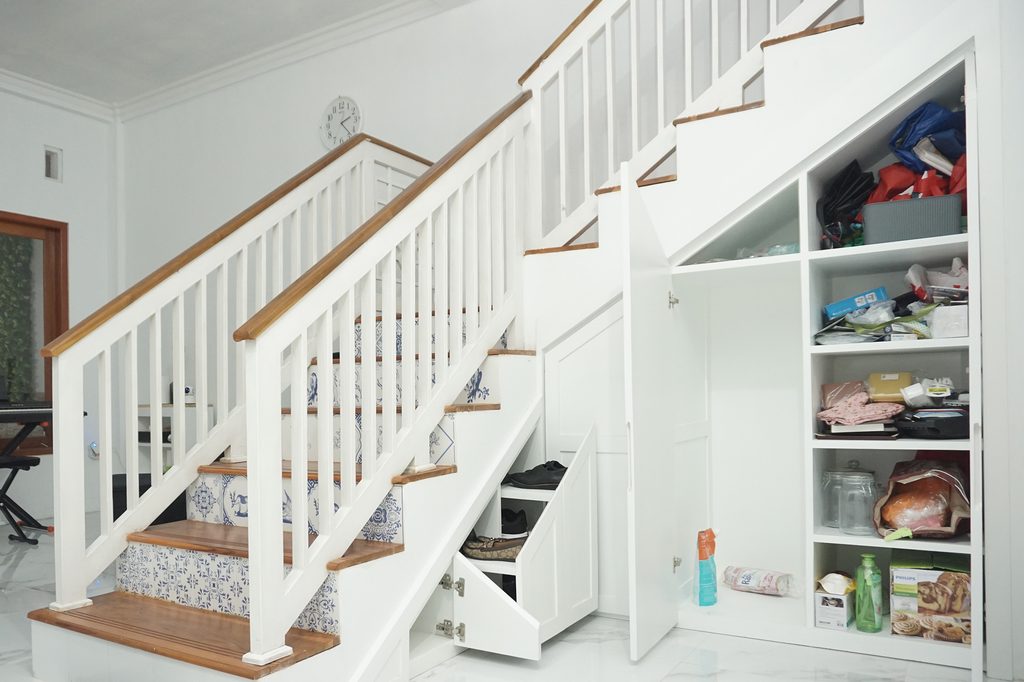
Squeaky stairs can be particularly annoying, but the fix depends on whether you have access to the underside of the staircase.
If you have access to the underside of the stairs
- Use wood screws to secure the tread (horizontal step) to the riser (vertical step) from underneath.
- Apply carpenter’s glue along the joints for extra reinforcement.
If you don’t have access to the underside
- Use finish nails to secure the tread to the riser from above.
- Fill the nail holes with wood filler and sand it down for a seamless finish.
How to prevent squeaky floors
Once you’ve silenced your squeaky floors, take steps to prevent future creaks:
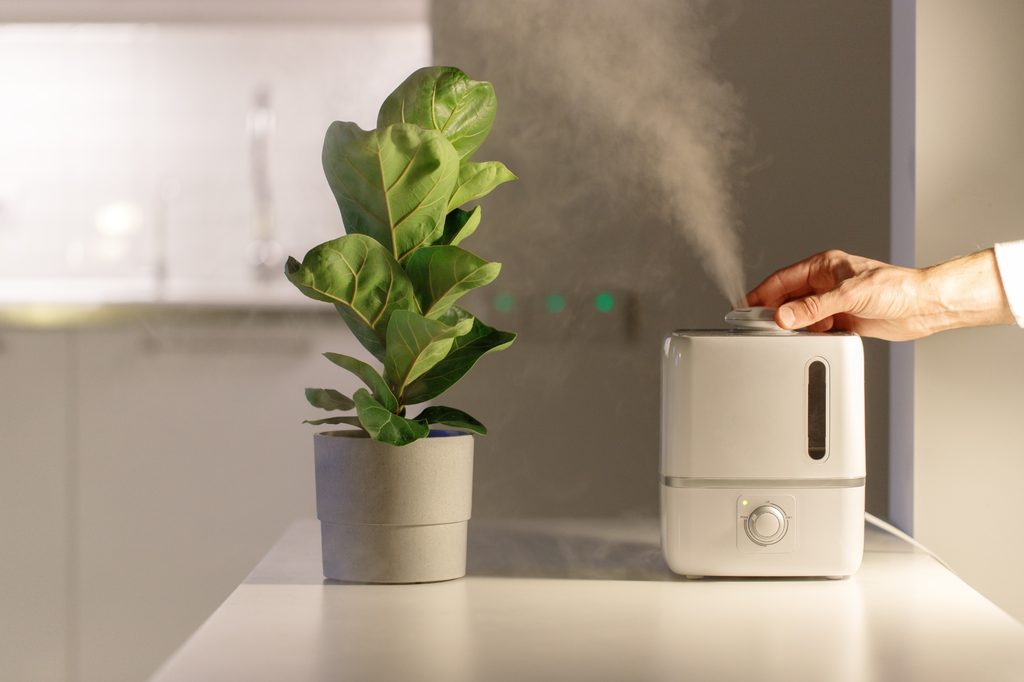
- Control humidity levels – Use a humidifier or dehumidifier to maintain consistent moisture levels in your home.
- Secure loose boards early – If you notice slight movement in your floorboards, secure them before they become a bigger problem.
- Use area rugs – Placing decorative area rugs in high-traffic areas can help reduce wear and tear on floors.
- Regular maintenance – Periodically inspect your flooring and make small repairs as needed.
Squeaky floors might be a nuisance, but fixing them doesn’t have to be complicated. Whether you’re dealing with hardwood, carpet, or stairs, there are simple and effective solutions to quiet the creaks. By identifying the cause and using the right techniques, you can restore a peaceful, noise-free home. Plus, with a few preventative measures, you can keep your floors silent for years to come. Now, step into your quiet home and enjoy the sound of … well, nothing!


