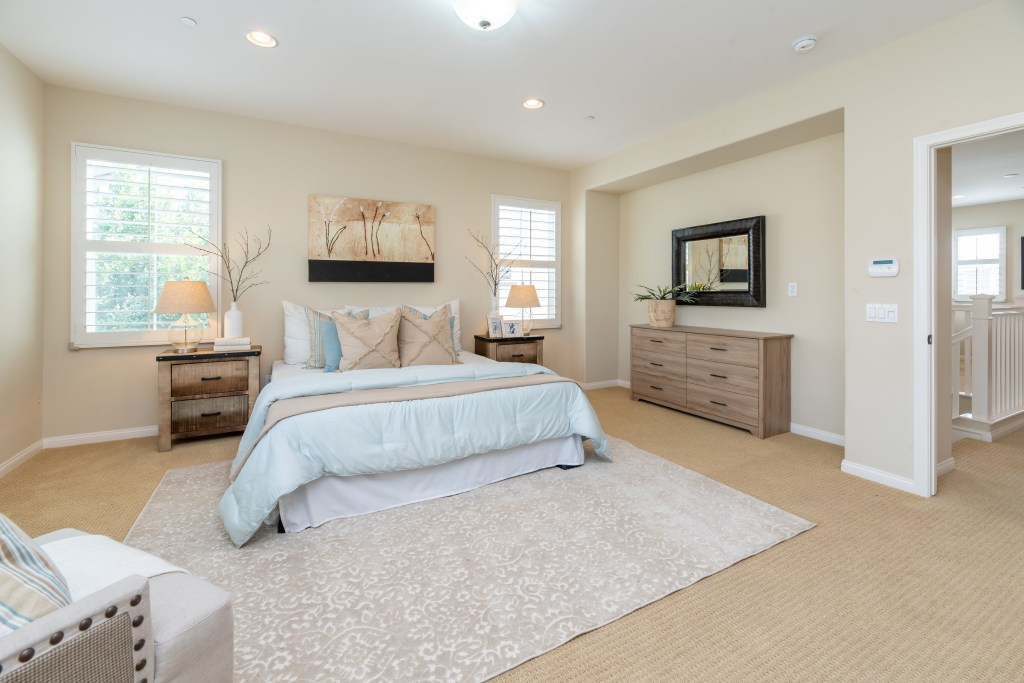
Outdated or damaged wallpaper can be an eyesore. A fresh coat of paint can revitalize out-of-style rooms, but first, you have to figure out what to do about the wallpaper. Home improvement experts often advise homeowners not to paint over wallpaper — if it isn’t done right or the wallpaper is in bad condition, the results can be disastrous.
Sometimes, though, it’s much easier to paint over it than it is to deal with the time-consuming process of removing it. If this is the case for you, be sure to follow a few expert tips to ensure your paint job won’t look like an amateur, rushed DIY project.
Why experts recommend removing wallpaper
If you ask a professional for advice, more often than not, they’ll recommend that you remove any wallpaper and adhesive before you paint. If the wallpaper isn’t already falling due to old age, the moisture in the paint can loosen the adhesive and speed up the process.
Since sheets of wallpaper are applied in rows, there are also seams between the pieces. While they aren’t always visible if the wallpaper was applied carefully, paint can make them much more visible. Textured wallpaper poses a similar challenge: If you paint over it, the textured surface will still be visible, detracting from the room’s appearance.
When to paint over wallpaper

Sometimes, removing wallpaper just isn’t a viable option. If the house is old or wallpaper was applied to unfinished drywall or plaster, pulling down the wallpaper can damage the walls. Then, you’re in for a larger project, refinishing and repainting the entire room.
Since it can be so onerous to remove, homeowners often put a new layer on top of the old one. Therefore, you may find that the room you want to paint has two or more layers, which increases the likelihood of causing damage. The best practice is to try to remove the wallpaper first. If it’s a struggle, don’t force it. Just paint over it instead.
Clean the wallpaper before you paint
Preparation is key here. The wallpaper must be as clean as possible before you paint over it. First, use a vacuum to remove any dirt and dust, then wipe it down with a damp rag. Be careful not to soak the paper or wash too close to the seams. Water can seep in and damage the adhesive, causing the paper to pull away or disintegrate.
If the walls have a layer of grime, use diluted trisodium phosphate (TSP) to remove grease and stains. Just be sure to let the walls dry thoroughly before you proceed.
Be aware that this only works for waterproof wallpaper. If you’re not sure whether your walls are hydrophobic or not, moisten an inconspicuous area and see what happens. If the paper absorbs the water or the color bleeds, don’t use moisture to clean it. Instead, use a dry microfiber cloth to remove dust and dirt.
Prepare the wallpaper

There are several steps to complete when preparing the wallpaper.
- Before you begin painting, look for any areas where the wallpaper is loose and use fresh adhesive to secure them. Pay attention to detail and ensure the wallpaper is firmly attached to the walls along the floor and ceiling. If you must, use a thin layer of caulk to hold it in place.
- If you find any sections of damaged wallpaper that cannot be reattached, slice away and remove them with a putty knife. Then apply some spackle, let it dry, and sand the wall so the surface is level.
- To paint over textured wallpaper, use a palm or orbital sander to smooth out the surface, then clear away any dust with a vacuum or rag.
- Last, prepare the entire room, applying painter’s tape to molding and baseboards, laying down drop cloths, and creating a clean and open workspace.
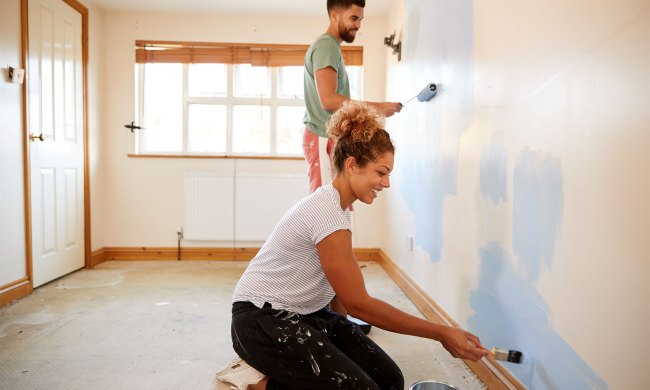
How to paint over wallpaper
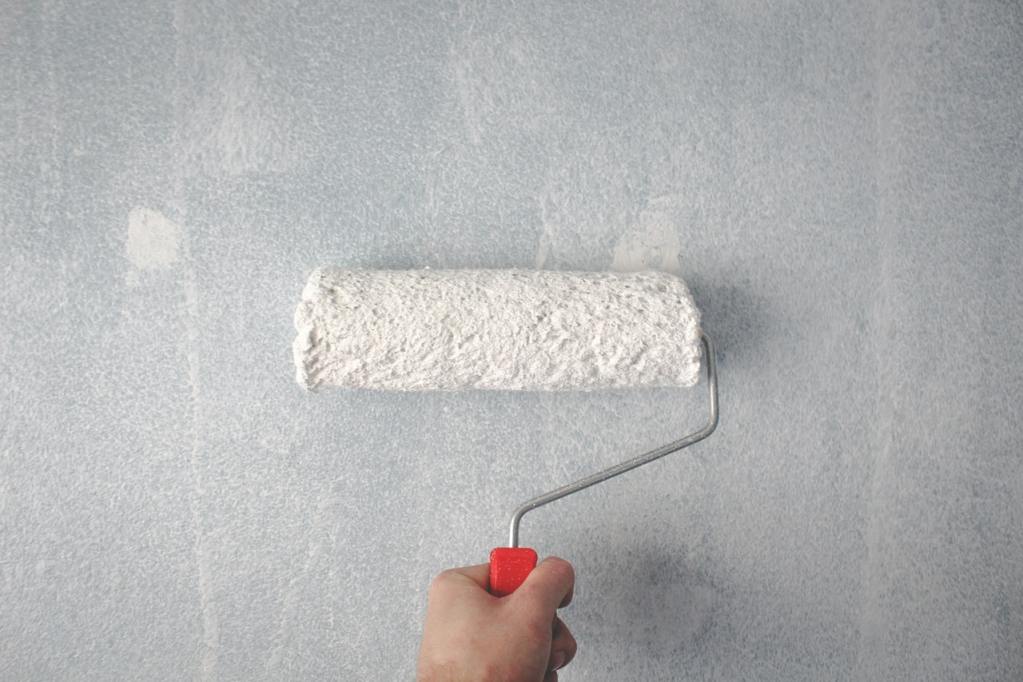
- Using a roller, apply a coat of primer to prevent moisture from the paint from seeping in behind the paper. Be sure to use an oil-based primer since water-based varieties can loosen the paper’s adhesive.
- Then, use a paintbrush to fill any tight corners or crevices. Let the primer dry completely, ideally overnight.
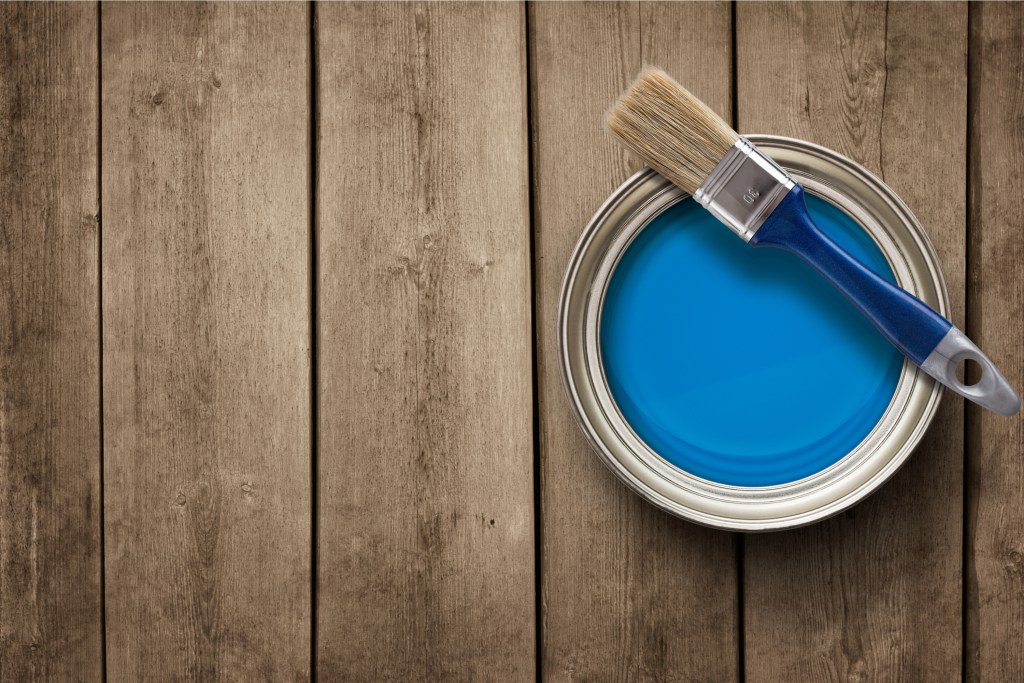
- Apply at least two coats of the paint of your choice, allowing it to dry thoroughly between layers.
When painting, open any windows and doors and turn on a fan to increase airflow. The fumes can make you ill and (in extreme cases) may even damage your lungs.
Painting over dark or uneven wallpaper
Cover dark-colored wallpaper by adding a layer or two of primer to create a white base. This can also help smooth out some blemishes and provide ample coverage over most patterns. Depending on your paint tone, you may want to use a primer or a white base to help hide bold patterns or vivid hues.
If you notice wallpaper seams that stand out a little too much or you have to peel back damaged wallpaper, leaving behind an uneven surface, consider using drywall spackle to smooth out the edges. Fill in and smooth out any textured places before adding your primer and paint.
Removing wallpaper before painting is certainly the best route, but it isn’t the only one. If you must paint over wallpaper, do so carefully and follow the tips above to create the beautiful room you are envisioning.