As you embark on your next DIY project or home renovation, you may be scratching your head about the difference between spackle and joint compound. You can use both for patching or correcting drywall blemishes, but how do you know which will best suit the needs of your project? There is a difference between joint compound vs. spackle. So, we’re here to help you decide which is best for your next renovation.
What’s joint compound?

Joint compound, also called drywall mud, is a spreadable material made of gypsum, limestone, and other minerals. It’s often sold in 5-gallon containers or in powder form that mixes with water to reach the desired consistency.
There are several types of joint compound and all can suit your project needs. Here are the types of joint compound:
- All-purpose. As the name suggests, it can be used in various home improvement projects.
- Setting compound. This is also called quick-setting compound and can hasten DIY projects and quick wall fixes.
- Taping. This compound is specifically made to cover joint tape and create a seamless look with your existing drywall.
- Topping. This joint compound is used as a top coat for a smooth finish.
When to use joint compound
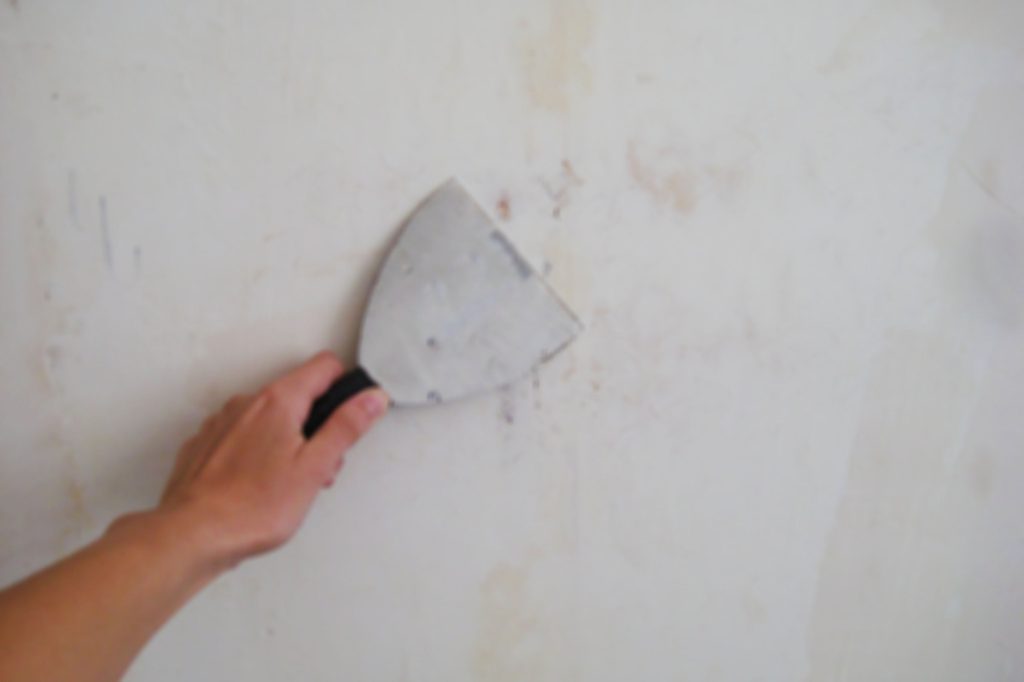
Joint compound is great for patching larger holes or cracks in the wall or repairing gouges. DIYers often use it to replace or patch broken or destroyed drywall with mesh or tape. Joint compound is great for smoothing or evening out surfaces to eradicate dents, dips, or other blemishes.
What joint compound is used for:
- Minor drywall repairs that require smoothing or evening out the surface
- Small to medium drywall repairs by using and covering drywall mesh
- Designed to cover larger areas, so it’s best suited for bigger projects rather than small dents, holes, or cracks
Joint compound isn’t the most suitable for smaller projects because it is often sold in larger quantities. Additionally, joint compound can take some time to dry, often requiring 24 hours before sanding or painting. However, setting compound can have faster drying times.
What is spackle?
If you’re looking to fill in small cracks or holes in the wall, you’ve likely been told to use spackle. Spackle is made of gypsum powder and other binders to create a thick paste, perfect for filling holes and grooves. It’s thicker than drywall mud, making it trickier to smooth out. It also doesn’t sand as well as joint compound, depending on the type of spackle you choose. The different types of spackle include:
- Lightweight. This spackle is meant for small fixes like nail-sized holes or small cracks. It doesn’t sand well, meaning a smoother finish on a bigger project will be difficult.
- Standard/all-purpose. A gypsum-based compound similar to joint compound. This is best for larger holes and repairs in drywall.
- Vinyl. This compound is great for outdoor use. It can also fill holes or deep cracks when applied in layers.
- Acrylic. Similar to vinyl, this spackle is ideal for the outdoors and on a variety of materials.
- Epoxy. This oil-based filler is meant for wood repairs like holes, cracks, or other imperfections.
When to use spackle
As mentioned above, spackle is best used on small projects.
Some examples of when to use spackle include:
- Smaller cracks, nail holes, and wall imperfections
- Deeper holes and gouges in drywall or other materials
- Best for small repair jobs
Which should you choose?

The scope of your project will play a major role in deciding whether to use spackle or joint compound.
Based on project
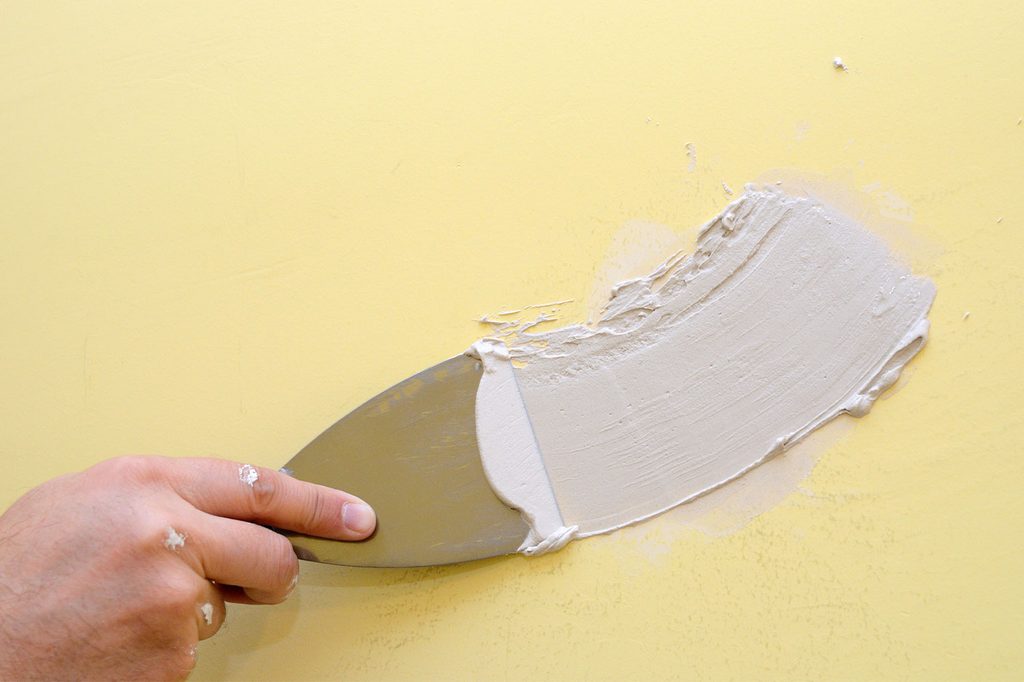
For larger fixes, drywall repairs, or for smoothing out your drywall, you’ll want to opt for joint compound. It’s more spreadable than spackle and is perfect for making a seamless transition between your repair and your existing drywall.
Alternatively, spackle will be the better choice for smaller fixes, filling holes, or sealing cracks. Spackle is thick but doesn’t warp once it sets. It’s less likely to shrink or crack over time. Additionally, it sets much faster than joint compound, which can help you save time on your DIY or home renovation.
Based on cost
While you’re likely to base your decision on the scale and scope of your project, choosing joint compound vs. spackle may require you to consider pricing.
Both are relatively affordable. The difference is that joint compound is often sold in larger containers, while spackle is sold in smaller quantities. This makes joint compound best for larger projects. Spackle is sold in small containers. Most projects requiring spackle only need a few ounces at a time.
Before purchasing joint compound or spackle, consider your project needs. If you’re patching drywall or smoothing large cracks or dents, joint compound will be your go-to. Just keep in mind that a perfect, flat finish takes patience.
If you’re filling small holes in the wall or correcting a few tiny blemishes, spackle will be your tool of choice. Keep in mind that not all spackle sands easily, and you may have to work quickly to prevent it from drying before you’re satisfied with the results.


