Making updates to your house is a great way to both increase the value of your home and improve your quality of life. Kitchen remodels are among the most rewarding, and one great place to start is the kitchen faucet. Replacing that old faucet can really give the space a simple and effective facelift, but can you install a faucet yourself? With a little elbow grease and a splash of DIY skill, you certainly can, and we’re going to walk you through how to do it.

Is installing a kitchen faucet hard?
Installing a new faucet is among the easiest of DIY home projects, and it could take as little as an hour to complete. Challenges with this project, which can lengthen the project’s time and increase the level of difficulty, typically arise when the old faucet is being removed. Common problems include corroded pipes as well as nuts and fittings that are difficult to reach or tough to remove due to corrosion or rust. With some extra tools, you should be able to remove difficult nuts and fittings, but corroded pipes may require the services of a plumber.
Preparing for kitchen faucet replacement
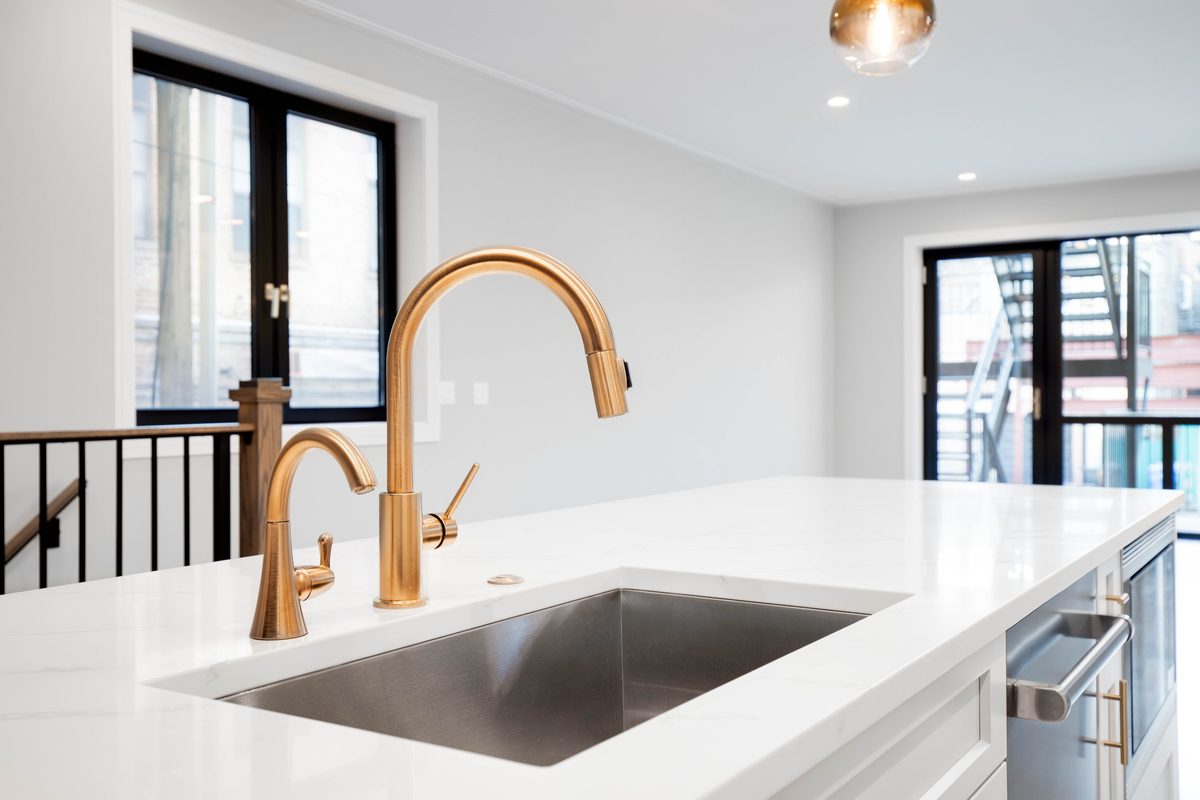
Prior to settling on a model for your new faucet, check under your sink and see how many holes are currently there. There could be holes for the spout as well as separate holes for the hot and cold handles. Some sinks also have holes for sink sprayers or soap dispensers.
The easiest route is to purchase a new faucet model that matches up with the old sink holes. You could purchase one that requires fewer holes, but you’ll need to plug up the extra ones with deck plates. Choosing a new sink that requires more holes than are already there will require drilling new holes into your countertop, which requires significantly more time, tools, and DIY skill.
How to install a kitchen faucet
Once you’ve selected the perfect new sink for your kitchen, you can start the process of replacing the old one. Let’s get into the tools and materials you’ll need as well as the steps to give your sink the upgrade it’s been dying for.
Materials you’ll need
Most of these materials will be needed for any sink replacement project, but the ones that are noted “as needed” will likely be used only if you run into issues like fused or tough-to-reach fittings.
- Bucket
- Adjustable wrench
- Screwdriver
- Plastic putty knife (as needed)
- Basin wrench (as needed)
- Penetrating oil (as needed)
How to remove a kitchen faucet
- Turn off the water supply to the sink by shutting off both the hot and cold water valves under the sink. If there are no valves under the sink, you may need to shut the water off at your main water supply.
- Turn the faucet into the “on” position to release any pressure in the water lines.
- If you have a garbage disposal, shut off electricity to it before proceeding.
- Place a bucket under the sink so that any water that leaks during the process is contained.
- Use an adjustable wrench to disconnect both the hot and cold supply lines at the shut-off valve. Your new faucet may come with new supply lines, but be sure they’re the proper fit to connect to the valves.
- Your faucet is secured to the sink with mounting nuts, so use a screwdriver to remove them. Use a basin wrench if they’re difficult to reach. If nuts are stuck due to rust or other buildup, using some penetrating oil will help loosen them.
- Once you have disconnected it from the valves and your sink, you should be able to lift the old faucet out of the holes. If the faucet is stuck on the top of your sink, use a plastic putty knife to carefully pry it free.
How to replace a kitchen faucet
Now it’s time to install the new faucet. Your new model will come with instructions for installation, and it’s always best to follow those instructions as closely as possible. We’ll walk you through the basics here.
- Be sure to clean up the area around the sink so that dirt and debris don’t get trapped under the new faucet elements.
- Place all fixtures in their respective holes in the kitchen counter. This includes the spout, the handles, and the sprayer if it’s included.
- From under the sink, secure the new fixtures to the countertop with the provided mounting nuts and washers.
- If you have a sprayer, connect its hose to the appropriate location on the handle.
- Connect the handle to the spout with the short plastic tube provided with your new sink.
- Attach the hot and cold supply hoses to the handle fixture. Then, connect the other end of the supply hoses to the hot and cold water valves.
- Turn the water supply back on at the valves, and check for any leaks in the new tubes and fixtures. Then, test your new faucet by turning the water on with the handle.
If you’re tired of your old, dated faucet, you’ll be happy to know that installing a new one isn’t too difficult. With the right tools and a bit of hard work, your new faucet can be installed in just a day. This easy project will give your sink area a new, clean, and modern look.


