Painting your home is the quickest and cheapest way to give its interior a facelift. It’s among the simplest of home DIY projects and, in most cases, it can be done over the course of a weekend. One of the biggest problems homeowners have with painting, though, is deciding on a paint color for the space. The last thing you want is to have your freshly painted room not look quite like the color you were going for. That’s why paint sampling is such an important part of the process, and we’re going to dive into the best way to do it.
What is a paint sample?

You’ve probably heard of paint swatches before. These are the small, square pieces of material that have a sampling of different paint colors. You can often get swatches for free at your local paint or home improvement store, and they give you a wide array of color ideas for your space.
Paint samples, though, are actual liquid samples of the paint you’re considering. They are the exact shade and sheen of the paint you’ll use, and you can bring them home to paint the samples directly onto your wall. Paint samples typically cost under $10 for each shade.
Why paint sampling is better than swatches

While swatches are free and save you a bit of painting time, actual paint samples are a better avenue for getting the real picture of how your new paint will look. The material of the swatches is not exactly like your wall’s material, so the color and texture of the paint may look different once you actually start painting the full wall.
There is also some debate as to whether you should paint the wall directly with the sample or paint it onto whiteboards to avoid the extra work of sampling on the wall. When you do paint sampling on the actual wall, you’ll be painting, though, you can see how the paint’s color and sheen look with the wall’s texture.
What is the best way to test paint samples?

In order to get the most out of your paint samples, you want to be sure you’ll be able to examine the paint in the exact environment it will be in for years to come. When done properly, paint sampling ensures that the color and sheen you’ve selected will mesh well with the rest of the room.
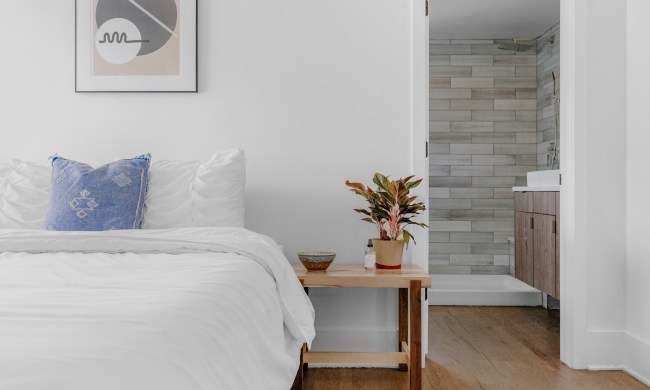
Finish your flooring first
If you’re doing a full remodel of the room you’re painting, the flooring — whether it’s hardwood, wall-to-wall carpeting, or an area rug — needs to be installed beforehand for a few different reasons. First, you want to be able to see how the paint and flooring will appear together. Second, flooring comes in a smaller variety of colors and styles than paint colors do, so it’s easier to match your new paint to your new flooring and not the other way around.
Install new lighting before paint sampling
You want to make sure you’re viewing your paint samples in the lighting that will be permanently installed before making a final decision on your paint color. Again, if you’re remodeling an entire room, make sure both the floor and the lighting is set first before moving on to the walls.
Add a layer of primer before sampling paint
Since you’ll be using primer when you put up the permanent coats of paint, be sure you’re using a primer when you apply your samples to the wall. Primer is especially necessary if:
- The paint you’re sampling is a bright, rich color
- The existing paint on the wall is a dark color
Paint big enough samples on the wall
To get the clearest idea of how the paint samples you’ve selected will look in the space, you have to paint a big enough area in order to visualize them. It’s recommended that you paint sample squares that are about one foot in length and height.
Use two coats of paint when sampling
Just like you’ll be using primer when you put the final paint coat up, you’ll also use two coats of paint. In order to see what the true final result will look like, put the first coat of sample paint on the dried primer and let it dry before adding a second coat. Then, once it’s dry, you’ll be able to see its true appearance in the room.
Test the colors on walls in multiple locations
Natural lighting has a big impact on paint, particularly glossier paint. Once you’ve painted your samples onto the wall, leave them up for a few days. That way, you’ll be able to see how they look with different amounts of light throughout the day, and if the forecast allows, you may even be able to see the impact of sunny days versus overcast days.
Are paint samples free? How to get paint samples from the hardware store

Paint samples are free at most home improvement stores, depending on your location. However, you may have to pay for paint samples in some regions or if you intend to sample several paint types or colors. Stores like Home Depot, Lowe’s, and Menards all offer paint samples at their paint counters.
Once you’ve picked out your swatches, you’ll want to narrow down your color options to about three to six tones. Then, go to the paint counter and ask for your paint samples. Often, they will mix the colors right there for you. A 4-ounce paint sample can cover roughly 18 square feet, so you shouldn’t need more than one paint sample per color. This should be enough to test out your sample on multiple walls and in multiple locations as needed.
Painting is a fun project that can really transform a tired or dated room. If you’re taking on a DIY painting project, it’s a good idea to do some paint sampling to be sure the color you’re selecting goes with the flooring, the lighting, and your personal style. It’s a small preparation step that helps give you confidence in the remodeling direction you’re taking for the room.