The question of whether to prime before painting seems as old as, well, painting itself. The answer seems to be different depending on who you talk to. Paint manufacturers say “yes” — it is an essential wall painting technique — because they want the best possible surface for the paint to shine. Do-it-yourself (DIY) fans seem less thrilled about the process, mostly because it takes more time and money.
So, do you need primer when you paint? The reality is that not every painting project is the same, and the answer is not a clear-cut one.
There are a couple of options for primers if you don’t have the time to commit. Self-priming paint, a product that was created precisely to cut out that extra step, is a great option for some. According to tests done by Consumer Reports, self-priming paint will offer some of the benefits of a traditional primer. But what should you do if you don’t have self-priming paint?
Here’s when primer is a must.
Most new drywall requires primer
Often, what determines whether a surface should be primed is if the surface is too porous. The issue is that too much of the paint will be drawn in, and you will need multiple coats of paint. This is especially true of fresh, unpainted drywall and, in particular, the mud used on the seams. Even with smooth sanding, it absorbs paint differently and will appear blotchy and dull without a primer.
For drywall, there are two choices that work best. If you are an expert or have hired professionals and are working with an exceptionally smooth surface, standard drywall primer will be sufficient. If, however, your drywall has small imperfections like pockmarks, scuffing, or fine ridges, a high-build drywall primer-sealer is a better option. Although more expensive, it will smooth and level an uneven surface.
A glossy surface needs primer
Glossy surfaces do not hold paint well. Any color will have a much harder time locking in. The primer’s slightly rough and porous nature provides the perfect texture for the paint to adhere to.
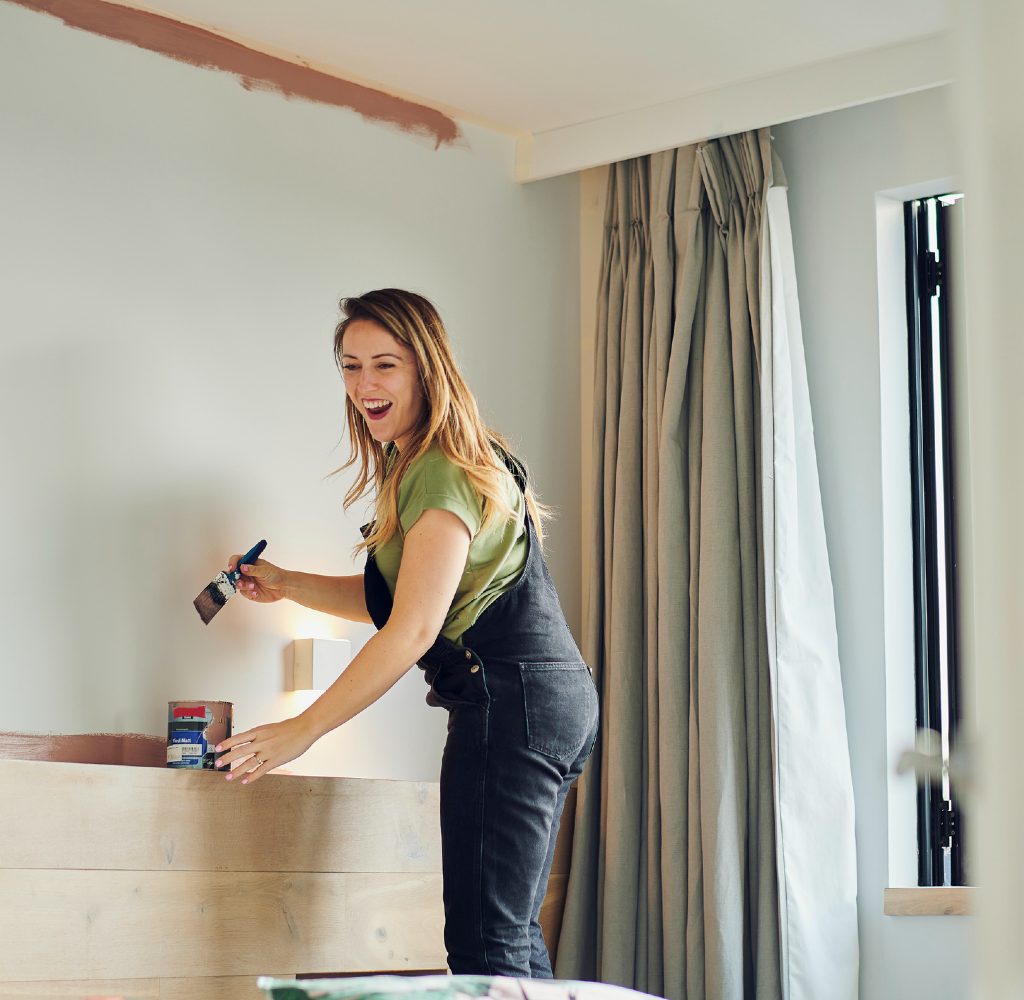
Use primer when drastically changing a color

There is no need to prime if you are applying a slightly different color, but anytime you are making a big change, it is a good idea. The last thing you want is to go through the work of painting only to see the old color showing through. This is particularly true if you are going from dark to light or from light to dark.
Ask the paint retailer to tint your primer. One coat of a good primer will ensure a blank canvas for the new shade, and since primer is typically cheaper than paint, it also makes good economic sense.
Use primer to cover stains
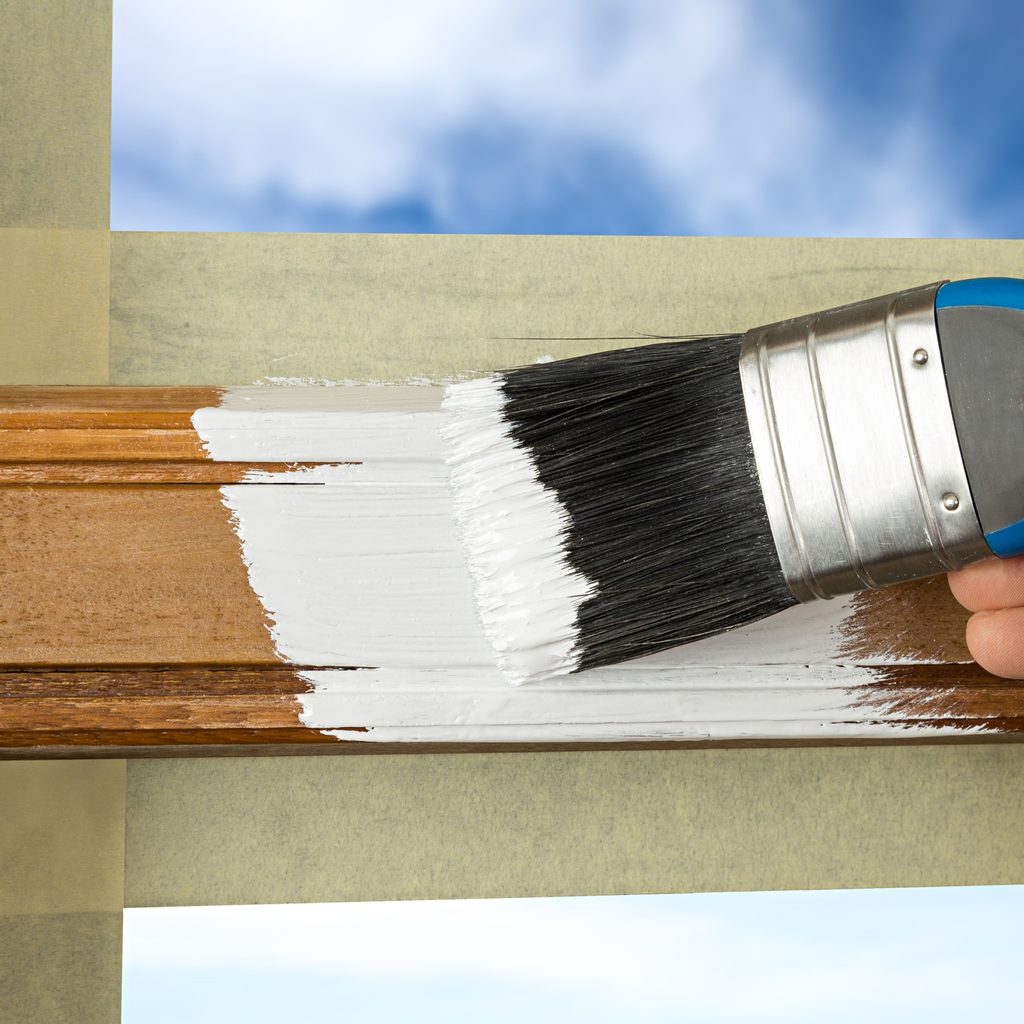
Taking an old furniture piece or transforming dark trim with a fresh coat of paint can breathe new life into a space. Just remember, paint is made to showcase color, not cover up what’s beneath. If the surface you are painting is stained, it is best to use a primer and then paint on top. This will ensure the stain doesn’t bleed through and also gives the paint a surface to hold on to. The result — an updated look that will last much longer.
Need to cover odors? Use primer
If you’ve just moved into a home and the previous owners smoked, had pets, or cooked strong-smelling foods, you’re going to want to prime before you paint. High-quality primers can seal in those odors in a way that regular paint hasn’t been designed to — which means if you don’t prime, those odors will come right back.
Exteriors need primer
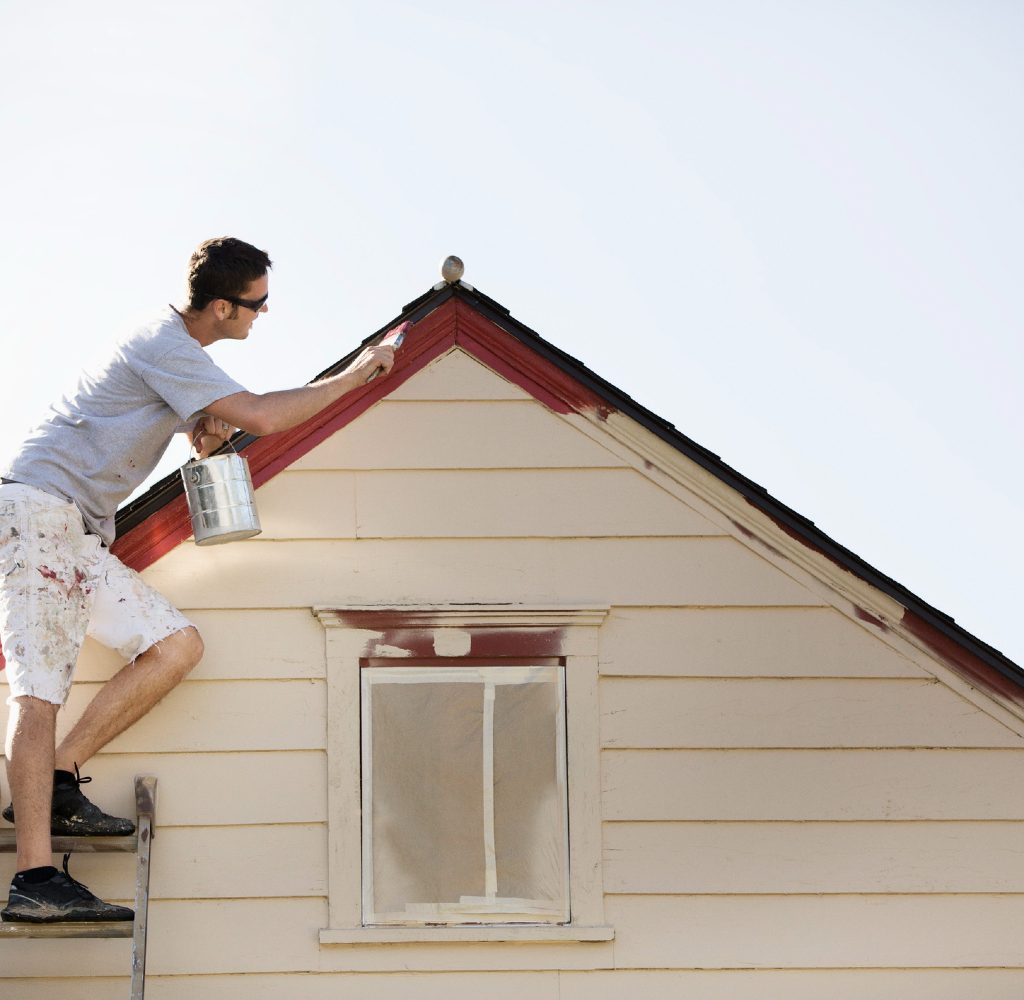
Although you may be able to skip priming on an interior job, the same is not true of exterior ones. Since it is exposed to the elements and takes much more of a beating, it will need a coat of exterior paint primer. For any of these situations, make sure to paint over primer within 48 hours. Most primers are made to physically and chemically bond with the paint applied over them. If you wait too long, it will lose its effectiveness.
Priming is crucial for textured or uneven walls
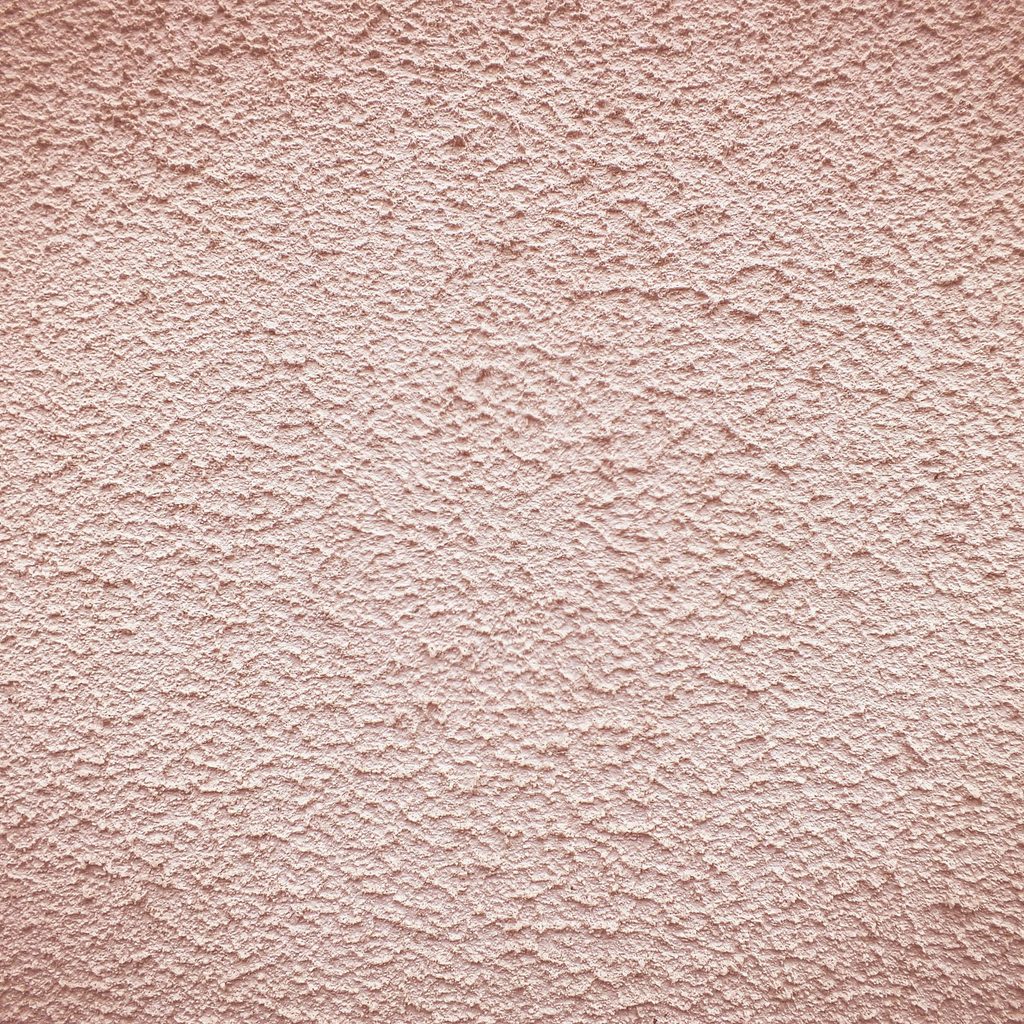
If your wall is chalky, scratched, uneven, or peeling, you’ll need to add a coat of primer. Primer can help smooth out any imperfections, preparing the wall for a coat of paint. For example, if you’ve just patched up holes in your wall from previously mounted or hung items, you’ll have some uneven texture from the wall putty.
In some situations, you can easily sand down these imperfections. However, larger covered holes or several smaller depressions will result in an uneven wall. In this case, using primer after sanding down the putty as best as possible will help create a smooth surface for painting.
Chalky, scratched, and other uneven wall textures can also benefit from a coat of primer. Some homes have that “popcorn” wall texture (also known as acoustic drywall texture). While some homeowners favor textured walls, others do not. If you choose to sand down and remove this texture, you’ll need to follow up with a coat or two or primer to prep the wall for painting.
When you don’t need to prime
There are times when priming just isn’t necessary. If the surface has already been painted and it is in good shape, you can skip the primer. Just make sure there is no chipping or peeling. Generally speaking, interior walls that only need a touch-up or are being painted a similar shade will be just fine with no priming.
If your drywall is smooth and you are planning on using a flat paint, you can use two coats of self-priming, water-based flat paint. Any imperfections will be less visible in flat paint, and this paint is made to forgive other blemishes.
Sometimes, priming your walls isn’t necessary before you paint. But if you find yourself in one of the above situations, skip the self-priming paint. It’s best to take that extra step and prime your surfaces properly to ensure the best results.
What happens if you paint without primer?
Primer isn’t necessary for every paint job. However, primer is an essential step if you want a smooth finish on projects that have darker colors, wooden or uneven surfaces, or on surfaces that are stained or odorous. If you don’t use primer, you could face a lot of challenges which will result in an uneven finish or require more coats of paint.
For instance, if you want to paint a dark wall a lighter tone without using primer, you’ll have to add more coats of paint than you initially thought. Even doing so, however, may not provide full coverage, and you may still see hints of the previous color in your end result. Alternatively, skipping primer on uneven or stained surfaces could result in a patchy job. So, consider what surface you’re painting and why primer will be beneficial to your situation before skipping this step altogether.
Do you need to sand before using primer?
In most general situations, you don’t need to sand before using primer. If you’re painting over drywall that has a lighter or similar color to your new tone, you may not need to sand or prime. However, you’ll need to sand and prime if you want to paint over wood, glossy or textured surfaces, or repaired drywall.
Sanding helps smooth out imperfections so you end up with a sleek, texture-free result. If you have recently patched drywall or cracks, you’ll want to sand before priming to ensure you have a smooth surface once everything is said and done.
While you don’t always need to sand or prime, it can be a good idea for certain projects. For example, sanding and priming kitchen cabinets before painting will result in a better final product.
Priming is a crucial step for a smooth finish when painting walls or surfaces on your own. Without primer, you could end up with patchy results that require more time and effort to correct. Rather than burdening yourself with more work than necessary, consider using primer to solve some of the solutions above. If your surface is dark, stained, smelly, or porous, primer is going to be your best tool for creating a lovely painted outcome. Want to know more before painting your walls? Check out our tips on sanding, priming, and other prepping methods.


