Painting rooms or items in your home is already a complicated project on a basic level, but painting certain surfaces can be even more complex. Wood surfaces, for example, require some additional steps before painting to ensure a smooth and clean-looking paint job.
If you’re wondering how to paint baseboards, moldings, or even wooden furniture to achieve a professional and perfect-looking final product, you’ve come to the right place. Let’s dig into the process of how to prep wood for a new paint job.

Preparing your workspace
The first step in preparing for a big painting job is to prep your workspace. This ensures that paint doesn't accidentally get on other items around the area and cause damage to your valuables.
Step 1: If you’re painting a wooden wall, baseboards, or moldings, you’ll need to tape off the area so that the paint doesn’t drip or seep onto areas you did not intend to paint.
Step 2: Whether you’re painting walls, trim, or a piece of furniture, you’ll need to lay protective tarps down to protect your floors from paint drippings and splatters.
Step 3: If you’re painting a piece of furniture or other individual item, it’s recommended first to lay down a plastic tarp or sheet, followed by a canvas or paper covering, which will minimize slipping during the painting process.

Protecting yourself
Many steps in the process of prepping wood for painting pose risks to your eyes, skin, and even your lungs. Be sure you have adequate protective gear like eye and ear protection, a respirator mask, and rubber gloves to protect your skin against irritants.

Is it necessary to prep wood for paint?
A common mistake among new painters is to go straight to adding the first layer of paint to the wood. Wooden materials are a bit finicky, and if the wood is not properly prepped before painting, the paint will quickly separate from the wood and begin peeling off. To ensure a long life for your new coat of paint, prep your wood with the following steps.
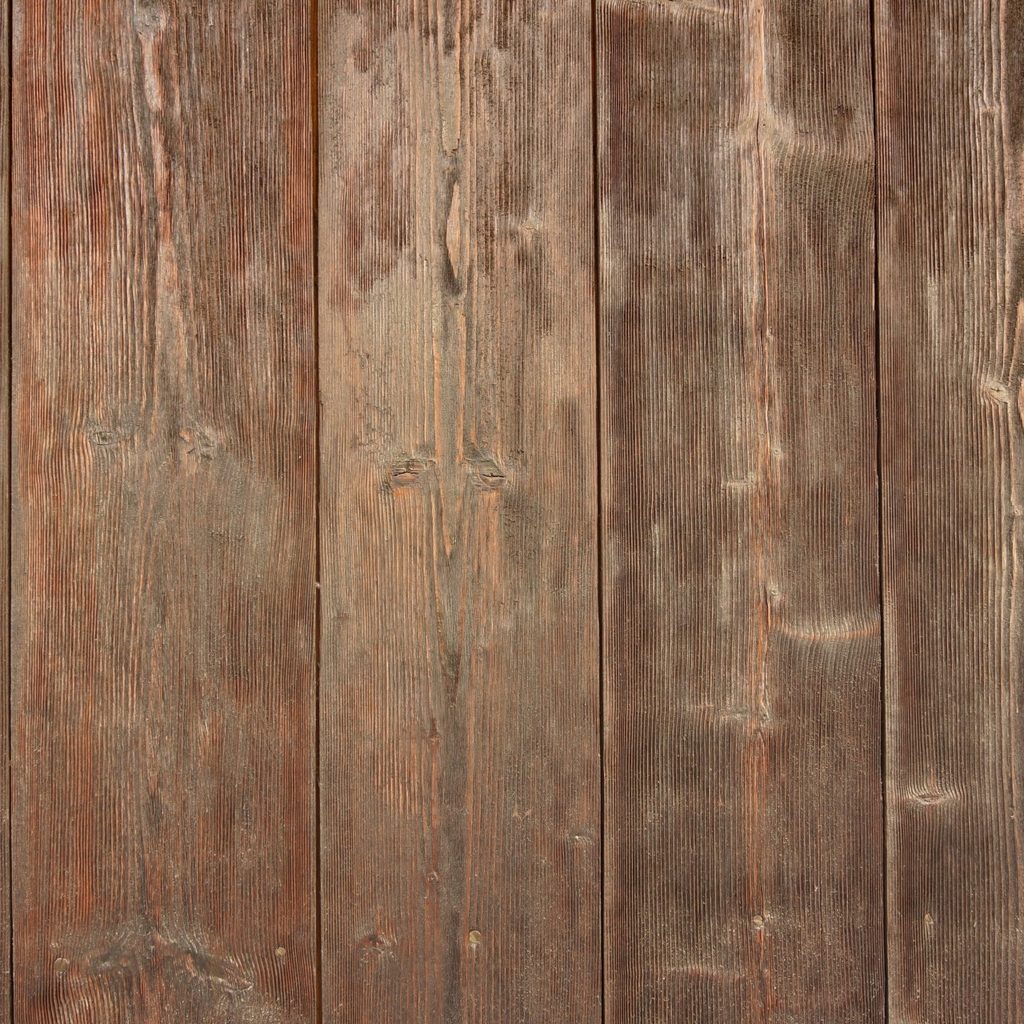
Inspect and repair the surface of the wood
Step 1: Check the surface of the wood if it’s older. Are there any broken nails, boards, or holes? You’re going to want to replace or repair anything that’s damaged.
Step 2: For broken, damaged, or missing screws, try to replace them with a similar item to maintain the look of the piece.
Step 3: Damaged boards should be replaced with the same type of wood.
Step 4: For holes, dents, and scratches, you can also use wood putty. Apply with a metal or plastic putty knife.
Step 5: Consider caulking. It may need to be replaced on an exterior project, and caulking can help create a more seamless finished product for interior projects.

Clean the surface of the wood
To ensure that your primer and paint bond well with the wooden material, clean the wood thoroughly with a TSP and water mixture. Be sure to allow adequate time for the wood to air dry to prevent paint blistering or even mold growth between paint coats.
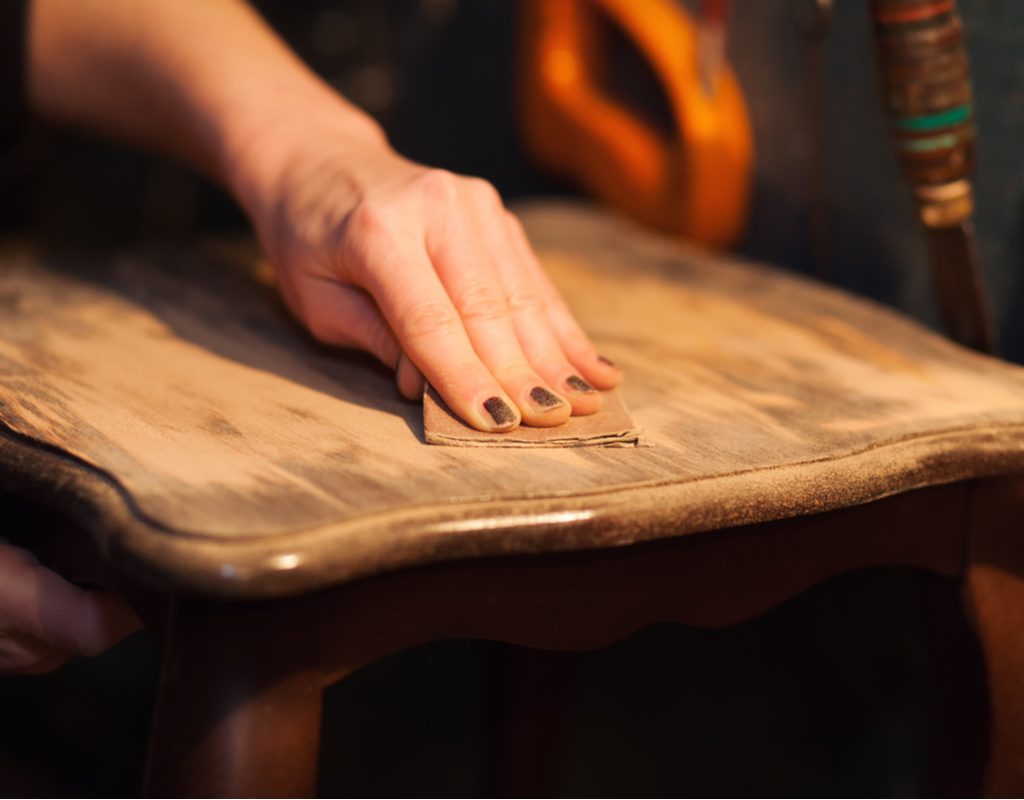
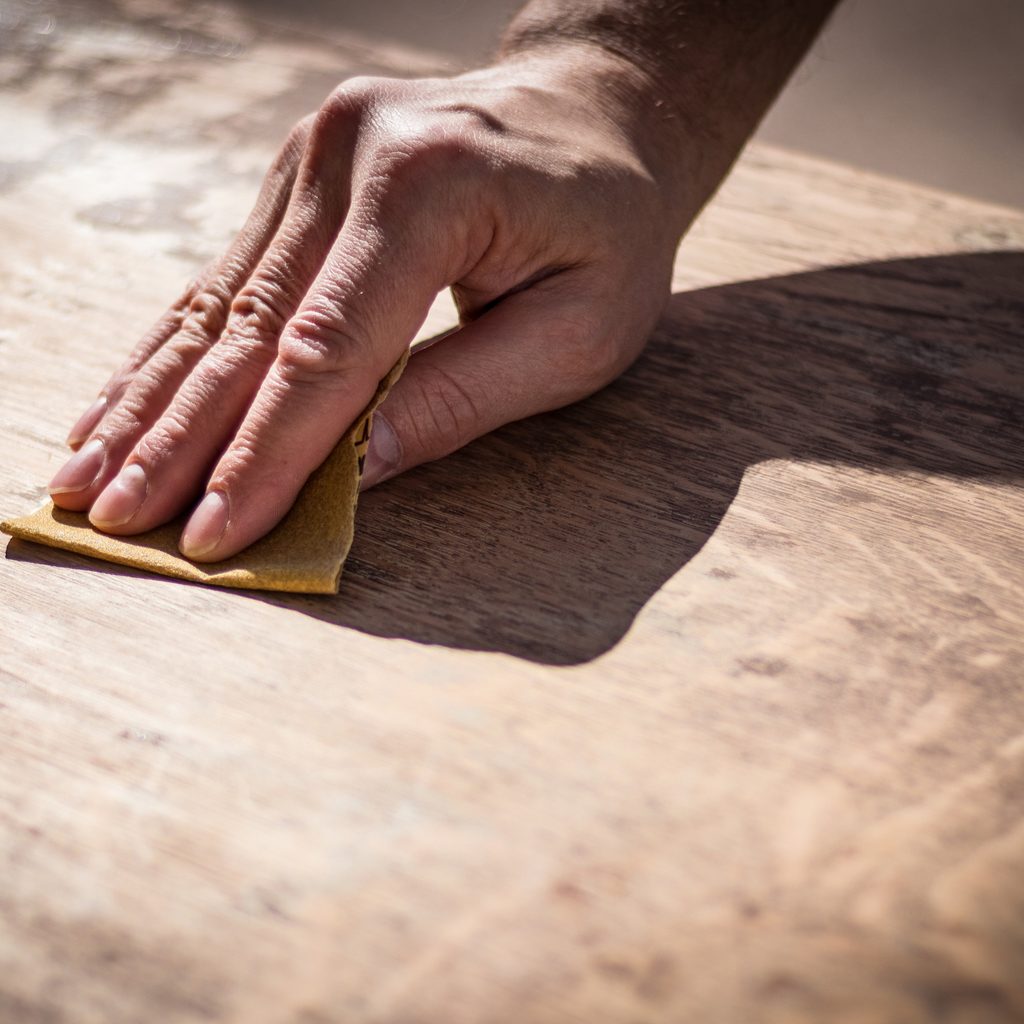
Sand the surface of the wood
Sanding the wood surface creates tiny dings and scratches that allow the paint to bond well to the material. Using a handheld orbital sander for large, smooth surfaces or sandpaper strips for smaller, more ornate surfaces, sand the entire surface of the wood. Be sure also to sand the corners and ridges of your wooden piece.

Clean off dust and debris
Sanding creates a lot of wood particles and dust, which you won’t want to have on the surface when you apply primer or paint. These particles will create a bumpy and imperfect coat of paint.
Step 1: If you’re sanding a large surface, we recommend using a shop vac so that the particles are removed and contained instead of floating around the room.
Step 2: Wipe the surface of the wood with a damp cloth to remove any remaining dust and debris.
Step 3: Ensure the surface dries completely before moving on in the process.
Check for mold, mildew, and mill glaze
Mold and mildew appear black when they’re wet. If you see any, you can buy specialized products at your local hardware store (they’ll be able to help you find the right one for your particular project) to prevent mold and mildew from spreading. Mill glaze refers to any area of the wood where water beads. Unfortunately, this will also keep primer and paint from being applied effectively.
Resand these areas until water is able to soak into the wood. Make sure to allow the wood to dry thoroughly before applying the primer.

Apply primer to the surface of the wood (second coat if still translucent)
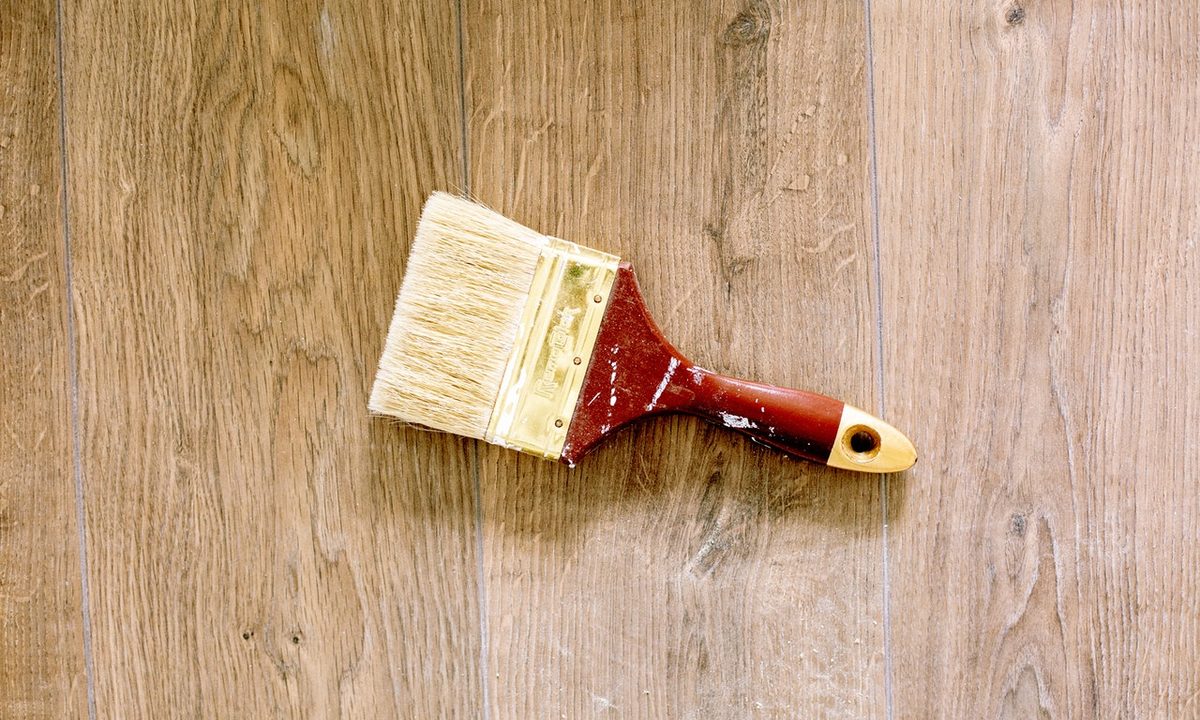
Step 1: Prime the surface of the wood using a paintbrush or roller, depending on the surface area’s size and the number of details in the piece.
Step 2: Allow the primer to dry thoroughly and apply a second coat if it still looks translucent.
Step 3: Allow the second coat of primer to dry completely before moving on in the process.

How to paint wood properly
Step 1: Sand the primed surface once it has dried. Again, sanding helps paint to bond well to the wood material. Be sure to repeat the process of cleaning off dust and debris.
Step 2: Grab your paintbrush or roller, depending on the size and ornate details on your wooden surface, and apply the first coat of paint. Be sure your brush strokes or paint rolls are with the grain for a more natural and smooth appearance.
Step 3: Allow the first coat of paint to dry.
Step 4: Once dried, sand the painted surface. We feel like a broken record, but once the first coat of paint dries, sanding the surface again before applying the second coat of paint will ensure a beautifully bonded paint job.
Step 5: Apply your second coat of paint. Repeat the painting process in the same way as you did for the first coat, and you’ll achieve a beautiful, evenly painted wooden surface.
What kind of paint should you use on wood?
When painting your wood furniture, cabinets, baseboards, or even wood-paneled walls, it’s important to choose the right type of paint to ensure a job well done. The last thing you want is a splotchy or shiny finish that highlights every brush stroke. Not to mention that paint peeling can also be a concern for wooden items.
For painting wood, it's recommended that you use a latex or oil-based paint. Just remember that you should also use the appropriate primer as well. For example, if you want an oil-based paint, go for an oil-based primer. Generally, oil-based paint works best on wood as it coats the material more thoroughly.
You’ll also want to stick to satin or semi-gloss finishes. While some projects can handle a matte or chalk-paint sheen, most will need a bit more shine. However, high-gloss paints will appear too flashy and highlight any streaks, bumps, or blemishes in the wood’s texture. Aiming for a middle-of-the-road sheen is best.
Painting can be a fun or even relaxing pastime for many of us. While we all want to jump ahead to the fun part, it’s crucial that you faithfully complete all of the necessary steps in the wood preparation process before slapping on that first coat of paint. Failing to do so could result in a less-than-perfect paint job, including peeling, blistering, or uneven paint coats. If that happens, you may have to scrape off the damaged paint and start from scratch. Avoid unnecessary headaches and prep for the job the right way.


