
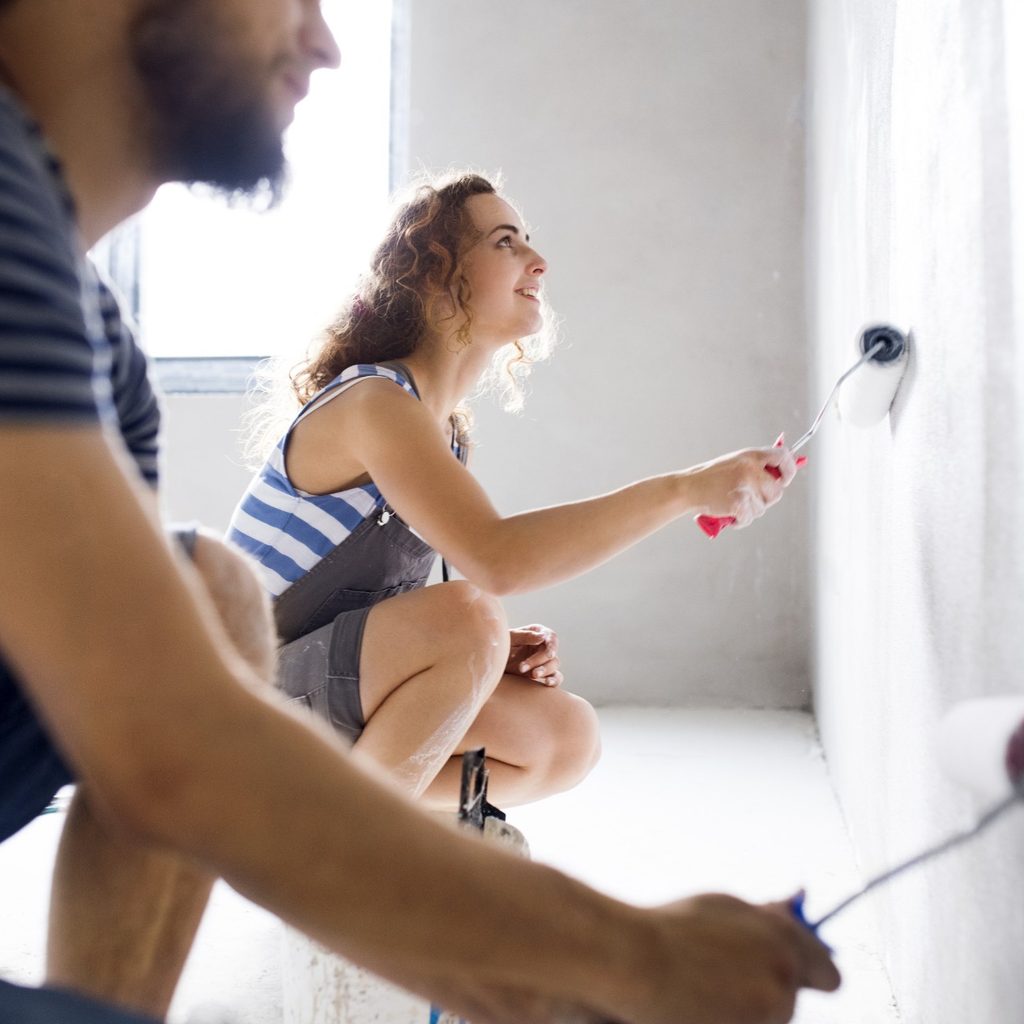
Painting is a fun and artistic project that often requires careful attention to detail. If done improperly, the painting results could be flawed. Imagine spending countless hours dusting, spackling, sanding, washing the walls, taping, and then finally layering on those glorious coats — only to find that the paint is no longer smooth. Instead, it’s horribly bubbled.
Unfortunately, bubbling paint can unexpectedly develop even after a paint job is complete. The good news is that you can take steps to repair the damage and prevent this problem from happening again.
What causes paint to bubble?
Hunker states, "Paint bubbling is caused by the paint film lifting away from the surface." Although there are several reasons why paint can bubble, let’s take a look at the two most common reasons. We’ll also cover how to fix and prevent these issues.
Primer was skipped
Not all substrates are infused with primer. Plaster and bare drywall are porous and can absorb a great amount of the pigments and binders (resins) that are found in paint. The paint’s base coat will typically contain a binder film that’s much thinner, which means that the next coat of paint won’t have the means to stick to the coat of paint that came before it. In general, never skip the primer if the paint being used isn’t already sealed with it.
Luckily, there's a solution if the paint is forming bubbles after a primer-free application.
Step 1: Scrape away the bubbles, and patch it along the way.
Step 2: Scrape and clean the surface, and then finish off with latex and oil-based primer that works to block stains.
Step 3: Choose the primer according to the type of paint you're using.
Step 4: For the next paint application, don’t skip out on the primer. For more information, check out our tips on sanding and priming.

Another reason paint bubbles
The painting surface may have also been wet before paint was applied. There may be moisture settling. Excess moisture on painted walls can lead to water-filled bubbles in the paint. Moisture can come from intense humidity, droplets of water, water leaks, or plumbing issues.
Unfortunately, water-filled bubbles may be on the substrate level, deeper in the paint, or in the topcoat. It’s common to find this type of bubbling in kitchens, bathrooms, and basements due to excess condensation and moisture in those rooms.
Also, improper ventilation makes paint bubbles more likely to occur. Before putting in the effort to scrape off and patch these paint bubbles, be sure to:
Step 1: Address and investigate the moisture’s source. Moisture can come from anywhere, such as flooding, bathroom humidity, plumbing problems, roof leaks, and more.
Step 2: Once the source has been cleared, begin to scrape.
Step 3: Patch up the walls.
Step 4: Clean, and then let the walls dry completely.

Does bubbling paint mean mold?
Bubbling paint does not necessarily indicate the presence of mold. Bubbles in paint simply indicate moisture or heat may be present. Mold, on the other hand, is a fungal growth that thrives in damp and humid conditions. The development of mold can damage paint over time, and you'll be able to tell if mold is present if dark spots develop or there are patches on walls, along with a musty odor. Bubbling paint should definitely prompt investigation for underlying issues, but it does not conclusively indicate mold.
Remember, it’s important to minimize moisture possibilities so they don’t negatively impact the paint job. Here's some advice from Bob Vila on this particular subject. By addressing and fixing the moisture source, you can properly handle paint bubbles and prevent them in the future.
There is more to painting than just swiping paint around walls and floors — it requires careful consideration. Understanding what causes paint to bubble and knowing how to fix painting mistakes on walls can dramatically reduce terrible paint bubbles from forming and ruining your work. A proper and careful paint application calls for a flawless finish. Also, if you’re interested in painting your home’s interior, but don’t know which color suits best with your space, take a look at these latest wall painting trends.


