
How to find studs in walls if you don’t have a stud finder

These simple DIY methods will help you locate the studs

floorplan and tools on wooden surface
JESHOOTS.com / Pexels

You’ve likely come across one or two projects that require the use of a stud finder. Whether you’re hanging heavy artwork or anchoring furniture to the wall, knowing exactly where your studs are located is necessary. But what should you do if you don’t have a stud finder?

Here are a few methods on how to find studs in walls without a stud finder.

Recommended Videos

What is a wall stud?

woman posing by a house stud frame being constructed
Vika_Glitter / Pixabay

The interior structure of your walls is made up of wooden frames. The vertical boards of these frames are called drywall studs. Wall studs are typically 2-by-4 pieces of wood positioned roughly 14 1/2 inches between each stud or 16 inches apart from the center of each board. These vertical frame pieces are used to mount drywall and provide more structure to your walls.

When should you hang something from a wall stud instead of drywall?

Wall-mounted TV with entertainment center below
Keith Muratori / Shutterstock

Not everything needs to be hung on a wall stud. In fact, you can hang most paintings, picture frames, mirrors, and other wall decor with a nail or screw in the drywall. Some more fragile or heavy items can be hung with drywall anchors and screws.

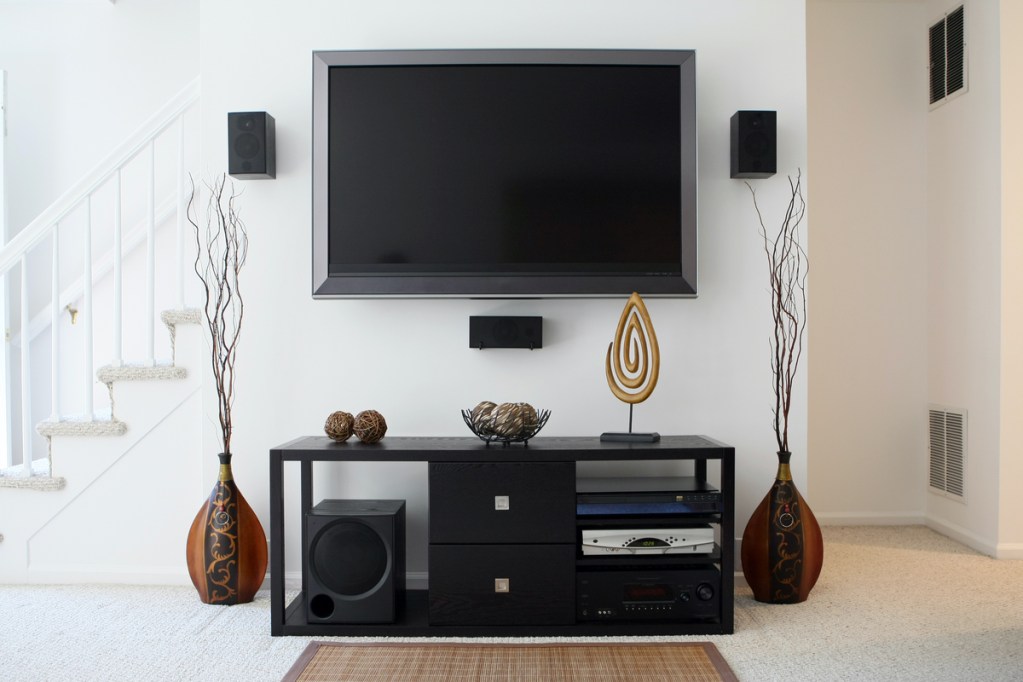
However, for shelves holding heavier items, oversized wall mirrors, TV mounts, and other bulky pieces, anchoring your screw into a wall stud can provide more stability. This can also help prevent drywall damage in case your heavy item falls or weighs down the drywall material.

Methods on how to find a stud in the wall

Person using drywall tape to repair drywall
schankz / Shutterstock

If you don’t have a stud finder, there are a couple of methods you can use to find the studs in your walls.

Tap the wall

The tapping method is a simple DIY hack for finding wall studs. Lightly tap your wall with your finger or knuckles where you want to hang your item. If the sound is hollow, move further left or right until the sound is solid. Once you’ve identified a stud, measure 16 inches away and knock on the wall to verify the presence of the next stud.

Use an outlet for better spatial judgment

Most light switches and electrical outlets are mounted to the side of a stud. While there are some instances where this isn’t the case, it’s less common. Tap on the left and right of the outlet to determine which side of the stud the box is on. Then, use the tapping method above to map out the other studs.

Try using a magnet to find fasteners

You can also use a magnet to find drywall fasteners. Drywall is attached to studs via drywall screws and fasteners. Since they’re metal, strong magnets can still detect them despite the fasteners being covered with drywall mud. When your magnet catches a fastener, this marks the middle of the stud. Move 16 inches left or right to verify the presence of another stud with the same magnet technique.

Use a flashlight and find dimples in the wall

Little dimples can appear on the wall where the drywall mud settled into the fasteners. When the lights in a room are off, a flashlight can find these dimples, indicating the presence of a stud.

Measure from the corner of the room

Most rooms have wall studs in the corner. Knowing this, you can measure 16 inches from the corner to identify additional studs. However, every home is different, so you may want to pair this method with another one we’ve already covered.

Try using a stud-finder app

Some apps today have stud finder technology, making it easier to find wall studs without rushing to buy a stud finder from the store. Again, you may want to verify the presence of a stud with a method from above, but this can be an easy option.

While it can be useful to purchase a stud finder from the store, particularly if you plan to do fuller renovations or want to continue updating your space in the future, sometimes finding a stud is a once-in-awhile kind of incident. These DIY methods are easy and affordable options if you don’t plan to use a stud finder often.

Amelia Wilson
Amelia Wilson (author pen name Amelia J. Wilson) is a content writer in Greenwood, IN. She often enjoys topics on…
Do you need to wash walls before painting? The honest truth
What you need to know before starting your painting project
Gloved hand cleaning crayon off wall with a Magic Eraser

While many mistakes can be made during a DIY painting project, one question many homeowners ask is whether they really need to wash walls before painting. It's a cumbersome task, so is it really necessary? The answer is yes. Having a clean, dry wall before slapping down that primer and paint can prevent all sorts of cosmetic and even health issues down the road.

Of course, there are some rooms in your house that need a more thorough cleaning than others. If you're ready to paint, here's how you should wash your walls first.
Really? Do you need to wash walls before painting?

Read more
How to hand-wash clothes (so you don’t ruin those special garments)
Save your favorite fabrics from damage the right way
Female hands washing fabric under faucet

Hand-washing clothes may seem like a chore from another era, but it's a skill that can save many of your delicate and cherished garments from wear and tear. Whether you're dealing with vintage lace or a favorite cashmere sweater, knowing how to hand-wash clothes properly can extend the life of your garments and keep them looking their best for years to come. Here's our step-by-step laundry guide to help you through the hand-washing process.
When should you hand-wash your clothes?

Knowing when to opt for hand-washing over tossing your clothes in the machine is crucial. Any garment labeled as "hand-wash only" should be treated with care to avoid damage. Additionally, items made from delicate fabrics such as silk, wool, or lace should also be hand-washed to prevent stretching, shrinking, or tearing.
Is "delicate" the same as "hand-wash?"

Read more
How to remove stripped screws without any hassle
Unlock our best solutions for this common DIY woe
Single screw pointed up on a wood surface

Stripped screws can be a frustrating obstacle that can easily halt the progress of your DIY building or repair project. However, with the right methods and a bit of patience, you can tackle this problem effectively. Let's explore the various techniques for how to remove stripped screws, ranging from simple tricks to more advanced solutions for those severely stripped screws.
How to remove stripped screws: Initial methods to try
Here are a few simple methods to employ when the screws aren't too much of a problem.

Remove the screw with pliers
One of the simplest methods involves using a pair of pliers. Grip the head of the screw firmly with the pliers and slowly turn it counterclockwise. Apply steady pressure to prevent slipping and gradually loosen the screw from its position.
Use the rubber band method
If the screw head has enough grip left, place a rubber band over the head before inserting the screwdriver. The rubber band fills the gaps and provides extra friction, enhancing your grip on the screw. This method works particularly well for smaller screws like those on old wood furniture or screws with shallow stripping.
Try using a different screwdriver
Sometimes, the head of a stripped screw may still have one or two slots that can accommodate a different type or size of screwdriver. Experiment with various screwdrivers in your home toolkit, such as switching from a Phillips to a flathead screwdriver or adjusting the size of the screwdriver to fit the remaining slots.
Next steps: Take your removal method up a notch
Here, we have some more advanced options when the job isn't so simple.

Read more