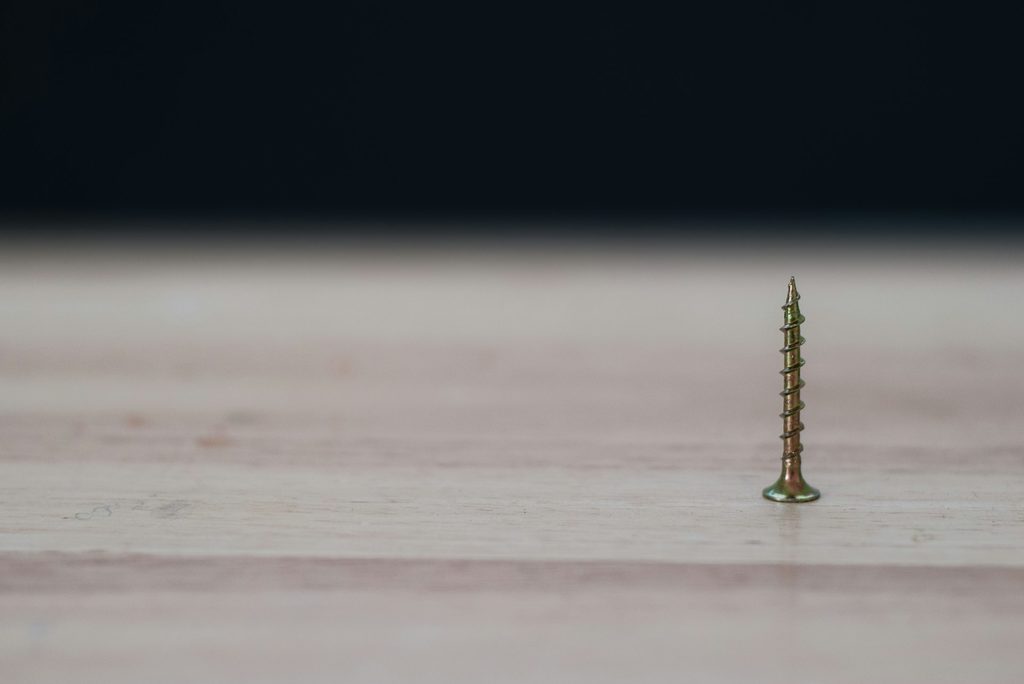
Stripped screws can be a frustrating obstacle that can easily halt the progress of your DIY building or repair project. However, with the right methods and a bit of patience, you can tackle this problem effectively. Let’s explore the various techniques for how to remove stripped screws, ranging from simple tricks to more advanced solutions for those severely stripped screws.
How to remove stripped screws: Initial methods to try
Here are a few simple methods to employ when the screws aren’t too much of a problem.
Remove the screw with pliers
One of the simplest methods involves using a pair of pliers. Grip the head of the screw firmly with the pliers and slowly turn it counterclockwise. Apply steady pressure to prevent slipping and gradually loosen the screw from its position.
Use the rubber band method
If the screw head has enough grip left, place a rubber band over the head before inserting the screwdriver. The rubber band fills the gaps and provides extra friction, enhancing your grip on the screw. This method works particularly well for smaller screws like those on old wood furniture or screws with shallow stripping.
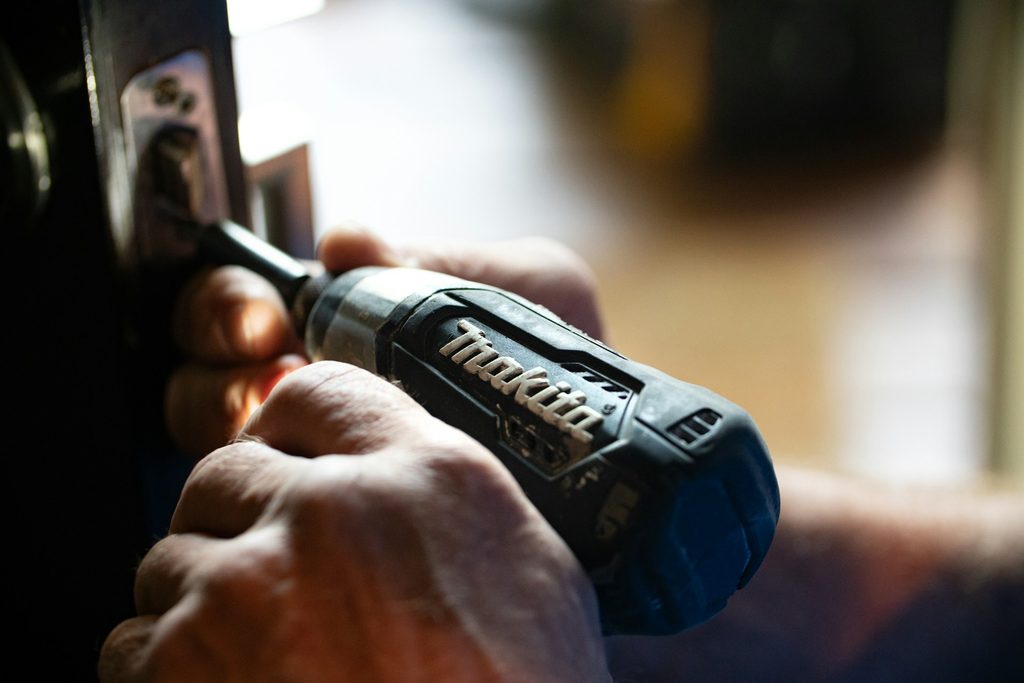
Try using a different screwdriver
Sometimes, the head of a stripped screw may still have one or two slots that can accommodate a different type or size of screwdriver. Experiment with various screwdrivers in your home toolkit, such as switching from a Phillips to a flathead screwdriver or adjusting the size of the screwdriver to fit the remaining slots.
Next steps: Take your removal method up a notch
Here, we have some more advanced options when the job isn’t so simple.
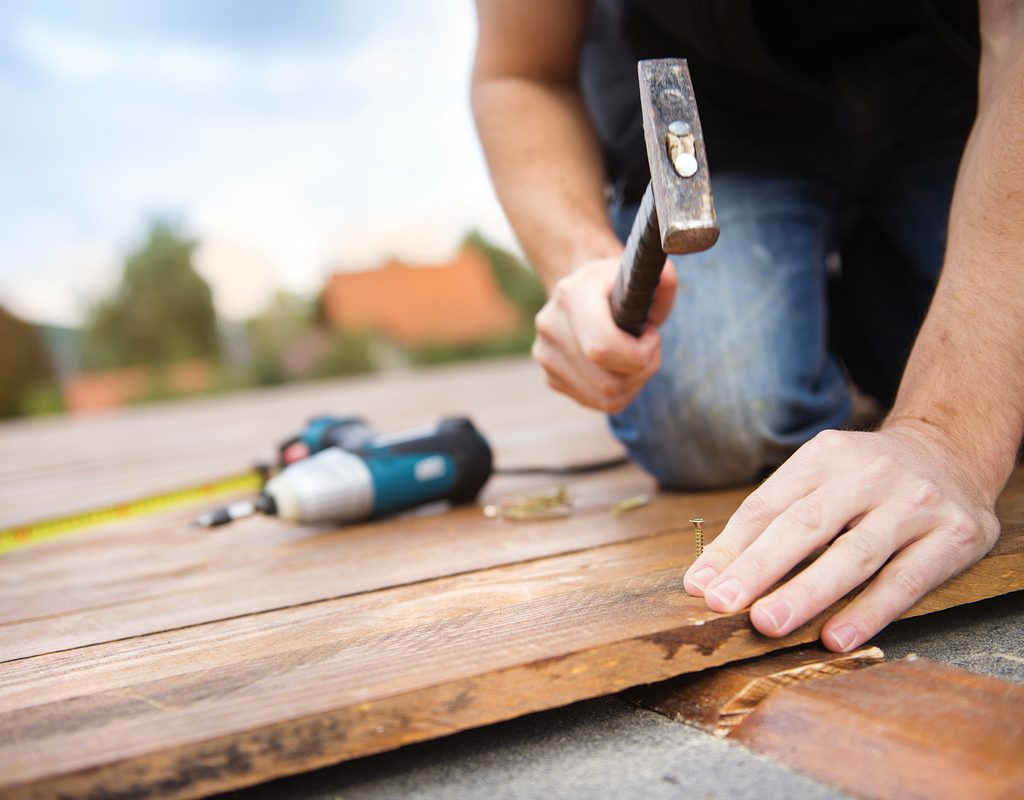
Use a hammer and a screwdriver
For screws made of soft metal, such as brass or aluminum, this method can be effective. Place a flathead screwdriver into the screw and gently tap it with a hammer to create a new slot. Once the screwdriver catches, twist it counterclockwise to remove the screw.
Drill a new hole
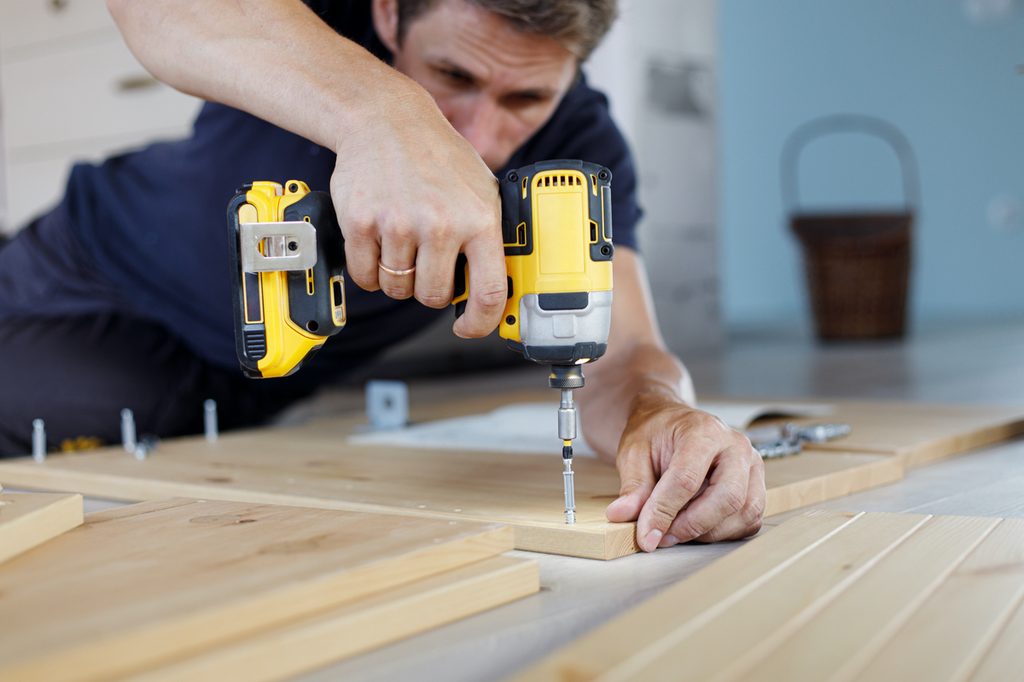
If the screw remains stubborn, use a quality electric drill with a metal drill bit to create a new hole in the screw head. Start with a low speed to avoid damaging the surrounding material. Once the bit catches, switch the drill to reverse to unscrew the screw. Alternatively, use a screw extractor bit for more stubborn screws.
Cut a brand-new slot
Employing a thin cutting disk on a rotary saw or oscillating tool, carefully carve a new notch into the stripped screw head. Insert a flathead screwdriver into the new slot and twist it counterclockwise to remove the screw.
Last resort: How do you remove a badly stripped screw?
As a last resort for severely stripped screws, welding a nut onto the screw’s head can provide the necessary grip for removal. First, select a nut that fits snugly over the stripped screw head. Then, use a welding torch to attach the nut securely to the screw. Once welded, use a wrench to turn the nut counterclockwise, extracting the screw from its position. This method requires more advanced power tools and can be employed when all other removal techniques have failed.
How to prevent screws from becoming stripped
Prevention is key to avoiding the common home DIY mistake of stripping screws. Here are some ways you can ensure your screws don’t get stripped in the first place:
- Use the correct screwdriver size and type for the screw.
- Apply steady pressure and avoid excessive force when driving screws.
- If you encounter resistance, try lubricating the screw threads with a bit of soap or wax.
- Pre-drill pilot holes to ease screw insertion, especially in hardwood or dense materials.
- If using power tools, adjust the torque settings to avoid overtightening.
By taking these precautions, you can minimize the likelihood of encountering stripped screws and streamline your home DIY projects.
Stripped screws need not derail your projects or repairs. By employing these various methods, you can effectively tackle stripped screws and proceed with your tasks smoothly. Remember to start with the simplest techniques and escalate to more advanced solutions as needed. With patience and persistence, you can conquer even the most stubborn screws.


