
21OAK may earn a commission when you buy through links on our site.

How to build the perfect home maintenance tool kit for under $100

tools on a tableEvery homeowner should have a basic tool kit. There will always be pictures to be hung, bolts to be tightened or loosened, and some plumbing issue where a wrench is needed. Buying each tool separately can be expensive and time-consuming. There are five or six basic tool needs that experts agree you need, and the recommendations for additions to the basics vary.

We suggest buying a tool kit with the core tools you need — one with a tool box with some extra room or a tool bag — then add as needed.

Related Videos

You want to buy the best you can at the time you are buying. Cheap tools snap and bend, and that’s not what you need in the middle of a project or in an emergency that demands a wrench that works.

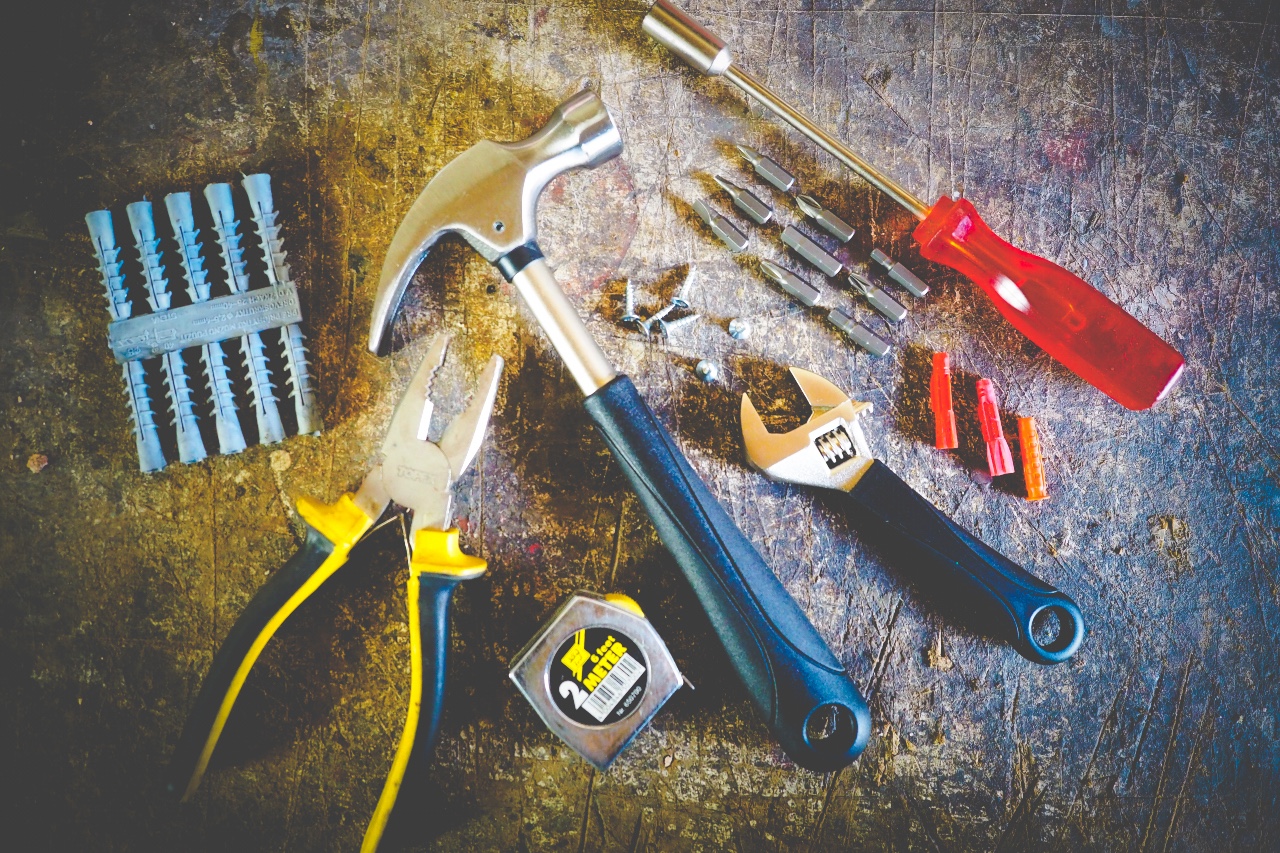
Your “must-have” tools

You need a screwdriver set with flat heads and Phillips heads. A kit that has comfort-grip handles and one that has interchangeable heads would be perfect. 

A vise grip or adjustable pliers is a must. It can be used as a wrench, clamp, racket, and in a pinch, a hammer.

Speaking of hammers, you should get a claw hammer. One end is for pounding and the other is for pulling nails out.

wrenches on a table
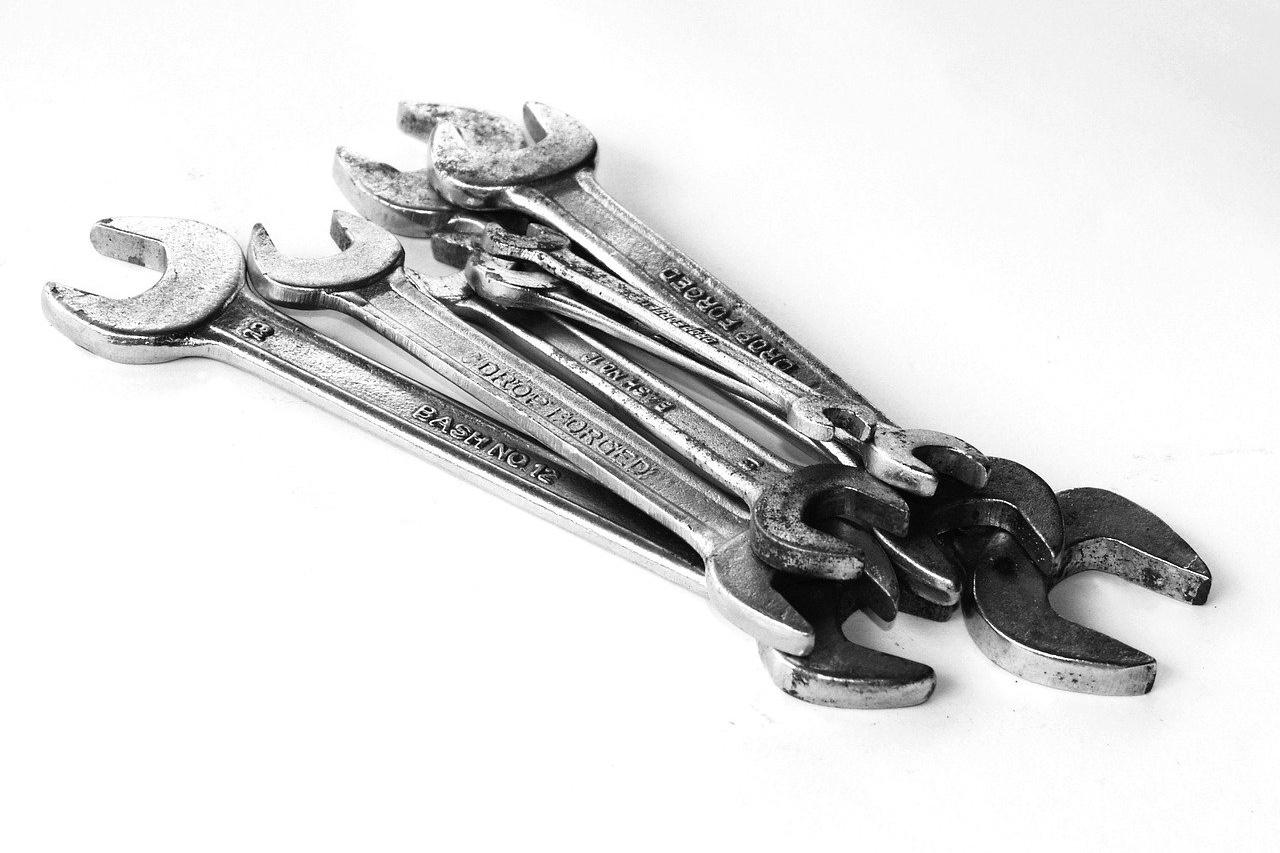
An adjustable wrench will help you tighten and loosen bolts or turn the outside water supply on or off.

A tape measure is invaluable. You need one for when you are centering a picture, measuring for window coverings, trying to figure out the size of a slip cover, and determining the size of your door opening if you think you want a new front door. 

A utility knife to cut wires (make sure the electricity is off), open boxes, open the new DVD in the tamperproof container, and trim wallpaper or adhesive paper. Try to get one with a comfort grip and one that comes with its own blade storage.

You also need a flashlight, work light, or head lamp. It’s dark under the sink when you need to work under there.

Other useful tools could include: A level, an electric drill, and a hacksaw. Useful items for the tool bag would also be wood glue, super glue, duct tape, a voltage tester, and safety goggles.

Get the basic tool kit with a tool bag so you can keep everything together. 

Some tool kit suggestions:

King Combination Tool Set with tool bag. 39 pieces, $29.99 from Home Depot. Includes claw hammer, pliers, screwdrivers, utility knife, level, tape measure and various hardware (nails, nuts and bolts)

Olympia Multi-purpose Tool Set with tool bag, 52 pieces, $54.97 from Home Depot. Includes adjustable wrench, hex keys, screwdrivers, level, pliers, utility knife, hand saw and hardware.

General Household Hand Tool Set with tool bag, 198 pieces, $69.99 from Amazon. Includes claw hammer, screwdrivers, pliers, wire stripper, combination wrenches, ratchet, mini saw, tape measure, and insulating tape.

Allied Tools 38200 Project & Repair Tool Set, 15 pieces, $42.72 from Amazon. Includes hammer, tape measure, hardware, wrench, screwdrivers, heavy-duty scissors, pliers, and utility knife.

A basic tool kit is a necessity and a great idea even for college students to have. There is nothing so frustrating as buying something that says “some assembly required” and you don’t have any tools to do the work. Each of these kits have the basic tools, with extra room for tools you discover you also need.

Editors' Recommendations

DIY 101: Repair concrete gaps and instantly enhance your home’s curb appeal
How to fill large gaps in concrete so your home's exterior isn't an eyesore
how to repair wide cracks in concrete shutterstock 505982602

Cold weather and ice aren't just uncomfortable for us physically. They can also cause a lot of damage around your property. While you can winterize your flower beds, your lawn, and even your house in order to prevent winter damage, there's a lot less you can do about cold weather damaging your concrete. While concrete is tough, cracks inevitably happen, and they make for unsightly and unsafe gaps in driveways, stairs, and walkways. Read on to learn about why you should repair cracks quickly and how to fill large gaps in concrete.

Why you should repair cracks in concrete
Sure, a crack in your concrete patio or walkway is ugly, but is it really necessary to fix them? There are actually some important reasons you should repair cracks sooner rather than later. Here are the benefits of fixing those gaps.
Enhances curb appeal
If you're trying to sell your home, curb appeal is crucial. Cracks and gaps in your concrete give your home an unkempt appearance and may make prospective buyers wonder what else has been neglected. Fixing those gaps enhances your curb appeal and could lead to higher property value since buyers will be willing to pay more for a home with pristine concrete.
Eliminates safety hazards
Small cracks in concrete grow and turn into large gaps, which pose safety risks such as trips and falls. Keep your family and guests safe by filling in the gaps and making the hazardous spot safer.
Prevents further damage
Small cracks are easier to repair than the large gaps they grow into, so it's best to fix the problem while it's small. Also, cracks in your concrete take in water, which washes away the soil underneath the concrete and makes the gap grow even more. Water in the cracks poses an even bigger risk — flooding your basement — if the crack is close to the foundation of your house.

Read more
How to remove old caulk: A 4-step guide to get this tedious job done quickly
This is how to remove old caulk the right way before slapping on the new stuff
how to remove old caulk shutterstock 1249102075

Sealing certain areas in your home against both moisture and escaping air is a good practice for preventing costly loss and damage, and caulk is a tried and true sealant to use. Whether it's used in the bathroom, on windows, or on your welcoming front door, caulk can not only get grimy and stained after a while, but it can also start to break down and lose its effectiveness. Re-caulking is a common practice, but you need to remove the old gunk before applying the new stuff. Here's a guide for how to remove old caulk.

Why should you remove old caulk?
It's a lot of work to remove old caulk, so a lot of homeowners wonder if they can simply skip this step. Applying new caulk over the old material, though, is actually pretty useless. Caulk doesn't adhere to itself, so you'll eventually end up with a poorly sealed area that could contribute to water damage and poor insulation.
How do you soften caulk for removal?
While you can forgo the use of chemicals and simply use a sharp caulk-removing tool to cut and scrape off the old caulk, chipping away at hardened caulk takes a lot of elbow grease and quite a few hours. Applying a caulk remover softens up the material and makes it easier to lift from the surface in bigger pieces. This will save you a lot of time and effort.

Read more
Know the different types of paint: The ultimate guide for painting your walls
different types of wall paint shutterstock 596435585

When you're refreshing your home with a new coat of paint, you want the best materials possible to make sure your hard work lasts. Picking the best paint can be difficult, though, because there isn't a single product that's head and shoulders above the rest. There are so many variations in paint products because different projects require different materials. Whether you're painting your home's exterior, bedroom walls, or a high-traffic area like the hallway, you'll need a certain type of paint for the job at hand.

Different types of paint finishes and their best uses
A paint's finish, or "sheen," refers to the way it reflects light once dried. Some finishes reflect light well, creating a glossy appearance, while others reflect little to no light, resulting in a more matte finish. These sheens also have a variety of other benefits, like cleanability or their ability to hide surface imperfections, so there's a lot to consider before purchasing a paint can or two.
Flat and matte finishes
Since flat finishes don't reflect much light, they tend to hide surface imperfections well, making these products great for textured interior walls. Flat and matte finishes also go on smooth and are the cheapest types of paint, so painters like to use these for large areas. Unfortunately, these finishes are not very durable and don't withstand cleaning well, so they're not recommended for high-traffic areas.
High-gloss finish
On the other end of the spectrum is high-gloss paint, a finish that reflects the most light and is the most durable. It's a great option for high-traffic areas like hallways, kitchens, banisters, and doorways, as you can easily wipe any smudges or fingerprints off this moisture-resistant finish. However, paints with a high-gloss finish tend to be more expensive and they don't hide imperfections, so small knicks and scrapes will be visible.
Eggshell and satin finishes
As a compromise between high-gloss and flat finishes, eggshell or satin finishes give you the best of both worlds. They have a higher sheen than flat and matte finishes, making them more durable and washable, but they also go on smoother and conceal better than high-gloss paint. These are the best options for the home's exterior since they hide imperfections that are common on outdoor surfaces, but they also withstand the elements better than flat or matte finishes.
Semi-gloss finish
A semi-gloss finish falls somewhere in between high-gloss and eggshell finishes in terms of sheen, durability, and coverage. It is more durable and moisture-resistant than eggshell but doesn't cover imperfections as well. However, it has better coverage than high-gloss paint. This is like the jack of all trades finish, as it performs fairly well in all categories.

Read more