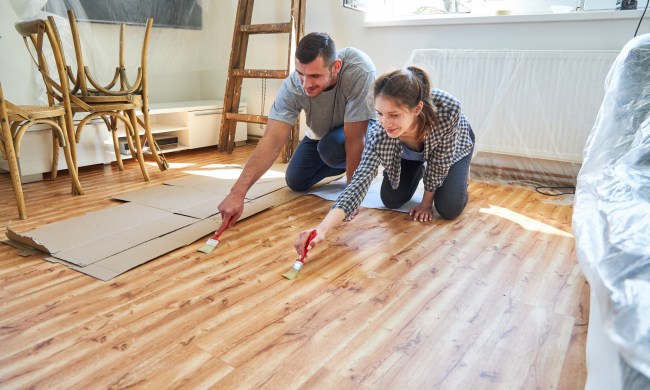
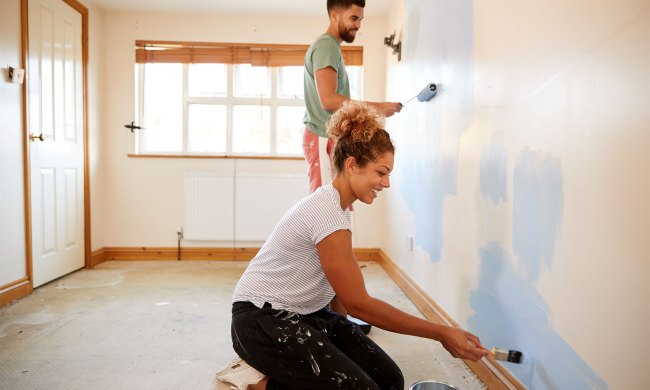
Home DIY projects save homeowners money, teach them new skills, and create a sense of pride and accomplishment that lasts for years. Unfortunately, home DIY projects are often more challenging and expensive than people think, and home DIY mistakes are common.
According to a recent survey from Angi, “nearly 80% of homeowners experienced a minor or major mistake during their DIY projects.” While minor mistakes are frustrating and time-consuming to repair, major mistakes can be extremely costly and might even increase your risk of injuries. Stay safe and on budget by avoiding these common DIY mistakes.
Common home DIY mistakes
With 80% of homeowners reporting major or minor mistakes, there’s a lot that can go wrong. Some of the more common minor mistakes included the following:
- Having to redo something you did wrong (44%)
- Spilling paint (39%)
- Having to repair or replace something you broke (37%)
- Using the wrong tool (33%)
- Making a big mess (30%)
- Ordering the wrong materials (29%)
- Kids or pets getting in the way (29%)
More serious mistakes were also reported by 27% of survey respondents. Of those, these were the biggest errors:
- Extensive damage (52%)
- Breaking something valuable or sentimental (48%)
- Serious injury (47%)
- Realizing the project was done wrong after completion (47%)
- Starting a fire (44%)
- Falling off a roof or ladder (44%)
- Someone being electrocuted (41%)
Home DIY mistakes: Poor planning
DIY projects require a lot of research and planning, but many DIYers simply don’t put in the time and effort needed for this crucial step. Often, homeowners neglect to plan out their time management and budget, leaving them with a seemingly never-ending project that keeps climbing in cost.
Planning too little time for the project
Often, newbies fail to allow adequate time for completion. Setbacks happen often during home renovation, which leads to prolonging the project beyond the ideal timeline. Instead of rushing to finish the task on time, avoid this frustration altogether by overestimating the number of hours or days needed to complete the project.
Going over budget
Budgeting for a DIY project can be tricky. Since labor costs aren’t a consideration, many homeowners set a very conservative budget, believing they only have to invest in materials. However, there are many indirect consequences of taking on DIY projects. For example, a week-long kitchen renovation may require a family to spend more money eating in at restaurants or ordering takeout.
When setting your budget, account for the project itself as well as any possible mistakes, repairs, and indirect impacts. Just to be safe, leave some wiggle room in your budget for these unforeseen circumstances. Once you set a spending limit, add about 20% to cover these unexpected costs.
Home DIY mistakes: Cutting corners
Many DIYers hope to finish their projects as soon as possible for as little money as possible. To achieve this, they often cut corners, opting for low-quality materials and rushing to install all the new appliances, flooring, and drywall. More often than not, it results in a haphazard job that will break down fairly quickly.
Not preparing adequately
The most common corner cut during projects is failing to prepare all the surfaces. Understandably, it can be tedious to take a ton of measurements, wash and dry walls before painting, or sand down wood before staining it. These little tasks certainly aren’t the most glamorous part of a home DIY project, but they set the foundation that paves the way for high-quality results.
Skimping on materials
Buying inexpensive materials is certainly acceptable in some smaller projects. When preparing a small hole in the wall or refinishing a small side table, you don’t have to spring for the professional-grade materials. However, when it comes to appliances, flooring, tiles, and paint, spend a little more time researching the best products for the job.
Home DIY mistakes: Working in unsafe conditions
According to the same survey we discussed previously, most minor DIY mistakes involved things like spilling paint or making a damaging mess. Major mistakes, however, include breaking valuable items, causing major damage to the home, or incurring physical injuries during the course of the project. Always take the necessary safety precautions, being sure to protect both yourself and your workspace.
Not wearing protective gear
When hammering a few nails, quickly sawing a piece of wood, or sanding down a corner, it’s tempting to skip gearing up. However, all it takes is one splinter in the eye or a quick second of carelessness, and all of a sudden you’re on your way to the hospital. Always wear recommended safety gear like goggles, masks, work gloves, and appropriate shoes while you’re working.
Failing to protect the workspace
Damages to the workspace are also common, but tarps, furniture covers, and tape can work together to protect your property.
Home DIY mistakes: Doing too much
Biting off more than one can chew is common in the DIY world, resulting in disappointment, wasted money, and prolonged periods of renovation. Ask for help if you need it, reach out to friends and family, and don’t be afraid to call in the professionals.
The DIY road is one that’s paved with failures and successes, losses and gains. While unforeseen circumstances always pop up during the process, there’s nothing quite as satisfying as building something with your own hands. Avoid the common pitfalls and plan diligently, work wisely, and know when to enlist a little help.

