If you love the thrill of putting up a new coat of paint, you probably see taping off the room as an arduous chore that stands between you and the accomplishment of those fresh, new walls. There are not only the baseboards and moldings to worry about, but also the doors, the windows, and even possibly some light fixtures, heating vents, and thermostats to tape off. Taping doesn’t have to be so frustrating, though, and with the right steps, you’ll be painting in no time. If you tape it right the first time, you’ll be enjoying your perfectly renovated room in no time.

How to prep the room before taping
In order for your painter's tape to do its job well, and for your painting project to go smoothly, you have to prep the room even before taping. For example, you'll want to thoroughly clean the areas that will be taped prior to moving forward. Tape does not adhere as well when dust and grime are present, which will allow paint to seep and leak onto the area you’ve taped off.
Step 1: Use a damp cloth to dust and wipe down your moldings, floorboards, and other areas that your painter’s tape will be applied to.
Step 2: Allow the cleaned areas to dry thoroughly before applying the tape. This will ensure that the tape adheres well to the surface.
Step 3: Use a screwdriver to remove any light switch and power outlet covers and keep them in a safe place until your paint has dried and you can reinstall them. This keeps paint splatters off of the covers and prevents you from having to tape around each fixture.

Use tape when covering your floors
Placing tarps on the floor will go a long way in protecting your hardwood or carpets from paint spills. But be aware that tarps will shift a lot during this process, and it can be difficult to keep them flush against your baseboard. It’s a good idea to purchase some kraft paper rolls for some added protection. Use masking tape to adhere them to the floor, right up against the baseboard. This way, when your tarps move an inch or two, your floors are still protected.

What kind of tape should you use?
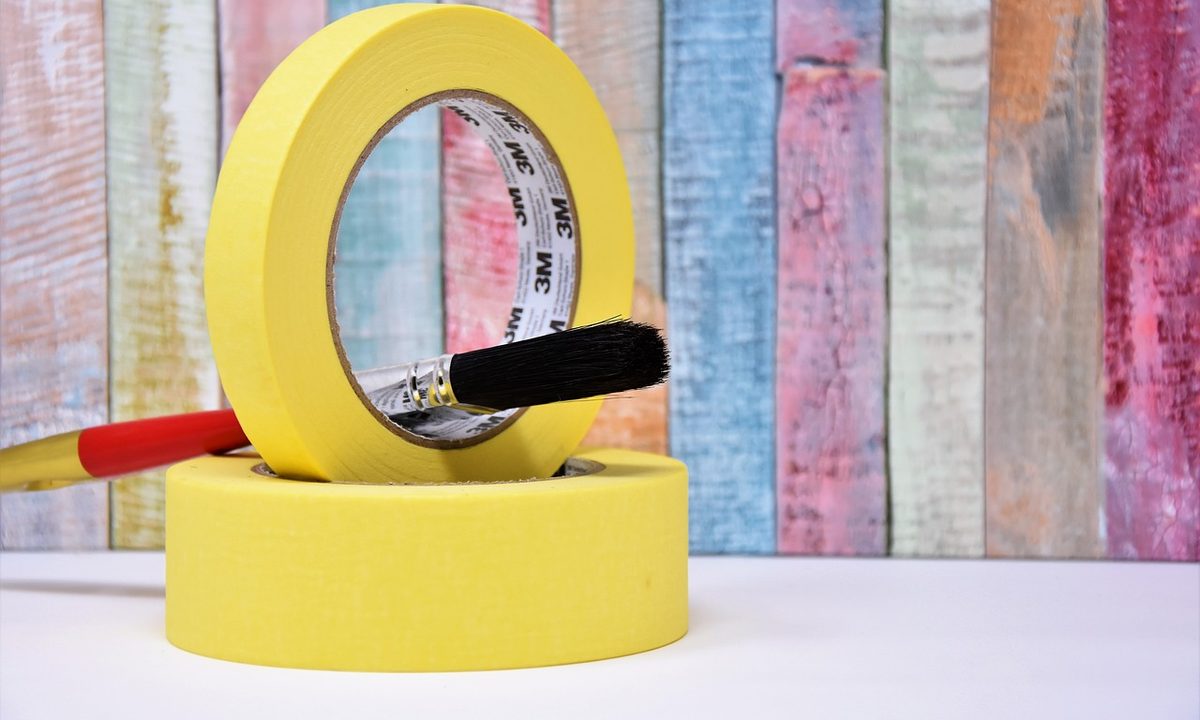
Most indoor painting jobs can be done using standard painter’s tape. Multi-surface painter’s tape adheres well to walls and baseboards and doesn’t leave the sticky residue that masking tape does. However, a few types of paint jobs and surfaces may require the use of a more specialized tape.

What to do about textured surfaces
If you’re painting on or around walls that are rough or textured, like stucco materials or brick, you’ll need a painter’s tape that is designed to adhere to this type of material. Scotch and Frog Tape brands have tape varieties that will stick to rough surfaces.
Creating painted designs
If you plan to have some bold stripes or stenciled designs on your newly painted walls, you’ll want to use a super thin painter’s tape that will make your painted lines look clean and precise. Scotch and IDL brands carry painter’s tapes that are designed to create sharp lines when removed.

The best way to tape before painting
When it comes to actually applying your painter’s tape along edges, baseboards, and moldings, there are a few things to keep in mind. Following these tips will protect against leaks, drips, and seeping so that you can paint away the hours with peace of mind.
Step 1: Cut off your first section of tape. Keep your sections at about a foot in length and overlap them as you apply them along the length of your trim. Long strips of tape are difficult to manage, and you’ll end up with folds, creases, and ultimately uneven paint lines.
Step 2: Carefully position the tape before pressing it down so that it’s flush up against the edge of the area that will be painted.
Step 3: Avoid stretching the tape as this could cause it to warp and tear, allowing the paint to seep through.
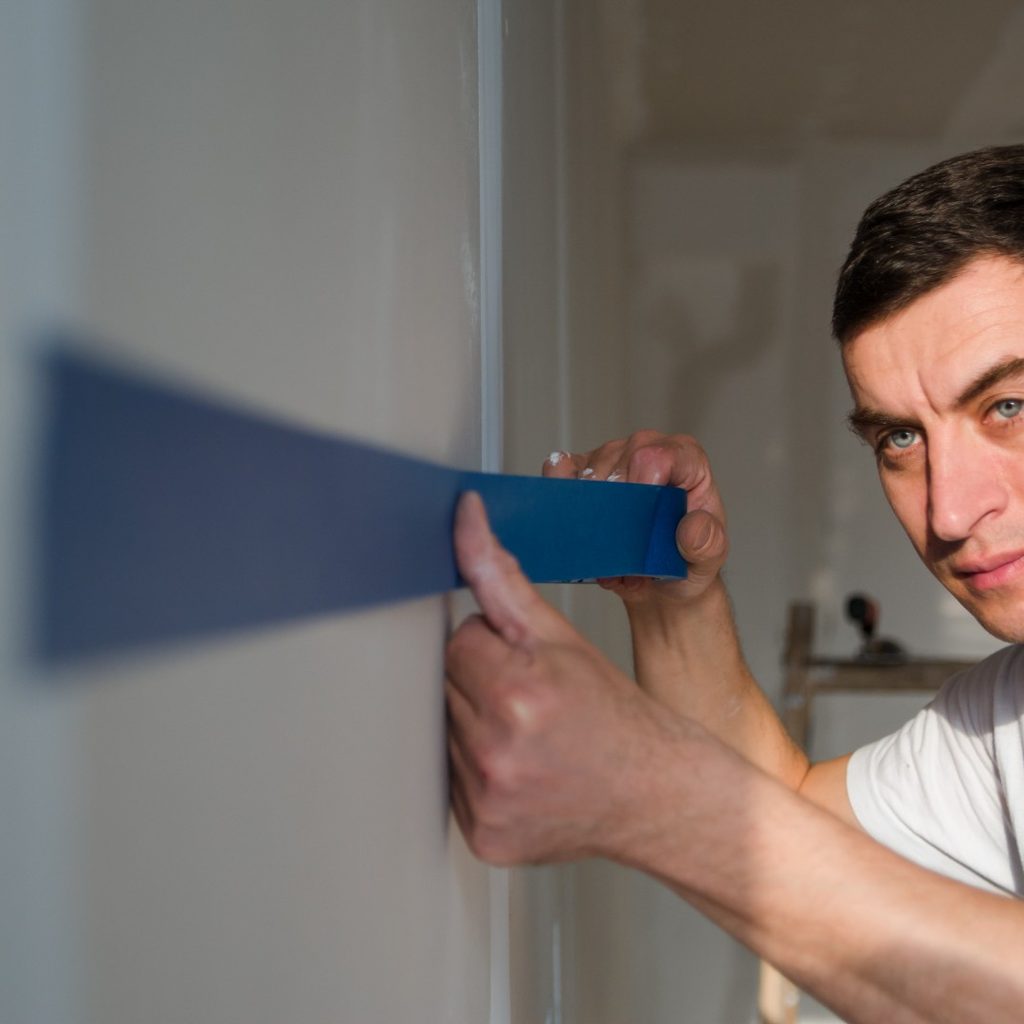
Step 4: Be sure to press the tape firmly onto the surface using your fingers or even a putty knife so that it adequately adheres and prevents dripping.

How to tape corners
Corners can be tricky to tape and are often hot spots for drips and splashes if not taped properly. Here's a trick to make sure that corner is properly taped prior to painting.
Step 1: Cut a strip of painter’s tape that is about an inch longer than you need.
Step 2: When you reach the corner, use your fingernail or a putty knife to crease the tape up against the opposite wall.
Step 3: Use the putty knife or a razor to slice the tape off at the crease.
How to ensure you paint a straight line
Painting a straight line can be challenging for the average homeowner, even with painter’s tape in their DIY toolkit. Thankfully, there are a couple of tips to help streamline the process.
First, having a level or ruler on hand can help you create straight lines as you lay the tape. You may need help from a friend or family member to pull this off, but it can help to have a longer, stiff instrument that won’t warp, bend, or lean as you place down your tape.
Alternatively, if you are only painting your walls or ceiling without any intricate murals, you should be good to lay your tape along the creases and corners of your space. Take your time as you go so you don’t end up with any funky bends or dips in the paint.
Also, as you tape off your upper walls by the ceiling, make sure you have someone to help you get as close to the crease as possible. This can be tricky when you’re craning your neck, but to achieve the perfect straight line, it’s best to hug the creases between your wall and ceiling for the most crisp results.
Painting is therapeutic for some people, but taping off the room isn’t enjoyable for anyone. While it’s no easy feat, taping before you paint is a vital step in the process. If done improperly, your paint job could look unprofessional, imprecise, and even downright sloppy. To avoid having to re-paint or clean up splashes and mistakes, use these tips to tape off your room the right way on the first try.


