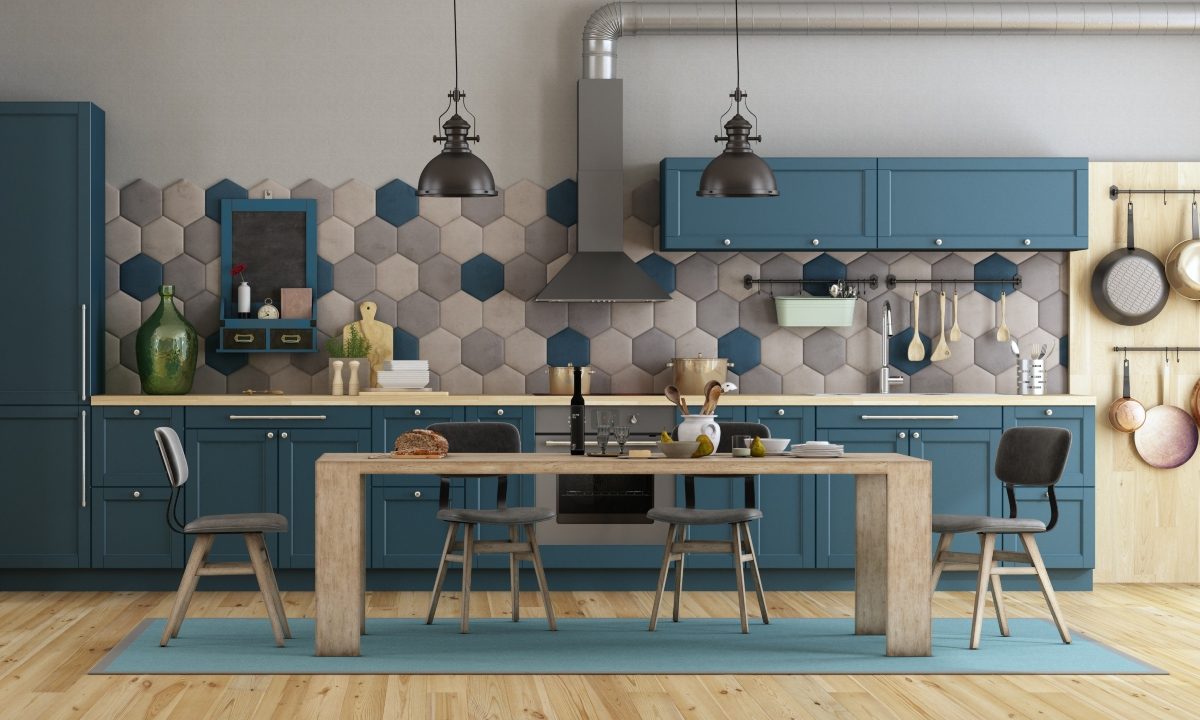
Kitchen renovation is one of the most impactful and cost-effective home remodel projects, with returns on investment of about 87 percent. While it’s no wonder that kitchen remodels are popular, but they’re also very expensive — cabinetry alone runs $5,000 to $6,000 on average. If money is tight, or your kitchen only needs a minor update, painting the cabinetry, rather than replacing it, will save you thousands of dollars while giving the room a completely new look. Plus, you can do it yourself in a couple of days.
Tools and supplies you’ll need for the job
- Rosin paper
- Painter’s tape
- Plastic sheeting
- Screwdriver
- Household cleanser or trisodium phosphate commercial degreaser
- Abrasive pad
- Liquid deglosser
- Wood filler
- Putty knife
- 100-grit sandpaper
- 220-grit sandpaper
- Tack cloth
- Latex caulk
- Paint scraper
- Primer paint
- Trim or enamel paint with a durable, high-sheen finish
- 4- or 6-inch roller, with foam cover
- 3- or 4-inch square brush
- 2 ½- or 3-inch angle brush
How to paint kitchen cabinets in 9 easy steps
Here is our step-by-step guide to painting your kitchen cabinets.
Prepare the room
Room preparation is key to a successful paint job. First, empty the cabinets, clear the countertops, and remove freestanding appliances. Move tables and other furniture to another room.
Next, cover the countertops and flooring with rosin paper to avoid drips and stains. Then tape plastic over the windows, interior doorways, fixed appliances, and backsplash, as well as the walls around the cabinets. Finally, create a workstation for painting doors, shelves, and drawers.
Remove doors, shelves, and drawers
Progressing from left to right and top to bottom, label all cabinet doors, drawer bottoms, and shelf edges with numbered pieces of tape before removing anything. Remove the shelves and unscrew the hinges from the cabinet frames to remove the doors. Be sure to set aside the hardware in a safe space. Stack the doors, shelves, and drawers near the workstation.
Remove hinges, door handles, and drawer pulls at the workstation. Again, set aside any hardware that will be reused. Transfer cabinet door numbers from the tape to exposed wood beneath one hinge, and cover the number with fresh tape.
Deep clean all surfaces
Use warm, soapy water to scrub dirt and grease buildup from the shelving, doors, drawer fronts, and face frames. If the buildup resists cleaning, switch to trisodium phosphate (TSP), or another strong degreasing cleanser, available at most home improvement and paint stores. After cleaning, rinse thoroughly with water and let everything dry. Be sure to follow all manufacturer directions and safety precautions.
Prepare the cabinet boxes
In this step, be sure to follow all manufacturer’s recommendations for ventilation and safety gear. Use an abrasive pad and liquid deglosser to scrub all surfaces. Catch drips with a rag, and wipe away residue from the surface with another deglosser-dampened clean rag.
If the hardware will be reinstalled in different locations or reused, fill the old screw holes with wood filler. After it sets, scrape it smooth with a sharp paint scraper and, sand it smooth if necessary.
Sand everything with 10-grit sandpaper, then vacuum inside and out to remove sanding dust and debris. Finally, rub everything down with a tack cloth.
Prime the cabinet boxes
A well-painted primer coat sets the stage for a great finish. If you’re looking to paint kitchen cabinets white, a good prime coat is the key to full coverage. Start at the top of the cabinet and work down. Apply the paint by brushing it on first across the grain, then finish by lightly passing over the wet paint with a single, light brush stroke in the direction of the grain from one end to the other. Follow the grain of the structural parts of the cabinet, and let the primer coat dry completely.
Sand, caulk, and fill

Sand the primed and dried flat surfaces with 220-grit sandpaper. Sand the shaped surfaces with a sanding sponge until the wood feels glassy smooth. Squeeze a pencil-thin bead of caulk into any open seams, pulling the tip along and smoothing the caulk with a damp finger. Spackle, smooth, and sand any dents or scratches. When the spackle and caulk are dry, sand a second time with 220-grit paper. Then vacuum and wipe with the tack cloth. Spot primer the patched areas as needed, then lightly sand with 280-grit paper. Vacuum and rub down with a tack cloth one last time.
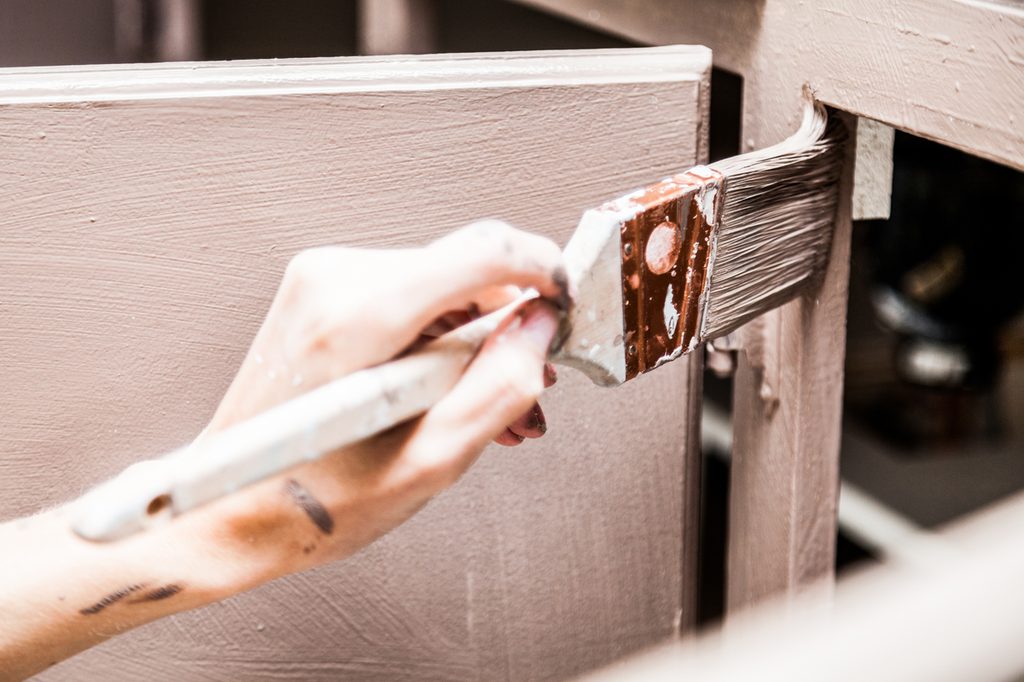
Paint the cabinet boxes
Apply one to three coats of paint, depending on the thoroughness of its coverage (applying a light shade over dark may require three coats). Use a fresh brush for each coat and follow the same progression and technique described for priming. Paint the cabinet interior with a smooth surface roller. Sand lightly between coats, and clean up the debris with a vacuum and tack cloth each time.
Prepare, prime, and paint the doors, shelves, and drawers
At the workstation, follow the same procedures for preparing, priming, and painting when you tackle the doors, shelves, and drawers. For paneled doors, paint the edges of the panel first, then the main body, and finish with the stiles and rails at the edges.
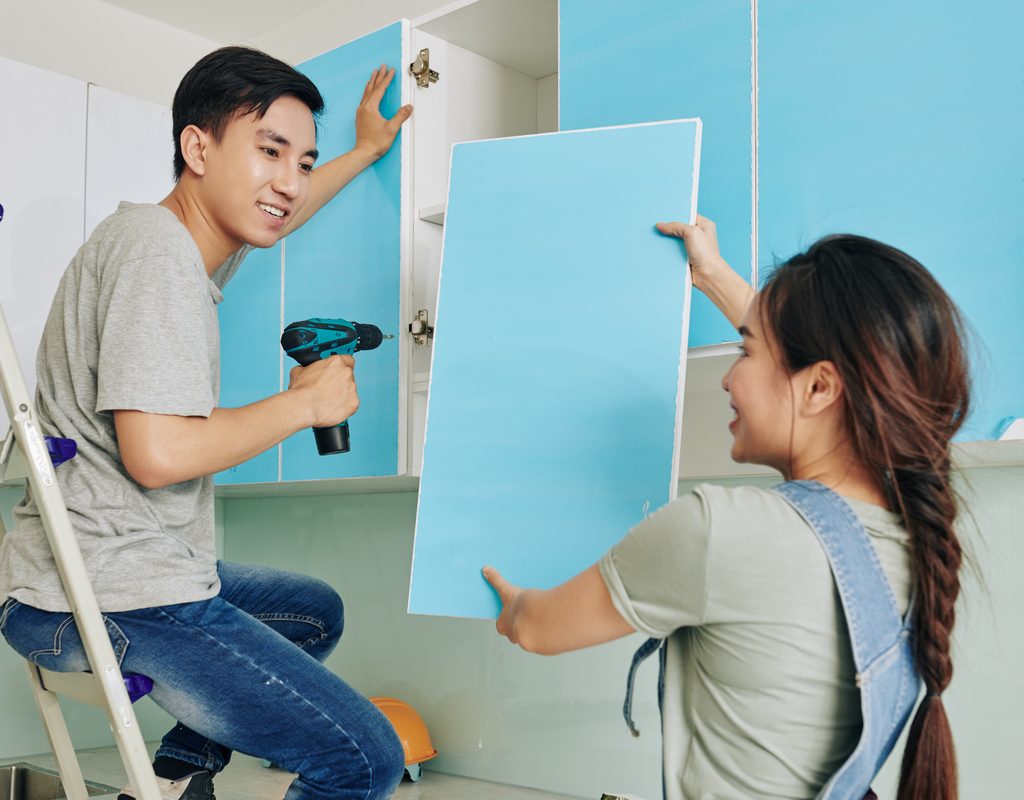
Reassemble the cabinets
When the final coat of paint is dry, replace the shelves in their original positions in the cabinet boxes. Replace drawer pulls and reinstall the drawers. Remove the tape over each door number to ensure you’re replacing them correctly. Install hinges and door handles. Then hang the doors in their original openings. And voila! You now have gorgeously updated kitchen cabinets.
What paint is best for kitchen cabinets?
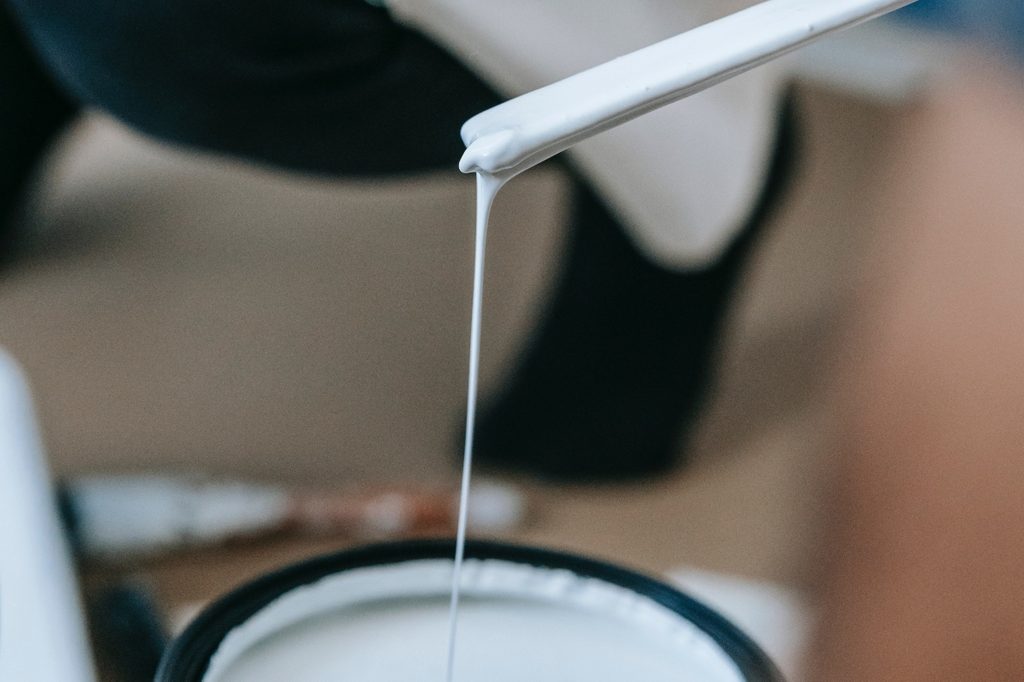
Acrylic latex-based paint is best for kitchen cabinets thanks to its durability and low maintenance. Additionally, this paint will better adhere to your kitchen cabinets, particularly if they are wooden, and will last a long time with little chipping.
You’ll also want to choose a low-medium sheen paint for your cabinetry. Satin and semi-gloss are best if you want to avoid any noticeable smudging. Be aware that darker colors like black may highlight smudges on a super low-sheen paint like satin. However, imperfections in the wood, brush strokes from painting, and fingerprints can be noticeable on high-sheen, high-gloss paints. So, aim for something in the middle to get a cleaner and more seamless look.
With a little elbow grease and maybe a hand from a friend, you can transform your kitchen without draining your bank account.


