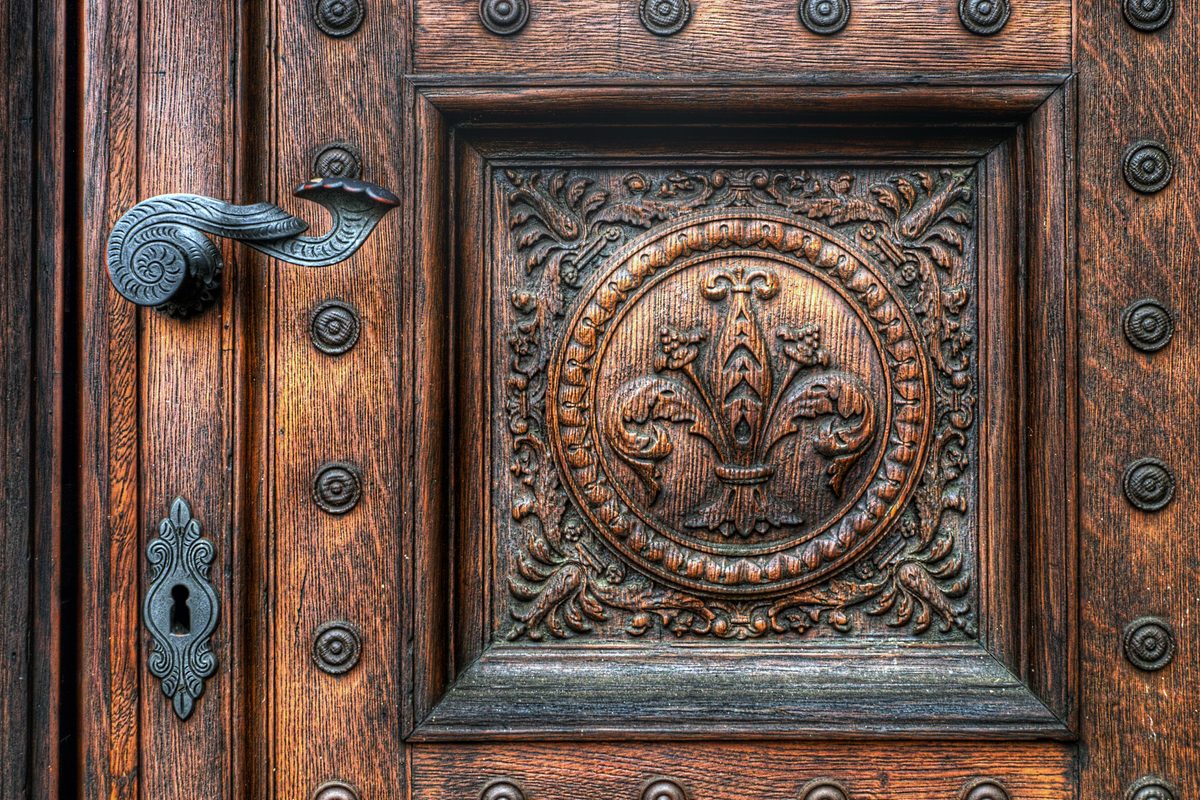
You want all of the elements of your home, including exterior and interior doors, to reflect your personal style. However, if your home is an old one, chances are it still has some charming elements from its original construction. Crown molding, doors, and other original wood accents on old homes are sometimes weathered and worn, but often they can be beautifully restored to their former glory. Here’s how you can restore an old wooden door without losing that vintage charm.
Benefits of refurbishing instead of replacing
One question homeowners ask themselves when planning renovation projects is whether it’s better to restore or replace older home features. While replacing antique elements of your home may be faster and easier, there are a ton of benefits to restoring those features instead.
Adds character and charm
That vintage look will never go out of style, which is why many homeowners try to keep the original character of their home while giving it a facelift. With many DIY methods, you can both make your home more modern and keep its original charm.
Adds value to the home
If you ever sell your home, buyers will love that you kept those gorgeous old wood elements. Since home buyers tend to be more interested in homes that have historic character and antique moldings, restoring these features will add value to your home.
More sustainable
Removing old wooden items in your home requires new features to replace them. This uses finite resources up, which isn’t very environmentally friendly. It’s a more sustainable practice to work with the materials and features you already have since it promotes conservation.
Preserves history
Particularly if you have a historic home, replacing old wooden features will break the hearts of historians everywhere. Keep history and the memory of the original owners alive by restoring that wood instead of getting rid of it.

How to refurbish doors made of old wood
What you’ll need
- Screwdriver
- Hammer
- Chisel or molding pry bar
- Putty knife
- Paint stripper
- Plastic sheeting
- Brass or steel brush
- Small- and medium-size paint brushes
- Gloves
- Fine-grit sandpaper
- Wood veneer
- Sharp knife
- Nail gun and nails
- Window sealant
- Wood finish of your choice
Preparing the door
- Remove the door from its hinges and set it on your workspace.
- Pull off any special features from the door, as these will be restored separately before being replaced on the door.
-
- Use a chisel or a molding pry bar to gently lift any moldings off of the door. You may need to use a hammer to lightly tap the pry bar to get under the molding. Once it lifts, you’ll see the nails that were holding the molding in place. Use pliers to gently remove the old nails from behind the molding and discard them.
- Windows on doors are usually adhered with silicone. Use a putty knife to cut through and remove the silicone and the glass pane should then lift out easily.
- Remove any hardware, like locks, for the wood refurbishing process. Afterward, you can either reinstall the old hardware or replace it with new, updated hardware.
Can you sand an old door?
If the wood has ornate details, you don’t want to remove the old paint or finish with heavy sandpaper, as this will damage the detailing. It’s better to first apply a paint stripper and gently remove the old finish before using a light sandpaper on it.
Stripping away the old finish or paint
- Apply a thick layer of paint stripper to both the door and any moldings that were removed. Use a small or medium paintbrush, depending on the wood detail, so the stripping material gets into the crevices.
- Wrap the door and the moldings in plastic sheeting for roughly 30 minutes, as stated on the paint stripper’s instruction label.
- Use a putty knife to gently scrape off the old coats of paint or finish from the flat areas of wood. Use a brass or steel brush to work the more detailed areas.
- Use a fine-grit sandpaper to sand the whole door and remove any residual finish or paint.
Making the wooden door look new again
A good way to freshen an old wooden door is to add a layer of veneer. Wood veneer is a thinly cut layer of wood that has an adhesive back and can be cut into strips to cover the old wood. It also protects the wood from the effects of moisture and temperature changes, which is particularly important for exterior doors.
- Using a sharp knife, cut the veneer to the correct strip sizes and apply it to the wood door carefully.
- Replace moldings using nails and a nail gun.
- Replace the pane of glass using exterior window sealant.
- Put the door back on its hinges and be sure it still fits into the door frame nicely after adding the veneer.
- Apply wood finish to all wooden areas on the door and leave the door open until it has dried. Check the wood finish instructions for appropriate drying time.
Your front door is one of the first things guests and prospective home buyers see of your house. Old, ornate wooden doors are gorgeous, but the effects of time and weather make them look worn and dated. Instead of replacing that old wooden door, restore it to its former glory with this handy guide, and preserve the antique character of this important home feature.


