If your laminate countertops are stained, dated, cracked, or damaged, they can be an eyesore. If you want to give your kitchen or bathroom a quick DIY facelift, addressing a drab-looking countertop is a great first step. If you feel your countertop is salvageable with some DIY love, however, here’s how to fix laminate countertops without calling a professional.
While some minor damage or basic refinishing can go a long way, there is a certain point where the damage should be addressed by a professional. If your countertop has major cracks or stains and damage covering a large portion of the surface, it may be a good idea to call in some help to repair or replace it entirely.
Removing stains

After years of prepping, cooking, and eating, your kitchen countertops see a lot of spills. On bathroom countertops, products like hair dyes, nail polish, colored soap, and makeup can leave their nasty marks. If you can’t stand to look at those stains anymore, a few methods work well at lifting stains from laminate countertops.
For many stains, a paste made from baking soda and water can do the trick. Let the mixture sit on the stain for a few hours and wipe it clean. If that doesn’t work, try using nail polish remover or paint thinner on a clean, white rag to lift the stain. Use these products in small doses so you don’t damage the laminate itself.
Repairing cracks, nicks, and chips
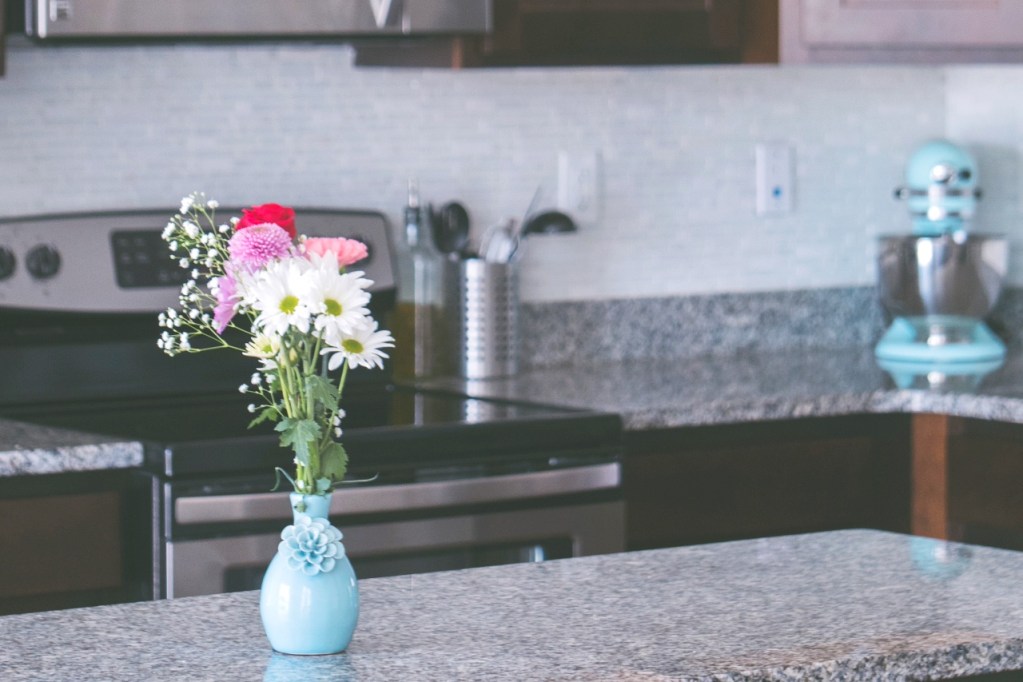
In the kitchen, small damages from knives, peelers, or even dropped objects may have left their mark on your countertops. In the bathroom, maybe your heavy soap dish or toothbrush holder has scratched up the laminate underneath. For these smaller repairs, you can use filling products that match the color of your laminate.
Products like SeamFil
- Mix the colors, or order a pre-mixed color that matches your countertop.
- Clean the area with
SeamFil’s SF-99 Solvent
. - Mix your SeamFil color with SeamFil retarder and use a putty knife to press the mix into the nick or crack.
- Remove excess mix using SeamFil’s SF-99 Solvent and a clean rag.
While SeamFil starts to harden right away, you may notice a bit of shrinking in the area (as it does). If this happens, you can repeat this process after an hour or so to fill in excess space.
How to fix laminate countertops
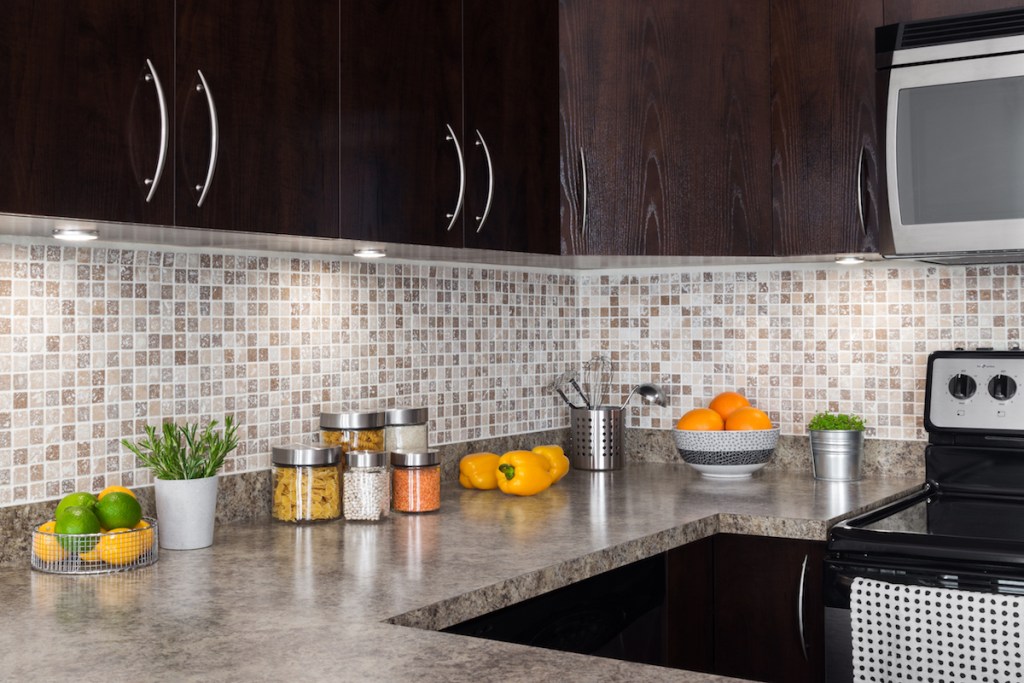
Accidents happen. You may place a hot pot on the counter without thinking or leave your flat iron on the bathroom counter for too long. We’ve all been there. However, when the laminate is exposed to elevated heat levels, glue holding the laminate layer to the substrate material underneath could melt and lose its hold. This causes the laminate layer to lift and creates a bubbled or uneven surface. The good news is that you may be able to repair your lifted laminate countertop with just a few steps.
- Use a putty knife to lift the loose portion of the laminate from the substrate layer.
- Clean out any loose material or dust on the substrate.
- Use an iron on the cotton setting to heat the surface of the laminate, but don’t use the steam function. The glue should melt enough to re-adhere the laminate layer to the substrate.
- Place flat, heavy objects like books on top of the laminate area that has lifted and let them sit there until the glue has cooled and dried.
How to refinish laminate countertops
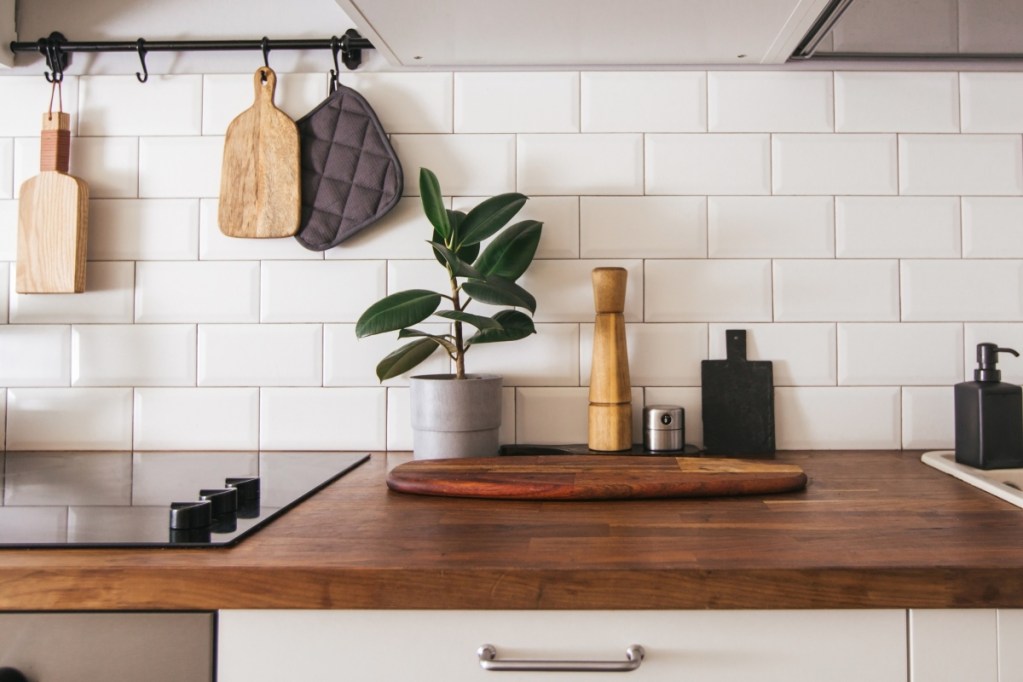
If you’d like a beautiful facelift for your drab or dated laminate countertops, refinishing them can go a long way. You can get creative with the color, texturing, and decorative painting methods for a natural stone appearance. Here’s how you can refinish your own laminate countertops:
- Use newspaper and painter’s tape to cover any areas you are not refinishing, such as nearby walls, cupboards, and flooring.
- Apply paint primer to the surface of the laminate.
- Apply the paint of your choice to the surface. At this stage, you’ll add texturing for a decorative appearance. You can do this with subtle glitter or sponge painting to create a granite-like appearance.
- Once your paint has dried, apply a layer of epoxy, following the product’s instructions strictly. This will give the countertop a beautiful glossy finish.
- Be sure to occasionally wipe away dripping epoxy from the underside of your counter’s edge.
- Bubbles may appear after you’ve applied the epoxy. You can pop these bubbles using a blowtorch or barbecue lighter, but keep the flame moving and don’t put it directly on the countertop.
- After a few hours, carefully remove the painter’s tape from around the countertop. Removing it earlier may cause the epoxy to move or drip, but removing it later will mean that the epoxy has hardened too much, and the tape will be difficult to remove.
Preventing future damage to laminate countertops

You want beautiful countertops, but they don’t have to be a big, expensive project. Using the advice here for removing stains, repairing damages, and refinishing your laminate countertops, you can have a countertop that looks brand new, all without paying a fortune to hire a professional. Give your countertops the TLC they deserve and give the entire room an updated look.


