Are you a DIY weekend warrior? Does the idea of saving money and learning a new fixer-upper skill make you grin from ear to ear? Well, when you get the redecorating bug, we generally don’t recommend electrical projects. However, installing recessed lighting can be a surprisingly easy and safe task if you have existing wiring in place. As long as you follow a few safety guidelines and our step-by-step directions, you can transform any room by incorporating these sleek, modern lights.
The 411 on easy to install recessed lighting
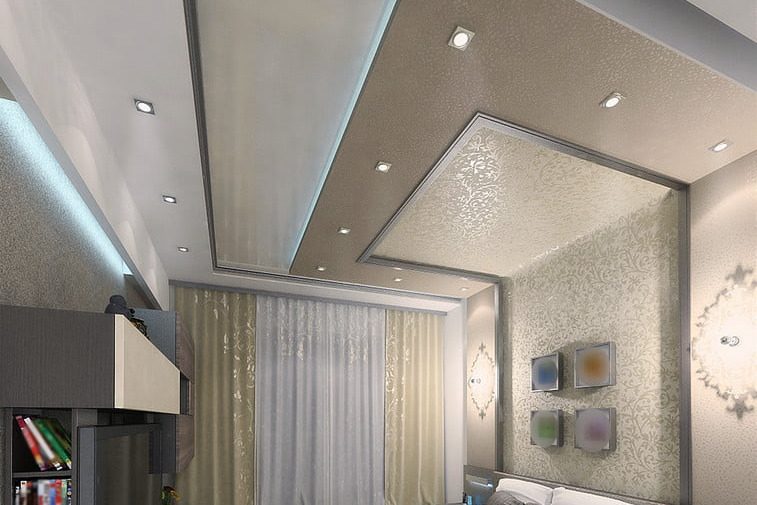
Recessed lights, often called can lights or downlights, are installed into the ceiling, so there aren’t any visible fixtures. This unobtrusive, simple design makes them well suited for virtually any room, be it an office, kitchen, or bedroom.
This lighting is available in two basic styles: new construction and remodel. New construction lights are installed during the building phase, and the ceiling is built around it. With remodel lighting, you can install them into an existing fixture, which is the best method for DIYers.
In addition to choosing the lights themselves, you will also need to select the housing, baffles, and trim:
- The housing is the part of the fixture that’s settled within the wall and holds the wiring. Housing is usually rated “IC” or “Non-IC,” with the IC referring to “insulation contact.” IC housing is less likely to experience heat or airflow problems when placed against insulation, so they’re usually the better choice.
- Next, you’ll need an inner sheath called a “baffle,” which covers the bare metal can to give it a polished look. There are reflective baffles that maximize the light throw of the light and simpler matte ones as well. The choice depends on whether you’re looking to illuminate an entire room or create a softer ambiance.
- Finally, select the trim that will cover the rim of the housing and the surrounding hole to create a polished look.
How to put in recessed lighting: a step-by-step guide
Safety first!
Before you begin any electrical project, go to your breaker panel and shut off the power to the location you’ll be working on. For extra safety, cover the switch with tape to make sure no one mistakenly turns it on in the middle of your project. Use a circuit tester to ensure the power is off before you touch any wiring.
Remove the old fixture and junction box
Remove your existing fixture as well as the junction box in the ceiling above it. You may need to saw and cut the junction from the joist where it is attached. Be sure to avoid damaging wires.
Measure the hole
Most new lighting comes with a paper template which you can use to trace a circle on your ceiling. Recessed lighting usually comes in 4-inch, 5-inch, and 6-inch diameters. Measure the existing hole to dictate the size of your new recessed lights. This will make the installation much more convenient.
Cut the hole
Using a hole-cutting drill bit or a drywall saw, follow the template tracing to cut a circle onto the ceiling. Though you’ll ultimately cover the edge with trim, still take your time to do a smooth and careful cut. Note: older ceilings may be brittle and could crumble under stress, so move slowly and call an expert if the material crumbles excessively.
Connect and secure the wiring
After opening the junction box, take the wires hanging from the ceiling and clamp them to the box. Be sure to leave enough run to be able to move them if needed. Strip the plastic insulation from the wire’s end and pair the wires together using wire nuts, which are color-coded.
Test the power
Before you mount the fixture, quickly turn the power back on and use a voltage tester to ensure the bulb socket is receiving electricity. If everything is working, turn the breaker off again before proceeding.
Insert and secure the housing
Insert the housing into the previously cut hole. Locate the clips along the housing edge and use a screwdriver to push the clips out until you feel it click, letting you know the housing is properly secured to the ceiling. To confirm, tug gently.
Attach the baffle and trim
The baffle and trim usually attach to the housing with metal springs. Pull the strings out as far as they can go, then attach the housing to the compatible holes in the can. Slide both the baffle and trim up until the trim is flush with the ceiling.
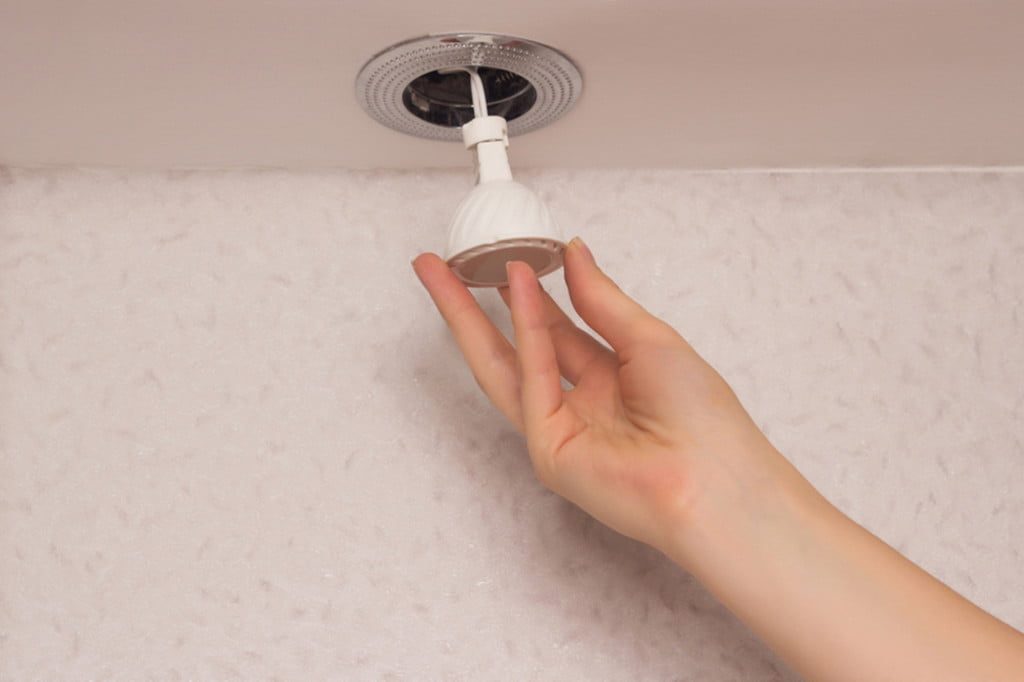
Choose a bulb
When choosing a bulb, select one that has the approved base size, wattage, and dimming capabilities for your fixture.
Congratulations! You’ve just installed recessed lighting without calling in an electrician. Now, just turn the lighting on and bask in the glow of your latest DIY achievement.


