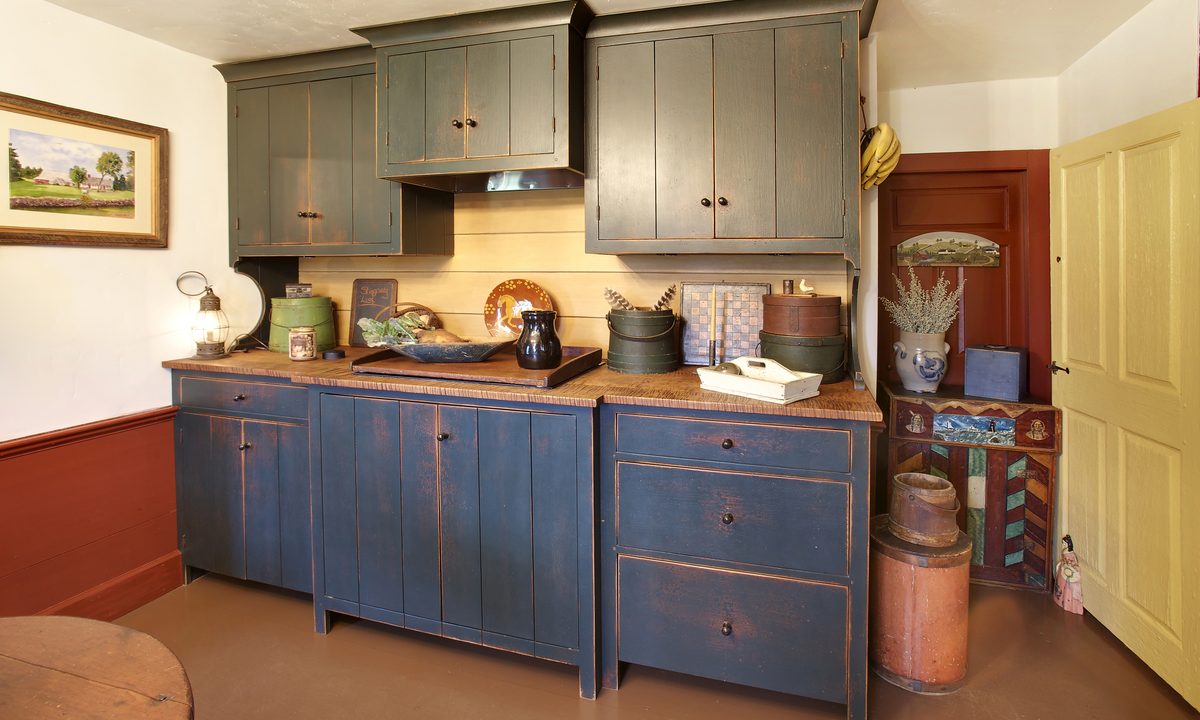
Transforming plain kitchen cabinets into an antique-looking storage space is one of the easiest and most cost-efficient ways to make a statement in your kitchen. With just a few intelligent hacks, you can make your kitchen look like you spent an exorbitant sum sourcing the rare furnishings and décor.
Getting your dream antique kitchen simply comes down to painting the cabinetry and giving it a distinguished, weathered look. Even better, you don’t even have to hire a contractor to do the work; it’s a relatively easy DIY job. In a few simple steps, you can give yourself antique kitchen cabinets with only paint, making your space the talk of the neighborhood.
Decide what the base color should be
Painting cabinetry is among the easier DIY home remodeling tasks. There are steps a few steps to follow in order to get it right. Before you rush out to buy materials, first decide how “vintage” you want your cabinets to look. The greater the contrast between the stain color and the base color, the older the cabinets will appear.
For the base, choose a honey brown shade for a more worn, chic look. Alternatively, opt for a stained oak to create a cottage-style feel to your kitchen. With all that said, it’s best to use lighter colors for the base because darker tones won’t stand out when you paint over them with antique stains.
Choose your antique stain color
The cabinet’s base color will largely dictate the shade of the antique stain. For example, if the base is dark, you need to find the darkest stain possible. For a white or cream-colored base, pick a stain with mid-tones. If the base has a caramel or honey color to it, opt for a medium stain. Remember, the more contrast there is between the base and antique stain colors, the older your cabinets will appear. However, too much contrast will mean one of the colors, either the stain or the base, won’t show through enough.
Time to clean your cabinet
Now that you’ve chosen your stain color, it’s time to clean your cabinets.
Step 1: Feel free to remove the cabinet doors before you begin cleaning for better mobility.
Step 2: Put on the rubber gloves and wipe down the entire cabinet with a damp, clean cotton rag.
Step 3: Remove any noticeable dirt and dust.
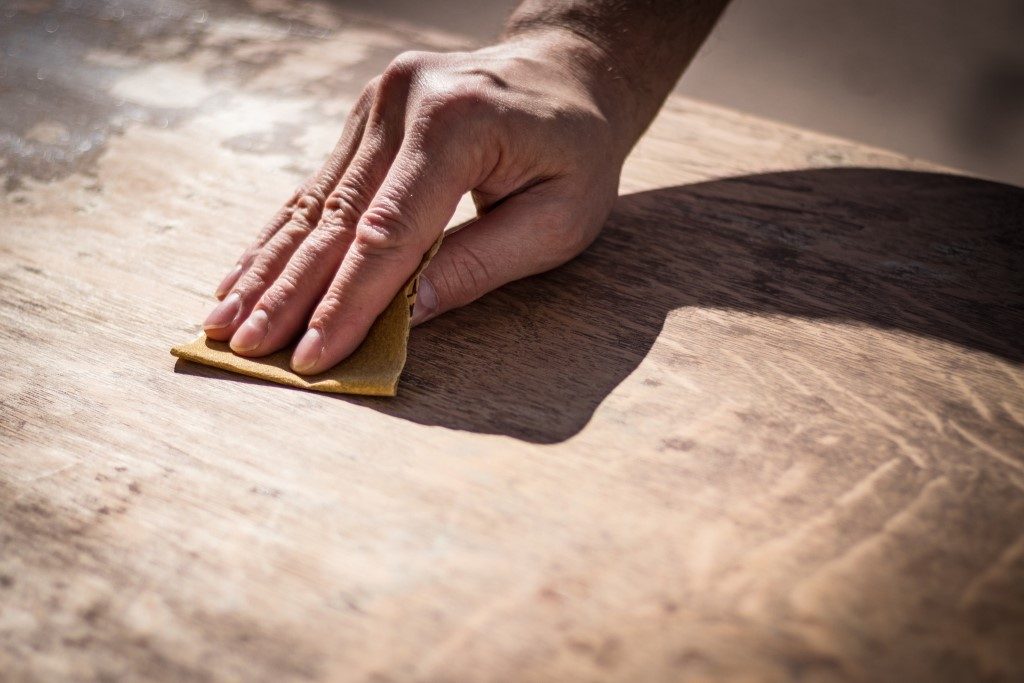
Step 4: Sand the cabinet surface until the wood has a dull appearance.
Step 5: Clean the cabinet again. This time, remove any sawdust left over from the sanding process.
Step 6: If you decide to change the base color of the cabinet, now is the time to do so. Once cleaned, allow the cabinet to dry.

Method 1: Apply the antique stain using a rag
Once the base color is dry, it’s time to brush on your antique stain. Our first method employs the use of a cotton rag. If you’ve never stained wood before, take a piece of scrap wood and practice a bit before jumping in. However, if you feel confident, grab a brush and begin applying the stain to the corners, sides, and edges of your cabinets.
Step 1: Apply a little stain to a cotton rag.
Step 2: Begin spreading it on the cabinet using small circular motions.
Step 3: Once you’ve applied the stain, double back. This time, wipe up and down and side to side to smooth out any circular-looking marks.
Step 4: Let the stain dry for a full 24 hours, then brush on wood sealant to finish the job.
Method 1: Apply the antique stain using a paintbrush
Step 1: Apply a little stain to the brush and apply it by brushing it in the same direction as the wood grain.
Step 2: After you’ve applied the stain, go back and use a rag to wipe down the stained areas. Doing so will increase the worn-out look you’re going for.
Step 3: Finally, let the stain dry for a full 24 hours, then brush on wood sealant to finish the job.
The more practice you get at antiquing cabinets, the better they’re going to look. As you become more experienced, try sanding the cabinet even further after you’ve stained it. This creates a distressed, beat-up feel to the wood that provides an antique texture as well as an antique color. To add even more realism to the antique look, get creative and make chips and dents by overly sanding a specific spot or by using a chisel.
Prepare well, choose the right colors, and you can create an incredible, vintage feeling to your kitchen by antiquing your cabinetry.


