Painted wood furniture can be beautiful, adding an elegant focal point to a room in your home. However, painted wood furniture is not quite as nice once the paint starts to peel and flake off. If you have furniture like this and want to give it some new life, the first step is to remove the old paint.
The is a very DIY-friendly process, but it is important to complete the process carefully to achieve the best results. Check out the steps below on how to remove paint from wood furniture.
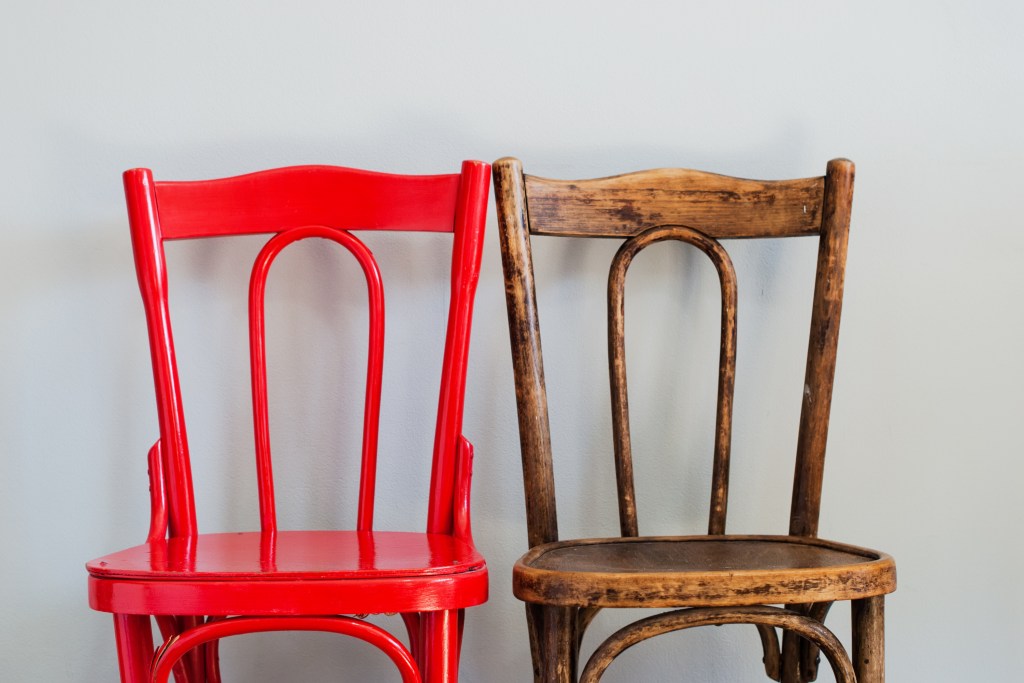
Revitalize your old furniture
Whether you've got an old table sitting around in your basement or you bought chairs with some promise for a steal secondhand, reviving wood furniture isn’t as hard as you may think. If you follow these steps and take the necessary precautions, you will be able to remove the old paint from your wood furniture, give it a fresh coat, and make it look brand new.
Step 1: Test for led paint.
The U.S. government prohibited the sale of lead paint to consumers in 1978. If you have furniture that was made before then, there’s a good chance that it has this dangerous paint. Lead can cause serious health problems, especially in children. If there is any chance that your furniture has lead paint, test it before you begin the removal process.
Use a DIY lead paint testing kit that has been approved by the Environmental Protection Agency. This kit should include 3M LeadCheck and D-Lead. The test kit should also provide instructions on how to remove a paint sample, how much to remove, and how to test it. You can also send paint scrapings to a lab for testing. If you discover that your furniture has lead paint, don’t scrape or sand it. Instead, hire a professional to safely remove it.
Step 2: Protect anything that isn't painted.
Remove all the hinges, knobs, and handles from the piece you intend to paint and store them somewhere so they don’t get damaged or misplaced. If the furniture has any areas that you don’t have to remove paint from, such as upholstery, cover those sections with heavy plastic sheets so they don’t get damaged by chemicals and sanding.
Step 3: Take off the finish.
Before removing the paint from the furniture, you have to remove the finish first. If the piece has a lacquer finish, remove it with lacquer thinner and shellac with denatured alcohol. If the finish is a combination of lacquer and shellac, use a mixture consisting of half lacquer thinner and half denatured alcohol.
When using chemicals, wear rubber gloves, goggles, and a respirator. Be sure to work in a well-ventilated area or outdoors.
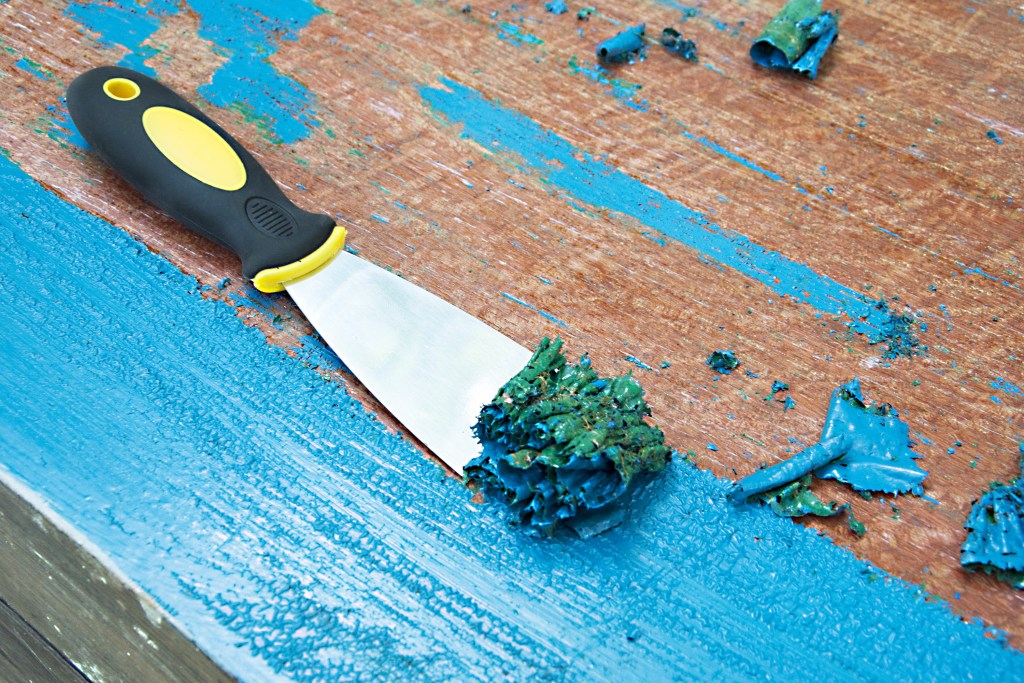
Step 4: Remove the paint.
There are several ways to remove paint from your wood furniture. One method alone probably won’t get rid of all the paint; you’ll most likely have to use a combination of these strategies.
Heat gun
A heat gun resembles a hairdryer and blasts air that’s hot enough to melt paint. This can remove varnish and several layers of paint and minimize the amount of dust generated. Be wary, however, that it can release hazardous fumes.
If you decide to use a heat gun, read the instructions and follow them carefully so you don’t start a fire. Turn the heat gun to its lowest setting, hold it a safe distance from the furniture, and move it slowly in circles. The paint will soften and curl up, and then you’ll be able to scrape it off.
The heat gun will most likely get rid of some or most of the paint, but not all of it. Use a paint stripper next.
Paint stripper
Paint strippers come in the form of a liquid, gel, or paste. This product allows you to get into the nooks and crannies you couldn’t get with a heat gun.
Caustic paint strippers contain lye, which turns old paint into a soapy film. Solvents also separate the paint from the wood, but they release fumes that can be hazardous. Biochemical paint strippers take more time to work than other types, and you may have to spend more time scraping, but they release fewer toxic fumes. A citrus-based paint stripper is non-toxic and non-corrosive and may even leave a pleasant smell.
Before using a paint stripper, lightly sand the surface to allow the product to penetrate the paint more deeply. Follow the instructions carefully and give the paint stripper enough time to work. You should be able to scrape off the remaining paint with minimal effort. If you don’t wait long enough, you will have to do some extra scraping. If you wait too long, on the other hand, the paint may harden.
Remember to wear rubber gloves, goggles, and a respirator, and work in a well-ventilated area.
Vinegar
For those areas that are already starting to peel, or if you have only a small amount of paint to remove, using a vinegar solution may work for you.
First, create your vinegar solution with one part vinegar and two parts water. Then, heat the solution in the microwave for 30 seconds.
Next, soak a washcloth in the warm vinegar solution. Ring it out, then dab the cloth over the paint you want to remove. Let the vinegar sit for about 15 minutes, then scrape it off with a tool of your choice.
Sanding
If you’re short on time or you’d rather not use chemicals, you can remove paint from your wood furniture using a straight-line or orbital power sander. A sander is a particularly good choice for large, flat areas. Pro tip: If possible, hook up the sander to a vacuum so it can collect dust while you’re working.
Only use a sander if you know how to do it correctly. If you don’t, you can cause serious damage to the furniture and possibly even yourself.
By following these steps, your furniture will be stripped of its old, peeling paint in no time and ready for fresh paint and a new life. You'll be amazed at the incredible DIY projects you can upcycle with a little know-how.