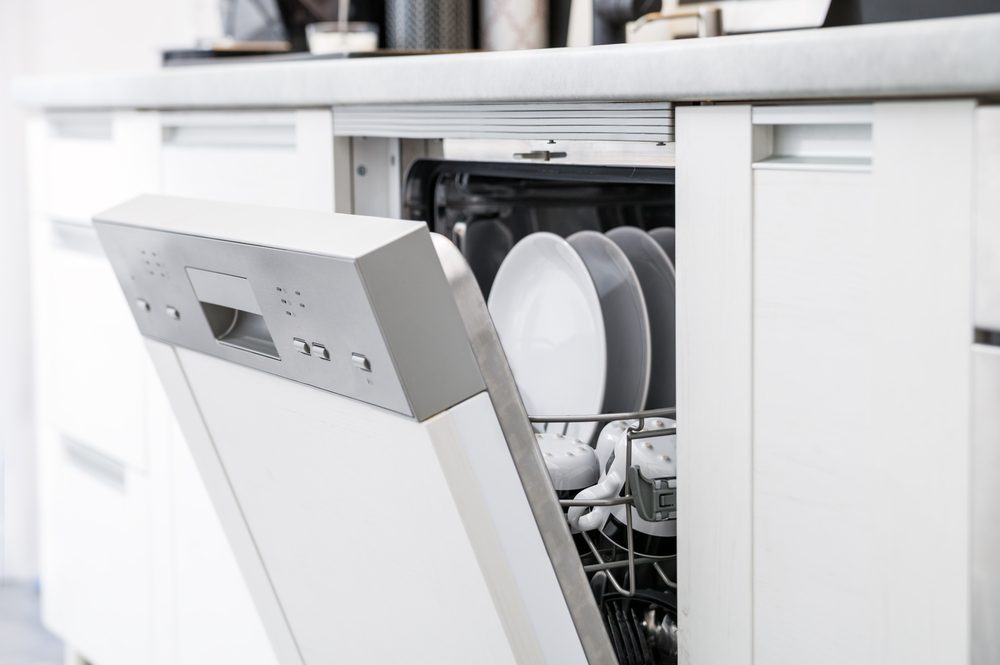
Your kitchen should be a space that’s clean and functional. If your dishwasher is dated or looking kind of nasty, even after a deep cleaning, it’s probably time for a new model. We’re going to walk through how to install a dishwasher in four easy steps that even a beginner DIY enthusiast can accomplish.
Do you need an electrician to install a dishwasher?
When you’re swapping out an old dishwasher for a new one, you don’t necessarily need to hire a professional electrician, plumber, or carpenter to install your dishwasher. After all, the hookups and space are already there for you. While there are some steps involved for electrically wiring the new appliance, most models come with specific instructions on how to perform those steps.
How do you install a dishwasher for the first time?
If your kitchen is getting its very first dishwasher, however, there are some more complex steps involved that should be done by a professional if you don’t have the required tools or qualifications to do them on your own. These steps include:
- Carving out a space in your cabinets for the dishwasher
- Running electrical wiring and plumbing to the installation point
Once these steps are completed, you can follow the rest of this guide for installation.
What is needed to install a dishwasher?
It’s important to make sure you have the right tools and materials on hand for installing your new dishwasher. One factor to consider is that new dishwashers don’t necessarily come equipped with all of the hookups required, so you may have to purchase them. Here’s everything you’ll need for this project:
- Blankets, towels, or cardboard to protect your floors
- Small bowl
- Pliers
- Adjustable wrench
- Electric drill and bits
- Water supply line (be sure it fits with your new dishwasher and your home’s connectors)
- Power cord (your old dishwasher’s power cord should work, but replace it if it’s damaged)
How to install a dishwasher in 4 easy steps
Step 1: Turn off water and power
To prevent water from pouring out of the old water supply line, the water to the dishwasher needs to be shut off. In most cases, you can shut off the water valve located under the kitchen sink that feeds to the dishwasher. Otherwise, you can shut off your home’s main water valve.
To prevent electric shocks, be sure the power to the old dishwasher is off by either unplugging the unit from the power source or shutting off the power at the breaker.
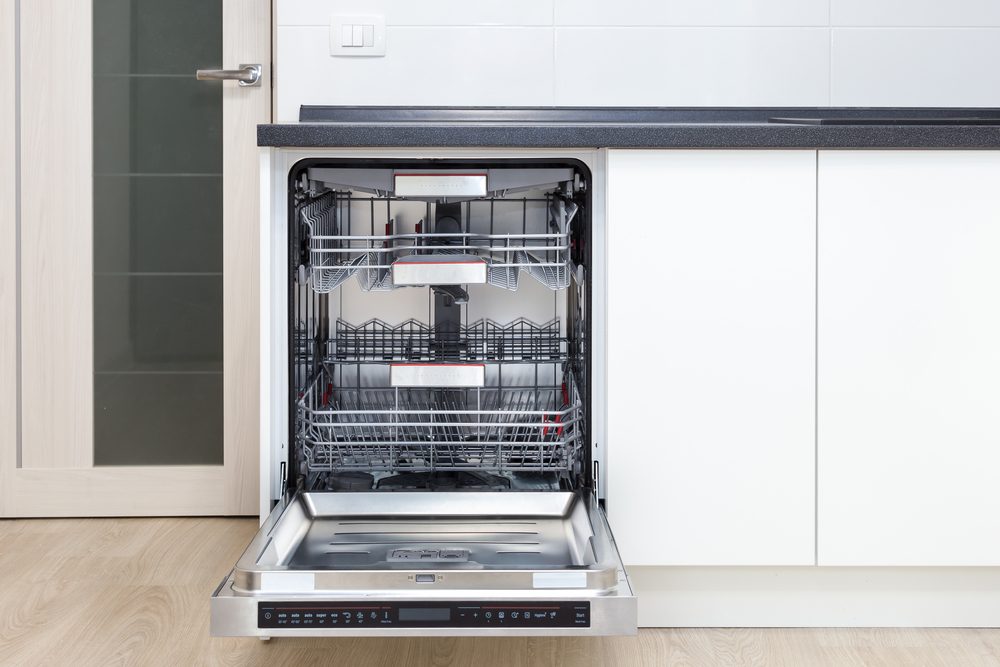
Step 2: Remove the old dishwasher
Dishwashers are connected in three areas, so you’ll need to disconnect all three before pulling the old unit out.
- Under-counter mounts
- Water supply line
- Drain line
Use an electric drill to remove the screws holding the dishwasher’s brackets in place under the counter. There’s also typically a facial plate in place against the bottom of the dishwasher, and the screws holding the plate in place will also need to be removed.
Unhook the water supply line under the kitchen sink using an adjustable wrench. There may be some residual water left in the line, so place a bowl under the connection to catch any water that releases.
Remove the drain line from the vent under your sink by loosening the band clip that’s on it.
At this point, you can carefully pull the old dishwasher out of its spot. Be sure to protect your floors by laying down a towel, blanket, or piece of cardboard to rest the unit on as you’re pulling it out. You’ll likely have to lift the front feet of the dishwasher over the edge of the flooring before pulling out the dishwasher.
Step 3: Prep the new model
Lay a blanket or towel on the floor and lay the new dishwasher on its back so you can access the bottom.
Following the manufacturer’s instructions, connect the water supply line to the dishwasher. Be sure the gasket for the supply line is in place to avoid leaks.
Connect the drain hose on the dishwasher to the drain line under the sink. Typically, drain lines come with a clamp that fastens the two hoses together.
Then, go to the electrical box on the dishwasher and make the appropriate wire connections according to the manufacturer’s instructions. You should see a ground wire, a neutral wire, and a live wire that either need to be connected to wire nuts or clamps.
Adjust the feet and wheels of your new dishwasher to the right height for the cabinet opening before turning it upright.
Step 4: Install and connect the new dishwasher
Now it’s time to carefully move the new dishwasher into place under the countertop. As the unit moves in place, the water supply, drain, and electrical connections need to be fed through to reach the connections under the sink.
Before the unit is pushed entirely into its place under the counter, use a drill to connect the mounting tabs to the dishwasher. Then, slide the unit fully into the space and use a drill to secure the mounting tabs to the underside of the countertop to keep the dishwasher mounted in place.
Connect the new water supply line and drain line under the kitchen sink and connect the new dishwasher’s power cord to a power source before turning the water valve back on.
You’ll be happy to know that installing a new dishwasher isn’t usually a complex process, and most DIYers can handle the skill level required to complete the project in just a few hours. A dishwasher is a supreme convenience in the kitchen, and if your old one is getting a bit dated, a new unit can mean all the difference in your daily life.


