If you’re like us, you have a pretty good house cleaning routine—which may even include a cleaning service, lucky you! But, some things in your home could really benefit from an occasional deep cleaning. The kind of deep cleaning that involves taking it apart and cleaning all of the nooks, crannies, and individual pieces.
There are countless videos online with details on deep cleaning how-to instructions for everything from car motors to computer keyboards, but we’re focusing on the five items you should always be taking apart to keep germs, dirt, and odors at bay!
Deep cleaning how-to essentials for your kitchen!
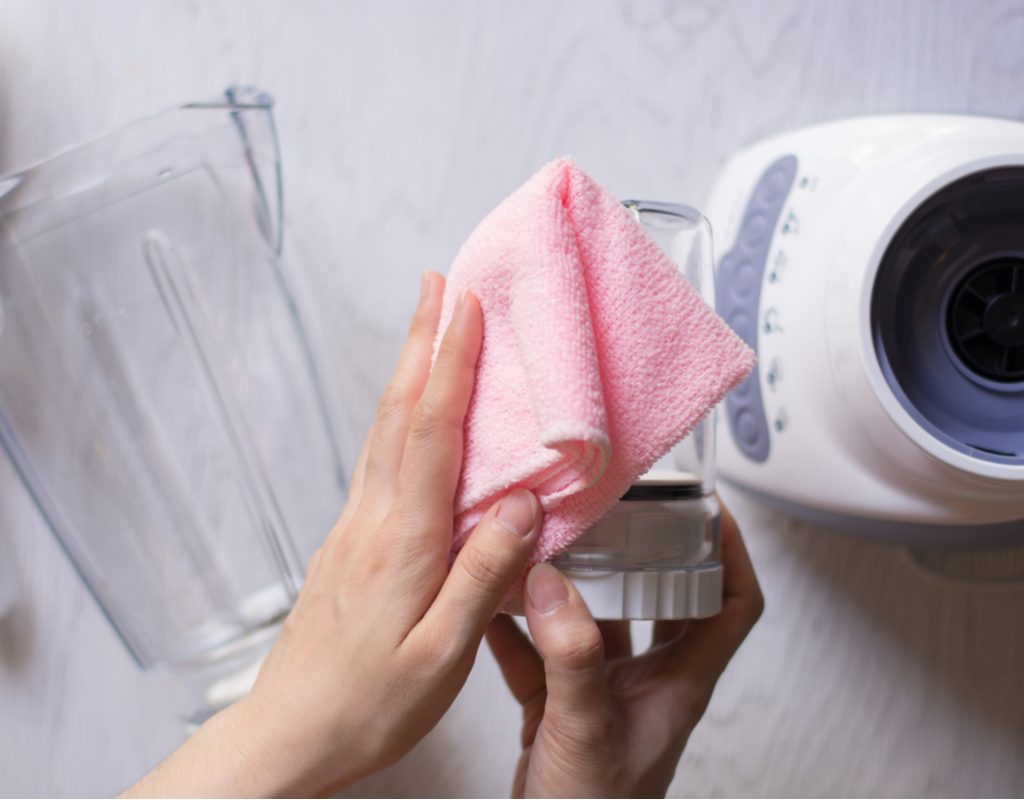
1. Blender
You wouldn’t think to serve your family beverages from a moldy pitcher, but if you haven’t taken your blender apart in a while, that’s exactly what you could be doing.
Washing your blender by hand, or even running it through the dishwasher, may rid the unit of visible liquid and particles, but it’s what lurks inside that’s worrisome. Liquids can seep into crevices and dry, causing the base to stick to the jar or becoming a petri dish for bacterial growth—yuck!
Every once in a while, your blender is due for a deep cleaning, which means taking it apart to ensure every piece of it is clean. Here’s how:
- After unplugging the blender, take the jar off the motor base, remove the jar lid, and unscrew the base of the jar — careful, the blades are sharp. Lastly, you’ll need to remove both the gasket seal (that’s the rubber disk) and the blade.
- Wash the jar with a sponge and warm soapy water. Rinse and dry.
- Hand-wash the gasket seal, blade, and jar base with warm soapy water. Rinse and dry parts thoroughly.
- To clean the motor base, make sure to unplug the blender and NEVER submerge the base in water or put it in the dishwasher. Wipe motor base with a warm, damp cloth. Don’t forget to wipe down the cord and periodically check for tears or other damage.
- Once everything is dry, reassemble your blender, and it’s ready to use!
2. Refrigerator shelves
Your refrigerator can become a sticky, slimy mess between food spills and the occasional forgotten piece of spoiled produce. And, once there’s a mess on your refrigerator shelves or drawers, it won’t be long before that mess starts to stink—with the smell leaking out into your kitchen each and every time you open the refrigerator door.
Remove all the food from inside your fridge—it’s a great time to check expiration dates and toss any spoiled foods hiding in plain sight.
- Pull out all the shelves and drawers and wash them in the sink with a sponge and warm, soapy water. Place on a towel to air dry.
- While the shelves and drawers are drying, it’s time to wipe down the interior of the empty refrigerator. Use warm, soapy water and a sponge or a natural fragrance-free cleaner (never use harsh chemicals because the smell could permeate into foods).
- Use a kitchen towel to dry the refrigerator before putting the cleaned shelves and drawers back into place.
3. Oven knobs
Boiled-over spills, saucy splatters, not to mention greasy fingers, can all lead to less-than-clean oven knobs. Giving them a perfunctory wipe down when you clean your stove or oven is okay for everyday cleaning. Still, you should do a thorough take apart every few months to prevent the knobs from getting too dirty and potentially interfering with the performance of your oven.
- Remove the knobs by pulling them straight off.
- Soak them in a container filled with warm, soapy water. Use an old toothbrush to get into any crevices or burnt-on food particles.
- Before replacing the knobs, spray the knob area on the oven with an all-purpose cleaner.
4. Dishwasher
Believe it or not, even an appliance whose sole purpose is to clean other things occasionally also needs a good cleaning itself.
- Start by pulling out the racks from inside your dishwasher.
- Remove the filter at the base of the machine.
- Scrub in the sink with a sponge and ordinary dish soap, then rinse and replace the filter.
Replace the racks inside your dishwasher. Run a dishwasher cycle without any detergents or dishes other than placing a cup—right side up—in the top rack and fill it with white vinegar. The white vinegar will help clean the interior of the machine while also deodorizing.
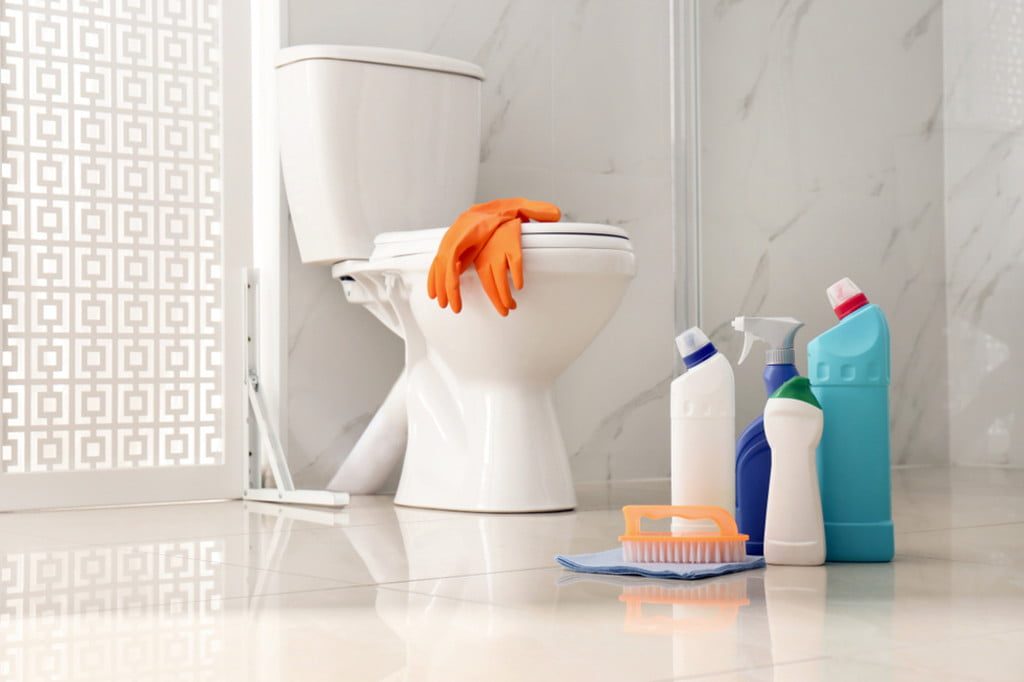
What to deep clean in your bathroom!
5. Toilet seat
Scrubbing your toilet bowl once or twice a week is probably already a part of your weekly cleaning routine, but when is the last time you took your toilet seat off and cleaned underneath? If you don’t add this chore to your cleaning—every few months is often enough—it could make your bathroom smell dirty, even if it’s not.
And, it couldn’t be easier or faster to do:
- Lift the two plastic screw coverings at the top of the toilet seat.
- Unscrew the seat and lift it off the bowl.
- Spray the seat base with bathroom cleaner and dry with a paper towel before screwing the seat back into place.
We all have better things to do than clean, but by setting aside a few extra minutes for a take-apart cleaning every now and then, you can ensure that your home is cleaner, fresher, and healthier. Mark your household calendar or set a notification on your phone so you won’t forget to continue doing regular, periodic deep cleanings.


