
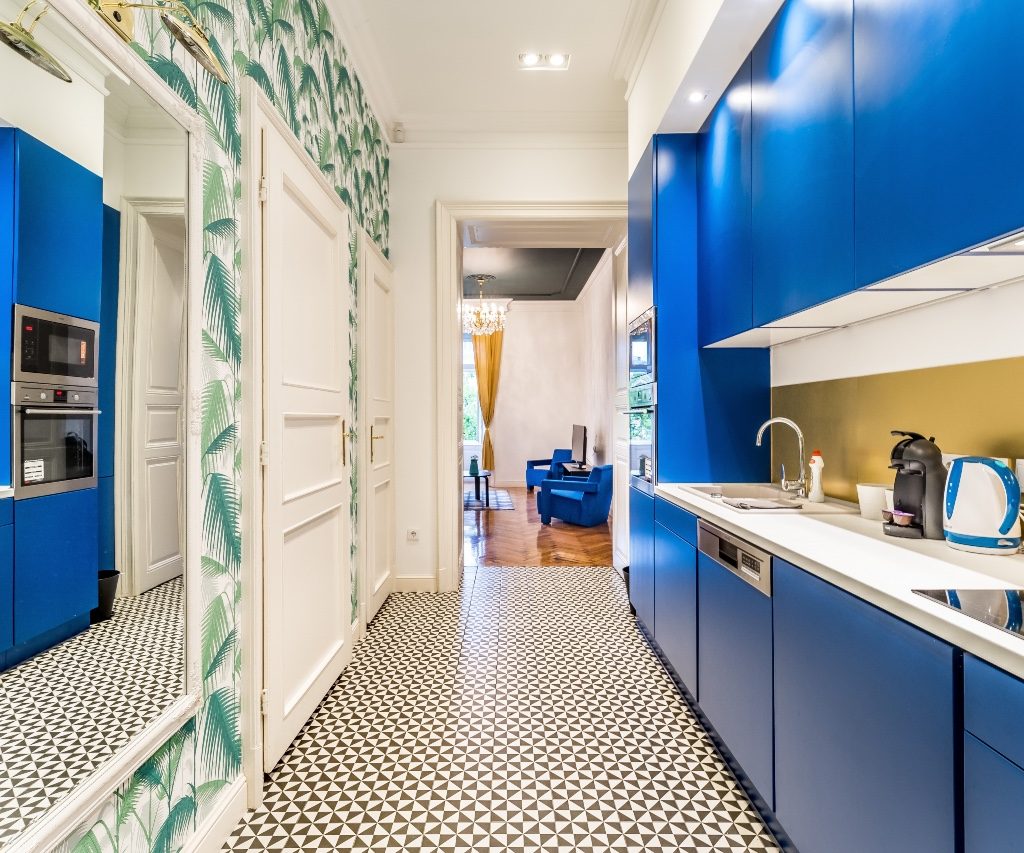
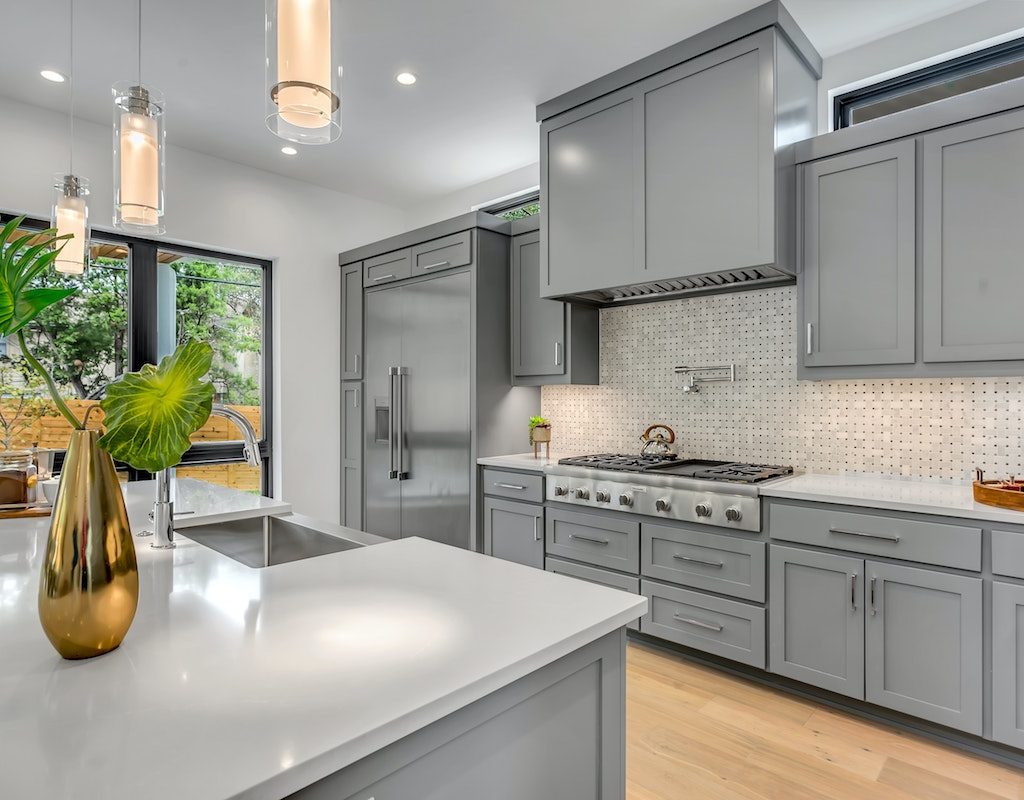
If your kitchen needs a bit of a facelift, painting your cabinets is a great way to revive the room and upgrade its appearance. The best part is, this is a project that even a novice DIYer can tackle. We’ll walk you through some detailed steps to take in prepping your kitchen as well as your cabinets for this project so you can get it done right the first time. With the right tools and a bit of instruction, your cabinets will be a beautiful focal point for your kitchen.
Prep the kitchen
Before diving in and throwing on that coat of paint, there are some things you need to do to prepare your kitchen for your cabinets’ new paint job. Taking these preparation steps will keep you organized throughout the project and minimize the effects of accidental splashes and spills.
Remove cabinet contents and clutter
Since you’ll also be painting the inside of your cabinets, empty the cabinets as well as your countertops and move all of their contents, along with any furniture, out of the kitchen.
Cover anything not being painted
Cover the floors, countertops, backsplash, and nearby walls with rosin paper, using painter’s tape to keep it in place. Rosin paper resists slipping, so you can walk safely on it during the project. Also, cover your refrigerator and other appliances using sheets of plastic and tape to protect them from splashes and spills.
Set up useful stations
Prepare a workstation for paints and tools to live on during your project. You can construct a temporary workstation using materials like ladders and two-by-fours, or you can use a covered table. You’ll also need a larger station to use for painting the cabinets‘ shelves and doors. Set up a workbench or a large covered table that’s big enough to hold the items being painted.
Prep the cabinets
Next, you’ll need to do some prepping on the cabinets themselves. These steps are essential to safely and effectively reach all the inside and outside crevices and for the paint to adhere properly to the cabinets.
Disassemble the cabinets
Remove the doors, shelves, and drawers from the cabinets, and be sure to label them, so you know where to replace them after your paint dries. Also, remove any hardware from these items like hinges and drawer handles and keep them safely organized in labeled bags if needed.
Strip the wood
If your cabinets are wood and they’re finished, you’ll want to strip the finish before applying paint. You can also sand the cabinets lightly instead of completely stripping them, but either way, a glossy finish makes paint adhesion more difficult. If your cabinets were previously painted and the paint is in poor condition, apply a stripping solution to loosen it and get the old paint off with a scraper and sandpaper.
Clean and dry the cabinets
You can use standard, all-purpose cleaners if there isn’t a lot of dirt and grime, but if you’re struggling to remove any sticky spills or food, use a harsher cleaner like trisodium phosphate (TSP). Wipe the cabinets down with water and a clean cloth, and be sure the cabinets dry completely before you move on to painting.
Prime and paint
Now comes the fun part of this project. At this point, you should already have your paint colors picked out and have an appropriate primer on hand. Be sure you’ve selected a paint and primer that are appropriate for the type of material your cabinets are made from.
Prime the cabinets
In most instances, an oil-based acrylic latex primer works well when painting cabinets. Using a paintbrush, apply the primer in wide strokes on the cabinet boxes and the removed portions, brushing across the wood grain first. Then, move the brush in long strokes with the grain. This method ensures that the primer gets into all the grooves of the wood’s grain. Be sure to start at the top and work your way down. Once the primer has dried, lightly sand it down so that the wood is smooth to the touch.
Painting
Using the same brush method you did while priming, paint the outside and inside of the cabinets, starting at the top and working your way down. Allow the first coat to dry before lightly sanding the surface of the paint and then applying the second coat. Repeat the process with the removed portions of the cabinet. You can drill a screw into a corner of the wood for the cabinet doors and shelves that you won’t see once the item is replaced. Paint one side first, let it dry flat for about an hour or two, then hold it up by the screw and paint the other side. Hang it up from a shower curtain or the workbench to fully dry. Be sure all painted surfaces are completely dry before replacing the removed cabinet portions and removing protective papers and plastic.
Your kitchen cabinets take up a lot of space in your kitchen, so they should look clean, sleek, and beautiful. This means their new paint job should be done right the first time so that you don’t end up with drab or imperfect-looking cabinets that need to be repainted again. Following the eight steps on this list, your cabinets will get the lovely makeover they deserve, and it will last for years to come.


