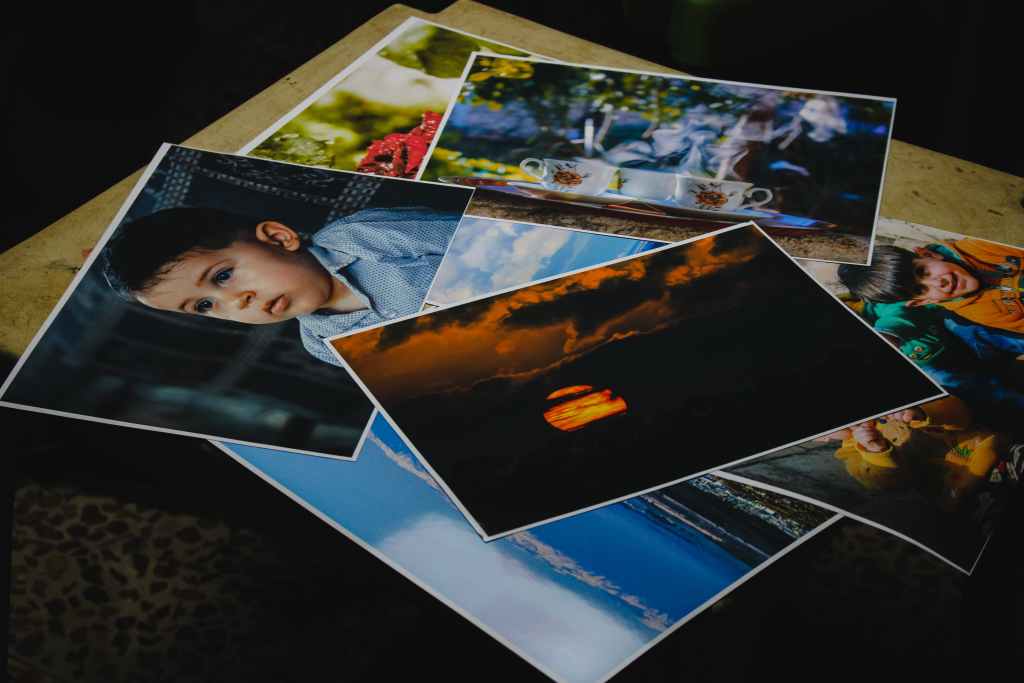
Sure, most of our photos are digital these days and Instagram serves as a way to share those memories with our loved ones. But that doesn’t mean that traditional photo albums are gone — nor are scrapbooks. Assembling a scrapbook is one of those things that many people would like to do, but never seem to get around to. If you dream of putting together a scrapbook but have been putting it off, going through your pictures and sorting them can help you get the ball rolling. Here are some tips for organizing photos so you can finally put together that family keepsake you’ve been planning for years.

Gather all your pictures in one place
It can feel overwhelming to look at a huge stack of photos covering several decades of your own life. The best approach is to gather everything in a pile so you can take stock of what you have. Go through your home, car, and other locations where you may have physical photos (including digital photos that you printed) and gather them all in one location.
Get rid of poor quality photos and duplicates
Likely, you’ll find quite a few shots that are blurry, too light, too dark, or duplicates of existing images, so discard them so they don’t take up valuable space. This advice also applies to digital photos (since you don’t actually need all 200 versions of the same selfie you took). When you go through your archive, whittle your collection down to the photos that are most meaningful to you and worth keeping.

Figure out how to sort photos
Think about the theme for the scrapbook you’re planning. If you want to focus on your family, a friend, a particular period in your life, or a specific set of experiences (such as your college years or family vacations), categorize your photos according to this theme. Put pictures that you want to include in your scrapbook in one pile or online folder. Sort other photos into broad categories, grouping them by person, time period, or location.
Keep photos that trigger positive emotions
As you sort through your pictures, pay attention to how you feel when you look at them. Put images that conjure positive experiences in one pile or container. These are likely pictures and memories that you’ll want to commemorate, so it’s best to keep them in an easy-to-access spot. Anything that immediately makes you smile or laugh is the sort of image you’ll want to include in your scrapbook. If you come across photos that trigger negative feelings, decide how to handle them on a case-by-case basis. You may want to let them go, or maybe they belong in a special place where you can honor the memory.
Do your best to make decisions quickly, and don’t let yourself get caught up in memories, good or bad. If you spend too much time thinking about the past, you’ll waste valuable time you could have spent sorting and organizing. Once all the images are categorized and organized, you can take all the time you want to reflect and take a walk down memory lane.
Organize photos and store them correctly
Once organized, be sure to store all of your photos in acid- and lignin-free containers. While they may not be as well protected, you can also sort photos into shoeboxes, folders, or plastic bags. Extreme temperatures and humidity can also cause damage. Store physical photos in a dry area with a moderate, relatively stable temperature, such as a closet in your house.
If you have a lot of photos from events that you can’t keep straight, do yourself a favor and label all of the images. Write notes on the backs of old photos to help you remember who the people in the images are, when they were taken, and what event inspired the gathering. Only use an archival safe photo pen for this task, since a regular pen can damage pictures.
Sort digital images into folders, approaching this task in much the same way that you handled your physical photos. If you come across some digital images that you would like to include in your scrapbook, print them out now or make a note so you’ll remember to print them later. If they don’t make the cut, archive them on a hard drive, in the cloud, or on another device or delete the unwanted images.
Sorting through thousands of images can be time-consuming, but it doesn’t have to be stressful. With these tips, you can organize photos in no time without any unnecessary stress. Once you get started, you may find that the process is much simpler and more enjoyable than you expected. (Now all you have to do is actually start that scrapbook.)