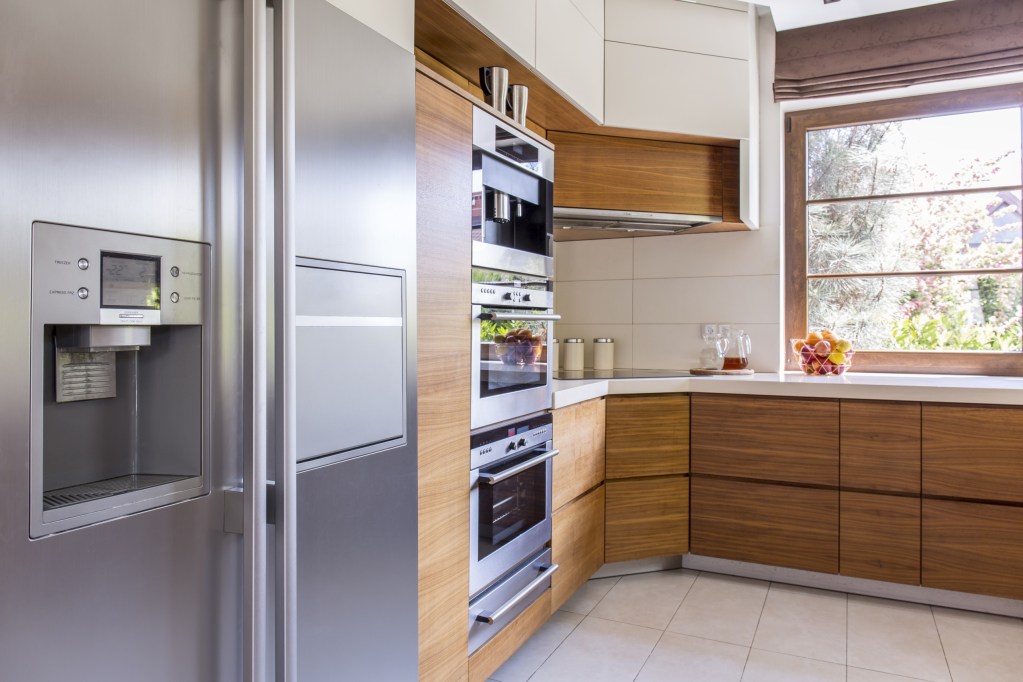
Whether your ice maker is leaking, jammed, or just straight up isn’t functioning properly, it could be time to remove and replace the entire ensemble. The refrigerator is one of the most important kitchen appliances in your home, so you want to ensure it's in tiptop shape. The ice maker in your refrigerator is a separate component that draws power from your refrigerator. When the ice maker breaks, it can be easy to uninstall and take it out for repairs or replacement.
If you’re wondering how to disconnect your fridge ice maker, you can follow these simple steps to make the transition smooth and straightforward. Here's how to disconnect the refrigerator ice maker.

Steps to disconnect your ice maker
Before you start disconnecting your ice maker from your fridge, make sure you have all the proper tools on hand. Once you have everything you need, it’s time to start.
Step 1: Turn off your refrigerator.
Unplug your refrigerator from the wall. By having your refrigerator off, the disconnecting process will be easier and safer to perform.
Step 2: Find the water supply valve and shut it off.
Once your refrigerator is unplugged, you need to locate the water supply valve that provides cold water to your ice maker. The valve is often behind the fridge. If you don’t see it there, follow the line to its hookup. The most common location is under the sink to the cold water supply pipe.
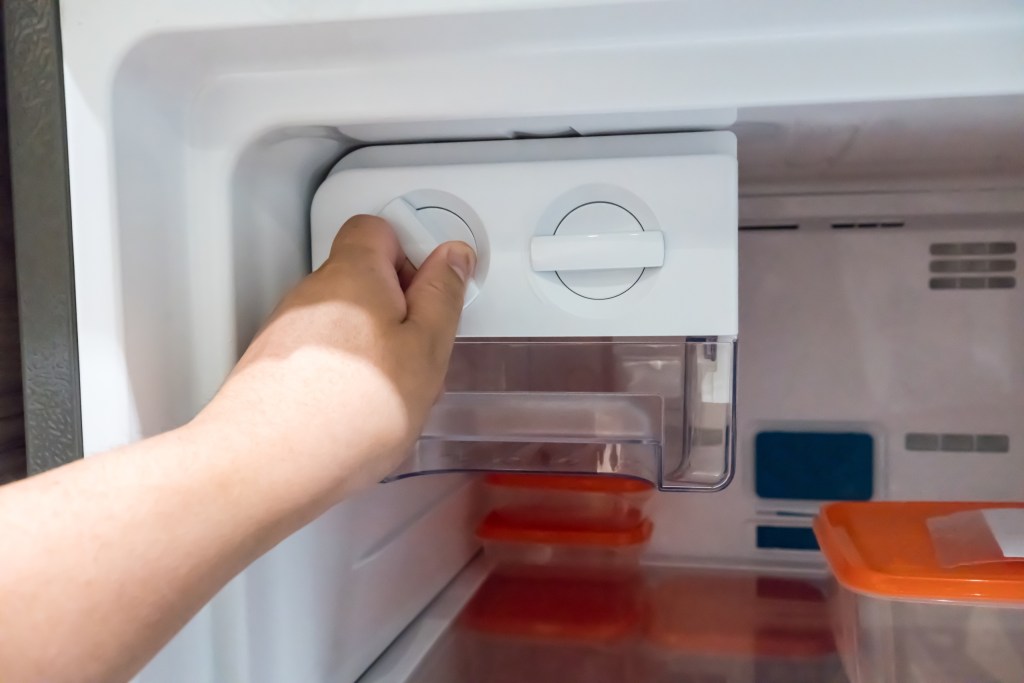
Step 3: Turn off the ice maker.
The switch is often located on the ice maker or near the freezer wall.
Step 4: Move your refrigerator contents to a cooler.
Now that your refrigerator is off and pulled away from the wall, you will want to store your cold items in a cooler to prevent food from spoiling. This is also an excellent time to clean out your fridge and reorganize any refrigerator storage containers.
Step 5: Take out and empty the ice bin.
Your ice bin is likely filled with ice, which will have to be emptied before moving forward with the process. Take out the ice bin and empty it in the cooler or sink. If you intend to keep your current ice maker once it’s repaired, you can set aside the ice bin for the time being.
Step 6: Remove the auger motor if need be.
The ice bucket auger motor is the mechanism that churns ice through the dispenser. When disconnecting your ice maker, it can be beneficial to take this motor out separately to access electrical components. To remove the auger motor, unscrew the hex head screw connections in the mechanism’s front and back.
Step 7: Unplug the wire harness.
Without the auger motor, you should be able to navigate the electrical connections. Depending on your refrigerator’s model, you may need to remove the wire harness after the ice maker is taken out. If you find it hard to remove the wire harness, go to the next step before removing it.
Step 8: Loosen the screws to the ice maker and gently remove.
There will be two screws on top of your ice maker that will need to be loosened to remove the ice maker. Make sure the wire harness is disconnected from the freezer wall and remove the ice maker.
Step 9: Replace if need be.
Depending on your needs, you can install the new ice maker per the provided instructions or prepare your old ice maker for a tune-up. If you intend to reuse your old ice maker once fixed, be sure to wrap the wire harness in electrical tape for safety purposes. The auger motor can also be replaced in its original location if you intend to have an ice maker in the future.
Step 10: Turn the ice maker, water valve, and fridge back on.
You'll have to follow the first few steps above in reverse order to turn your refrigerator back on to a functioning state Be sure to double-check that the water valve and other electrical components are working before adding your cold foods back into the refrigerator.
Tips for maintaining your fridge ice maker
Install a filter.
If your refrigerator ice maker has a filter, it can be a good idea to change it regularly. It is recommended that you change your filter every six months for optimal performance. If your ice maker doesn't have a filter, you should consider investing in one or maintaining regular cleaning to ensure there are no clogs or leaks in the system.
Clean it regularly.
It is also recommended to clean the entire ice maker ensemble is regularly, about every three to six months. Keeping your ice maker clear of clogs and debris will help extend its longevity. Additionally, this allows you time to inspect your ice maker and run tests to ensure it's running smoothly.
Be sure to turn off and examine the icemaker frequently.
As mentioned above, examining your ice maker for any mishaps or damages is essential for keeping it running at optimal performance. So, be sure to turn off and examine your ice maker a few times a year.
If you’re having trouble removing any ice maker component, it can be beneficial to reference your particular refrigerator brand and model instructions. Some ice makers are docked in the door of your freezer, while others reside on the freezer wall. Be sure to unplug all connections before removing any components.
Once your ice maker is removed and replaced, you can reconnect your refrigerator to its outlet and move your cold items back inside.