
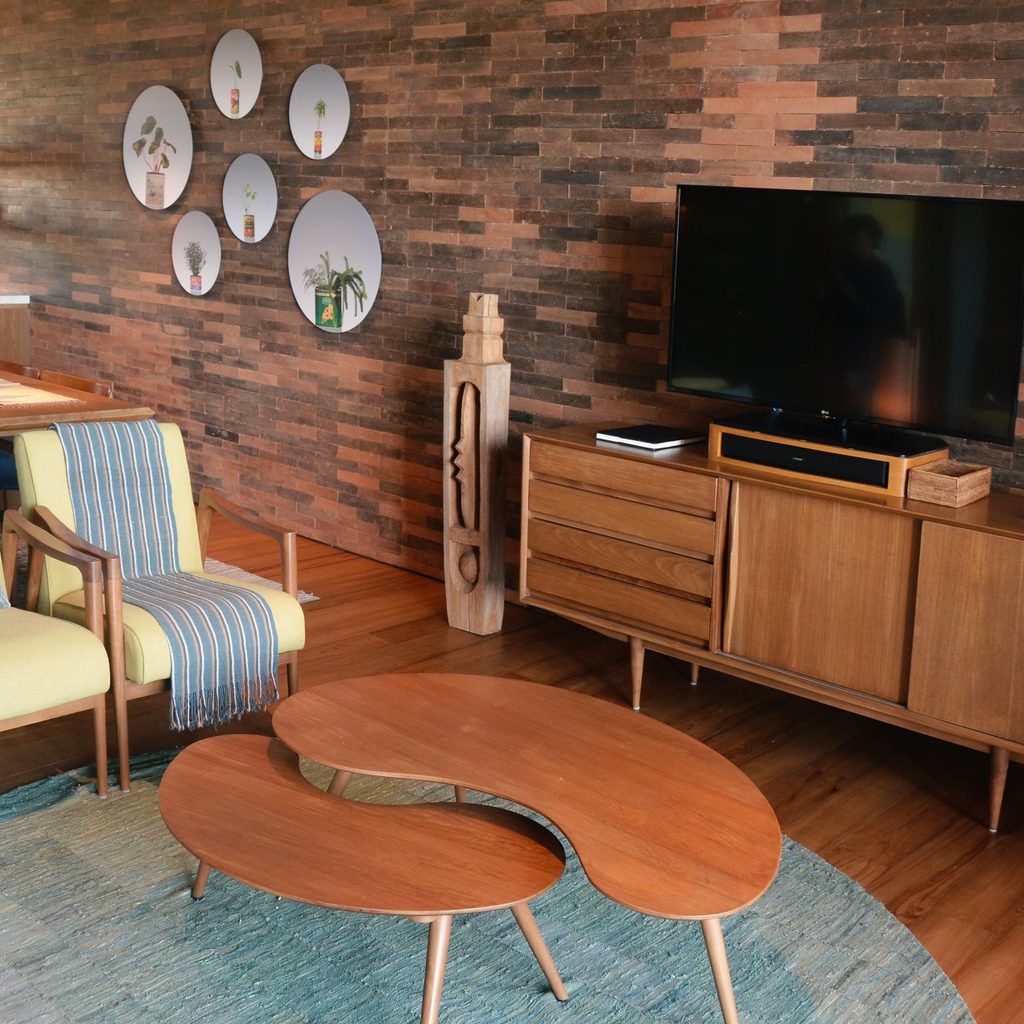
You found the perfect coffee table. The only problem? It needs a little love to bring it back to life. Think you need to hire a professional? Think again. Refinishing an old table requires a few steps, but it is easier than you think. You can do this! With our easy-to-follow guide on how to refinish your wood table, you can take yours from shabby to chic in less than a week.
First things first, before you begin your wood table restoration, give the piece a thorough inspection to ensure nothing needs to be repaired. Reinforce wobbly legs with hidden screws. Keep in mind that solid wood pieces are better candidates for refinishing than veneered ones. Also, remember that the more detail a piece has, the harder it will be to stain or paint. Ideally, you want a table with minimal carving and cleaner lines. Don’t worry about scratches and watermarks—they will all be sanded off later.
Next, you will need to decide if you will paint or stain the table as there is a slightly different process for each. Stained pieces tend to be more durable and stand up better to use than painted ones. From a design standpoint, natural and stained wood acts as a neutral and will bring warmth into a room. Painted pieces give you more options and can be used to carry a color story throughout a space.
Have a piece you love the finish on, but it has damage? Just be aware that you will not be able to match the finish from a 50-year-old table precisely, so if you are staining, look at this as a fresh start. You may be able to get it close, but you take the decades of age and character with it anytime you refinish an older piece.
What you need:
- All-purpose cleaner
- Cloth towel or paper towels
- Coarse sandpaper
- A dry, clean tack cloth
- Furniture oil, stain, or primer and paint
Clean
One of the most important steps that many first-time refinishers skip is cleaning. This is where the all-purpose cleaner and towels come into play. Use some elbow grease to clean away any dirt and debris. Get into every corner to make sure the entire surface is thoroughly clean.
Strip
The next step is to strip away the current surface—stain, paint, or varnish—so you have a fresh one to work with. Start with 60-grit sandpaper and go with the grain of the wood. You can do this with a mechanical sander or by hand. Once you have gone over the entire table, wipe it down with the tack cloth, and then go over it again with 120-grit sandpaper.
Apply new finish
This is the point where you have options. Here are your top three:
- Use furniture oil to protect the wood and bring out the rich color without the shine. For a denser wood, use teak oil and tung or Danish for all-purpose finishing.
- If the natural color of the wood doesn’t work with your aesthetic, you can stain your coffee table. Add one coat of stain, let it dry, go over it with the finest sandpaper, and add another coat of stain.
- For painting your coffee table, you will want to apply a coat of primer. Let primer fully dry and sand with fine sandpaper. Wipe clean and apply paint.
Final step
If you choose to use oil, your piece is complete. If you selected stain or paint for your coffee table, a clear coat is recommended to give the piece greater longevity. You will want to look for polyurethane or polyacrylic. Both of these products will need two coats, and you should let them dry and sand with fine sandpaper between each one.
Whether your table is a thrift store find or a family treasure, giving any piece new life will give you a one-of-a-kind element that can be perfectly tailored to go in your space. Not only is revamping older pieces a substantially minded thing to do, but it also gives the overall design more personality and interest. Once you see how easy this DIY project is, it may just have you rethinking other pieces throughout your home.


