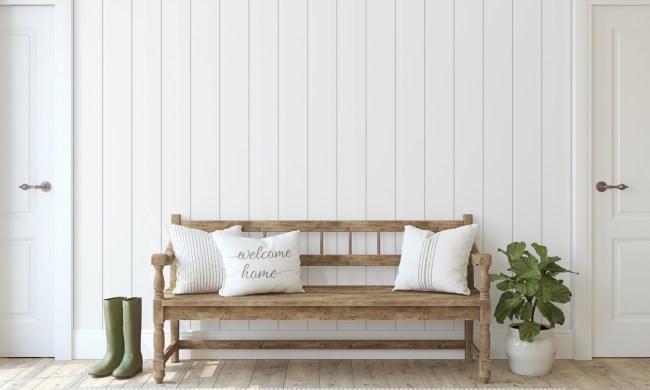
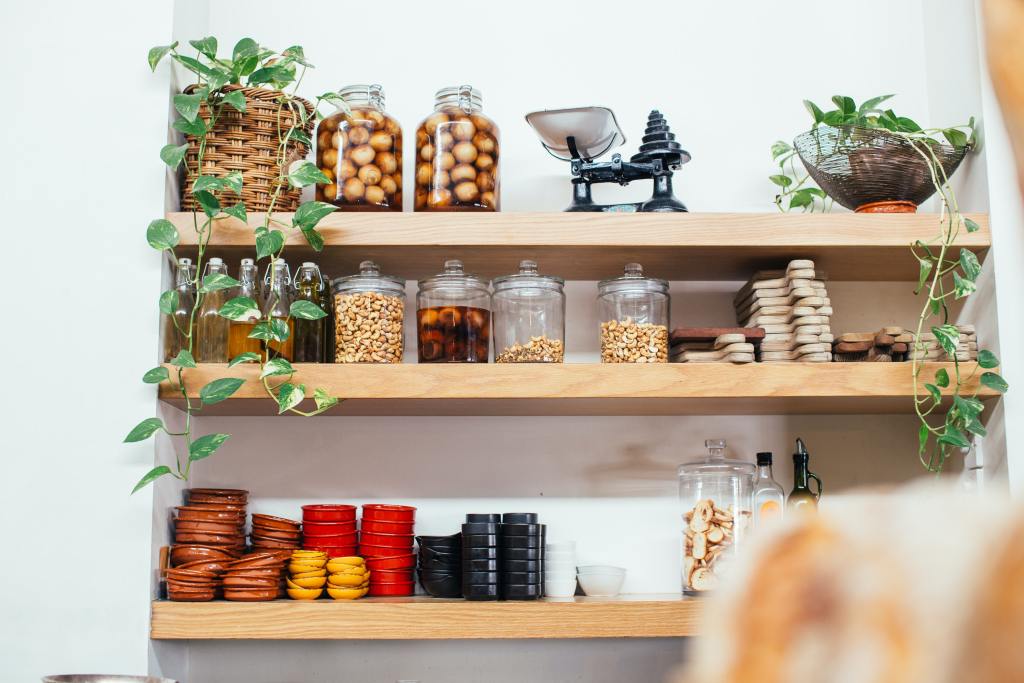
Whether you consider your home interior to be rustic farmhouse-inspired or completely sleek and modern, any home can benefit from rustic wood shelves. Flawlessly incorporate these shelves into any room for your favorite books and knick-knacks without taking up too much space. You can add one shelf in a tight cranny for some elevated storage or choose to install rows of shelves to hold your kitchen plates and glassware. If you’re on the hunt for some rustic wood floating shelves and have a spare weekend, we’re here to help with three ways you can build them on your own.
If you’ve barely picked up a hammer
If you’re more of a command strip type of person, then let’s start right here. The easiest way to install your own set of rustic floating shelves is with a kit that provides you with everything you need. You’ll receive the mounting accessories and shelves, but you’ll need your own set of tools. With the right kit and just a few tools, you’ll be able to perfectly install rustic shelves anywhere in your home, as long as you follow the accompanying instruction manual. Pay attention to the particulars—you don’t want to end up with a lopsided shelf!
Tools and materials:
- Floating shelf kit
- Screwdriver or power drill and bit
- Level
- Measuring tape

Somewhere in the middle
If you’re no stranger to power tools and enjoy a few handyman projects here and there, then this floating shelf installation option is for you. Personalize your floating shelves in your desired size, shape, and color without too many extra steps.
Tools and materials:
- Wooden slab of choice
- Mounting brackets with screws
- Power drill with bit
- Level
- Hammer
- Optional: Wood cutting and finishing tools
- Optional: Paint or stain
Time to build:
- Depending on the type of shelf you’re looking to craft and the wood you bought, the first step is to saw, shape, and sand your wood to the desired form. If you’re looking for simplicity, you can’t go wrong with a standard piece of plywood—at least an inch in thickness.
- With the help of your sturdy levels, meticulously place and mount your brackets—pencils for marking sure come in handy here.
- Hold up your finished wood slab to the installed brackets and measure the depth of the brackets on the wood to drill the needed holes.
- Place your shelf right onto the brackets, and voila!
Depending on your style preference, you can stain the wood for an added step. From rounded shelves to thick squares, creativity is in your ballpark.
For the woodworker
If you consider yourself a woodworking expert, then it’s time to go big—craft an ultra-sturdy rustic wood shelf to hold kitchenware or create extra shelving in the bathroom or bedroom. Depending on how hands-on you are willing to get, you can craft a floating shelf the entire length of your room or create a collection of them.
Tools and materials:
- Power drill, bits, driver
- Saw
- Sander or sandpaper
- Screws
- Tape measure
- Jig
When it comes to the wood choices, you’ll need a variety of pieces, and ultimately you’ll have to decide on the final sizes depending on your space. The wood sizes below serve as a general guide:
- 2”x3” wood at desired length
- 2”x3”x4” wood, three pieces
- 1”x5” wood at desired length, two pieces
- ½” wood at desired length
Time to build:
- First, cut your pieces of wood to the needed sizes and sand accordingly.
- With the help of your jig and power drill, make an “E” shaped shelf with the 2”x3” and the three 2”x3”x4” wood slabs. Depending on your desired length, you may need a few more shorter pieces for support. Measure, level, and mount to the wall with your power drill and screws.
- Take your three remaining pieces of wood and affix them to the current “E” shaped structure, with the thinnest piece of wood facing out and the other two placed over and under.
- Again, staining your wood is an option here, both before and after the hanging process.
If you take anything away from these rustic wood shelves DIY projects, let it be that measuring and leveling is the key for success. Whether you are a total beginner and tackle woodworking projects every weekend, having even shelves is the most important aspect of floating shelves. Once you’ve finished mounting your evenly leveled shelves, stand back and enjoy your work. Rustic wood shelves look great in any room, and with function and decor in one, you can’t go wrong.