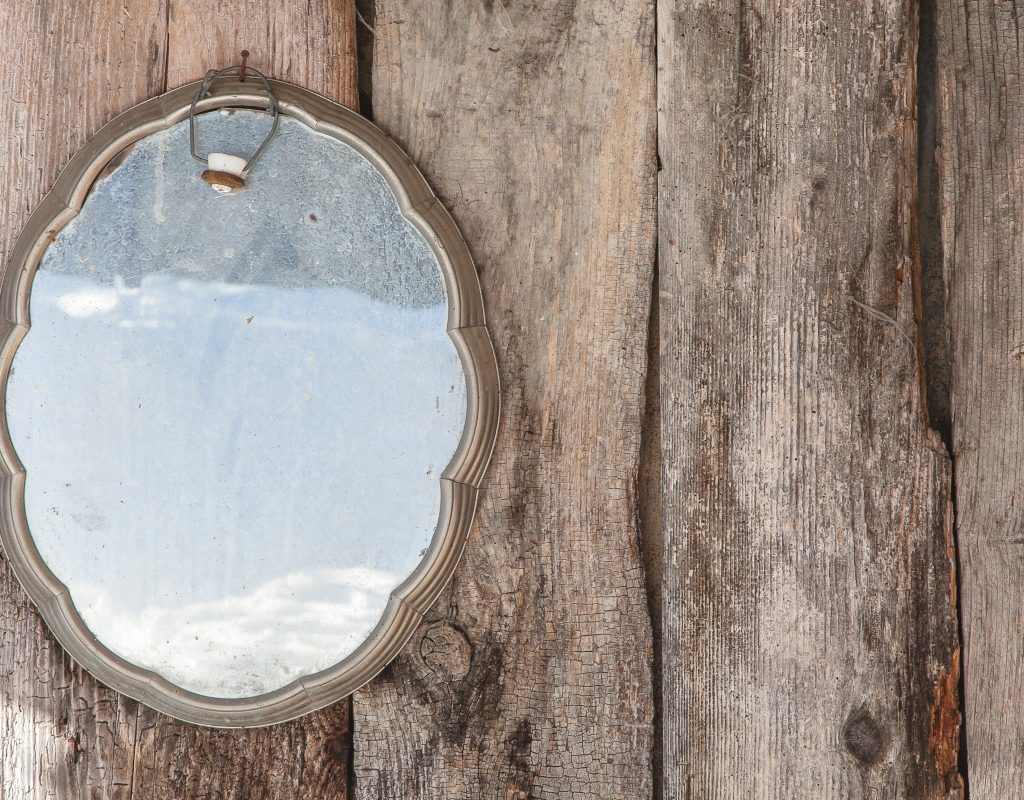
Distressed mirrors can add vintage appeal and rustic charm to any room. The scuffed-up edges and worn frame create a sense of authenticity to a space that many homeowners aim to achieve. Taking the DIY route when it comes to mirror antiquing is a simple and effective method to curate that rustic and worn look without spending a lot of money on a pre-distressed piece of wall decor.
Unfortunately, authentic-looking DIY distressed mirrors can be challenging to perfect for the inexperienced. So, we’ve come up with the top three mistakes to avoid if you want to pull off a successful aged aesthetic for your antiqued mirror.
Not taking proper safety measures
One of the most common mistakes people make when distressing a mirror is not taking the proper safety measures. When you DIY your own antique mirror, you’ll find yourself working with chemicals like muriatic acid, spray paint, and paint thinner. These chemicals can be dangerous if inhaled or exposed to your skin, so it’s essential to create a workspace with the proper protective equipment.
You’ll need to ensure that you have the necessary safety gear for the project. This includes:
- Protective eyewear
- Ventilation mask
- Chemical-resistant gloves
Keep additional paper towels and cotton rags on hand for this project to aid in the distressing process. Additionally, it’s best to work outdoors or in a well-ventilated space to avoid breathing in the toxic chemicals used during this project.
To avoid harmful exposure, it’s best to take extra precautions. Thoroughly read the product instructions on the back of all chemicals used when antiquing a mirror. This will ensure that your workspace is safe as you begin creating your stunning piece of decor.
Going overboard on the distress
Another thing to avoid when distressing a mirror is the tendency to go overboard. Many excited DIYers will eagerly apply muriatic acid to the back of their mirror to create a distressed look. Muriatic acid is an effective chemical that works quickly at removing the reflective backing of your mirror. Unfortunately, this means that you have to be careful not to overdo the use of the chemical. Too much solution will ruin the worn effect you’re going for.
Our tip for achieving the perfect distress is to take the “less is more” approach.
- Use a spray bottle with muriatic acid and lightly spritz two to three sections of the mirror.
- After one minute, use a cloth rag or paper towel to dry the sprayed area.
You can add more muriatic acid to enhance the distressed look if necessary. But it’s important to remember to take your time and work lightly. You can’t undo the distressing once the acid has been applied.
Forgetting to paint the mirror backing
It’s easy to assume the project is finished once the acid has been applied and blotted. However, you’ll be left with see-through spots on your mirror once you’ve distressed it, and the last thing you want is for the mirror’s cardboard backing to show through.
Try not to forget about painting the back of your mirror. We recommend using antique gold or copper spray paint for an authentic look. The color will be seen from the front side of the mirror once the project is complete, and gold and copper can both add to that rustic feel. Additionally, spray painting the mirror’s backing is an effective way to protect the reflective coating on the back. This will preserve the antiqued look of your mirror without distressing it further.
Tips for antiquing a mirror
While it’s important to understand what to avoid when DIYing your antique mirror, it’s equally important to know how to go about the project properly. Below are some of our best tips for achieving the perfect look for your distressed mirror and how antique a mirror when you’re unsure what to do.
Use muriatic acid around the edges
Mirrors tend to erode and age around their edges. For a natural look, aim your spray bottle of muriatic acid around the edges of the mirror. This will create the effect of aging near the frame with the distressed marks moving inwards toward the mirror’s center. As mentioned above, be sure to spritz these areas lightly, so you don’t overdo the distressing process.
Work quickly
Another important tip when working with muriatic acid to distress your mirror is to work quickly. Muriatic acid works fast, removing the mirror’s reflective backing in a minute or less. To ensure you don’t over-distress your mirror, you must work just as quickly to blot and remove the acid once you’ve achieved the look you want.
Opt for a spray bottle instead of blotting
It’s common to assume that a paper towel or cotton cloth will be sufficient for blotting on muriatic acid to the mirror’s backing. Unfortunately, this can over-distress your mirror and create a splotchy and undesirable outcome. Instead, we recommend using a spray bottle and lightly spraying the edges of the mirror to create a speckled look. Use a paper towel or cloth to wipe off excess acid rather than using them to blot.
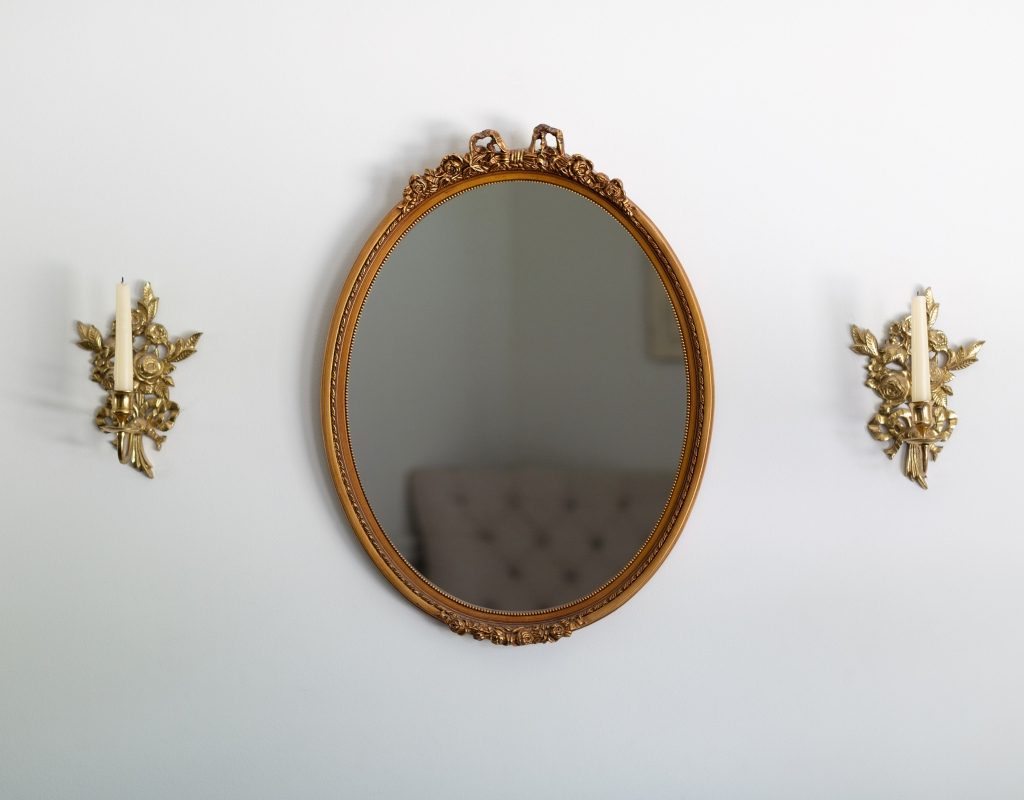
Antiquing a mirror is a great way to save money on stylish and authentic-looking decor. Display your distressed mirror atop a vintage dressing table or on a rustic vanity. Or, opt for a subtle approach and set your mirror in a modern and contemporary setting. Blending elements of other styles with your distressed mirror will allow it to become a statement piece within your home and will keep your design from looking too cluttered or themed. And no matter how you choose to style your antique mirror, always remember to avoid the common mistakes mentioned above. Come prepared to tackle your project and don’t forget to work lightly to prevent overdoing the distressed look.