While many mistakes can be made during a DIY painting project, one question many homeowners ask is whether they really need to wash walls before painting. It’s a cumbersome task, so is it really necessary? The answer is yes. Having a clean, dry wall before slapping down that primer and paint can prevent all sorts of cosmetic and even health issues down the road.
Of course, there are some rooms in your house that need a more thorough cleaning than others. If you’re ready to paint, here’s how you should wash your walls first.
Really? Do you need to wash walls before painting?
Different paint manufacturers offer different advice on this particular topic. PPG says you should “wipe walls clean of dust and dirt,” while Sherwin-Williams, for example, offers more detailed advice:
“Washing your walls and trim will remove grime, cobwebs, dust, and stains that can prevent your paint from adhering. Use a mixture of lukewarm water and mild soap, gently rubbing in a circular motion. Rinse your walls using a slightly damp cellulose sponge.”
It can be tempting to skip this step and head straight for the paint rollers, but failing to wash your walls before painting may later lead to big headaches. If dirt, grime, or dust are left on the wall and painted over, the result could be issues like mold, mildew, or even blistering paint that will require you to start the project again or even call in a professional to treat and repair the wall. Skip the hassles that skipping this step will cause, and be sure to wash your walls before painting.
Do certain walls need heavier cleaning?

Grimy walls like the ones in your kitchen and bathroom especially need a good wash before painting. Even the walls in relatively grime-free rooms like the living room or bedroom should be washed before painting since dust, dirt, and even smoke residue can live on your walls unnoticed. Here’s how to clean the walls in the different rooms in your home.
Kitchen walls
With all the steam, food, splatters, and spills in your kitchen, you can bet that your kitchen walls have a good amount of grime on them. To make sure those walls are sparkling clean before you paint them, use a mixture of water and dish soap to cut through grease and food residue. Then use a damp cloth or sponge to rinse them clean.
Bathroom walls
In the bathroom, shower steam, hair products, and cleaning products can leave a filmy residue on your walls. This residue, if painted over, can cause your paint to bubble up and blister, eventually. Clean your bathroom walls with a mild soap and water mixture or even a cleaning product like TSP cleaner. TSP is a tough cleaning solution meant for washing walls before putting up your paint primer. Just apply the solution according to the product instructions and rinse clean with a damp cloth.
Basement walls
Basements often harbor moisture, whether it’s from flooding, a pipe leak, a clogged floor drain, or a faulty appliance. That being said, mold and mildew are common woes on basement walls. We can’t stress this enough: You should never paint over mold or mildew! We’ll discuss how to remove mold and mildew from walls a bit later.
Do painters clean interior walls before painting?
If you’ve hired a professional to paint your walls, don’t expect them to wash beforehand. Most professional painters don’t — so you’ll either want to hire a cleaner or do this step yourself before they start working (otherwise, you may have just paid for a paint job that will just need to be redone).
Stains, mold, and mildew
If you find any smoke residue or mold on your walls, you’ll need to remove it before painting. Here are some effective methods for removing these tough substances.
Smoke stains and residue
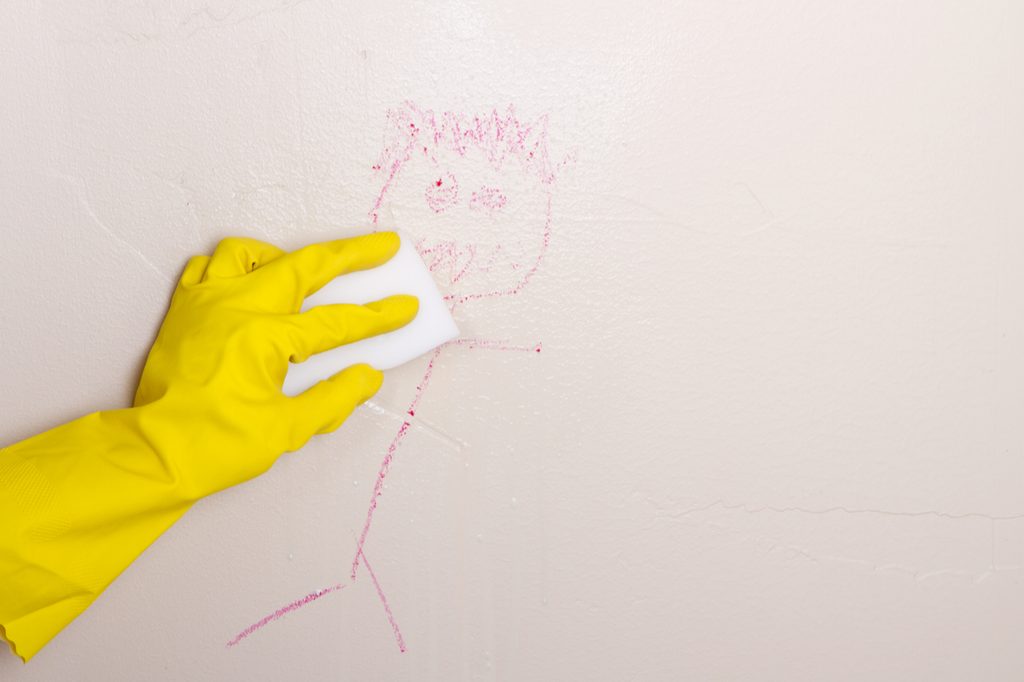
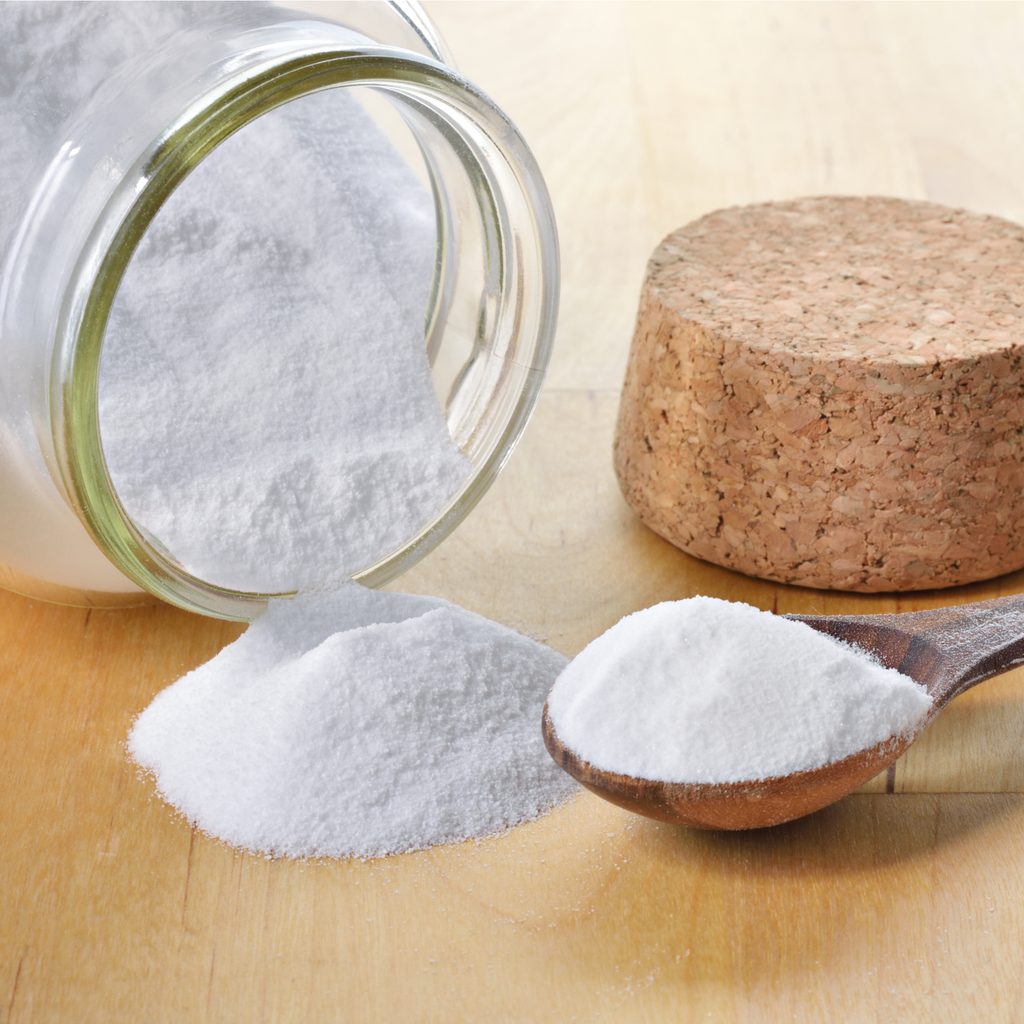
Smoke from tobacco use, wood-burning stoves, and wood fireplaces not only stains your walls but also leaves behind a foul odor that will seep through even a fresh coat of paint. Remove smoke stains and residue with a mixture of water and baking soda. The baking soda not only removes the discoloration from the smoke but also neutralizes the foul smell to leave your wall fresh and clean.
Mold and mildew
The tricky thing about these substances is that they grow and spread, even through paint. If you paint over it, you’ll have to start your painting project again before long since you’ll see it start peeking through those layers of paint. To get rid of mold and mildew, mix three parts water and one part bleach. Using a rag or a sponge, wash the affected areas and then rinse thoroughly with a damp, clean cloth.
Let your walls dry completely

Before priming your walls and then eventually painting, be sure to let your newly cleaned walls dry thoroughly. If they are still damp when the paint is applied, mold can grow between paint layers, and blistering can occur. Set up oscillating fans near the walls or open up the windows to get some good airflow across the damp walls.
Tips for washing walls quickly
If you’re dreading this first step before painting your space, here are some tips that might make the process a bit easier for you:
- Tackle stains with baking soda for spot treatment, especially on stubborn marks.
- Greasy kitchen walls? Rub white chalk on the stain to absorb oils before wiping clean.
- Before washing walls, use the brush attachment on your vacuum to whisk away dust from corners and baseboards.
- For high ceilings, wrap a soapy microfiber cloth around a Swiffer or sponge mop to reach the tops efficiently. This method ensures thorough cleaning without the hassle of ladders or precarious stretching.
With these time-saving techniques, prep work becomes a breeze, ensuring a pristine surface for your fresh coat of paint.
Is there ever a time you can skip washing the walls?
We get it. You want to make this painting project as easy as possible. While all walls should be washed — or at least wiped down — prior to painting, some rooms may need a less-involved wall cleaning. Living rooms and bedrooms are good examples.
Since these walls are probably the cleanest in your house, you may not need to use anything more than a damp rag. Be sure to remove any dust, cobwebs, or dirt from the walls and check corners for mold before painting. You can use your vacuum to help get rid of the bigger cobwebs and dust debris.
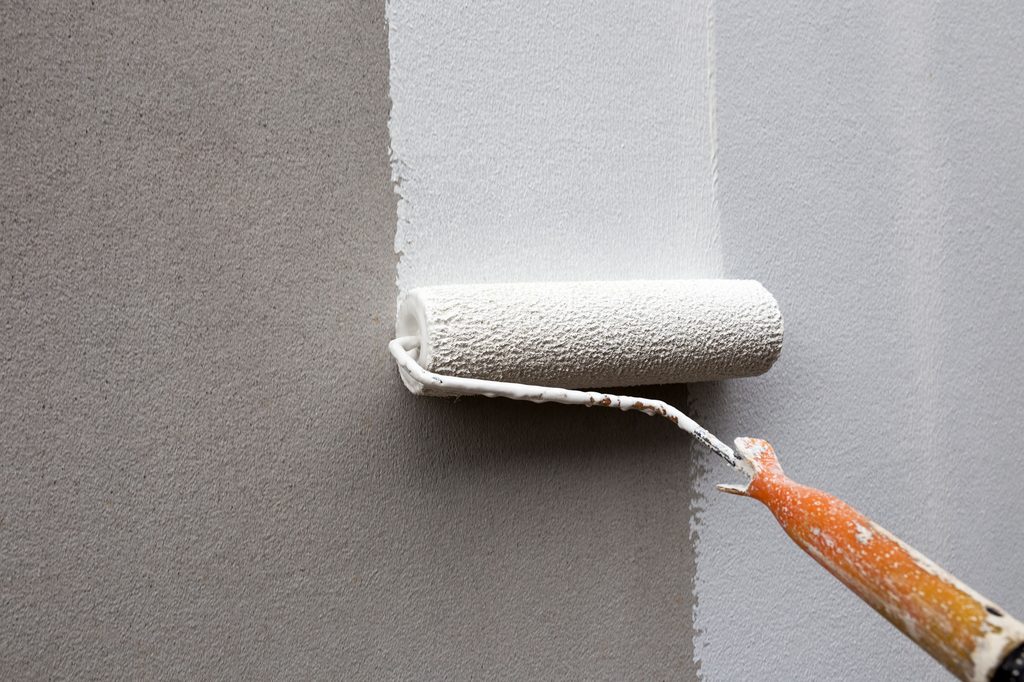
Painting your walls is a fantastic way to refresh your home design without committing to a huge project. However, it’s important to do the job correctly, to ensure that your home looks its best and you don’t have to redo your work. It can be tempting to skip the drudging task of washing your walls before painting, but being diligent with this step will help prevent issues in the future. Make sure you wash those walls nice and clean so you can enjoy your new paint for years to come!


