If you’re updating your home with periodic remodeling projects, whether you’re updating your kitchen, renovating your bathroom, or giving your bedroom a facelift, mistakes tend to happen. Painting a room is a great start to giving it a fresh look, but there are frequently errors made when painting, particularly if you’re a newbie. We’re going to discuss 10 common painting mistakes and how to fix them in a snap.
- Painting mistake #1: Uneven paint coverage
- Painting mistake #2: Blistering paint
- Painting mistake #3: Wrinkling paint
- Painting mistake #4: Dripping paint
- Painting mistake #5: Splatters on carpet
- Painting mistake #6: Drips on trim or floorboards
- Painting mistake #7: Ceiling spots
- Painting mistake #8: Stuck painter’s tape
- Painting mistake #9: Brush or roller marks
- Painting mistake #10: Lint, dust, or hair
- How to fix painting mistakes on walls
- Scrape, sand, and touch up problem spots
- An easy cleaning method for carpet spots
- Remove stuck painter’s tape the right way
- Add an additional layer of paint

Painting mistake #1: Uneven paint coverage
When a hint of the wall’s original color is peeking through your paint job in some areas, this means the coat you put up wasn’t enough to cover it. This makes the wall look splotchy and unevenly painted.
Painting mistake #2: Blistering paint
Often due to temperatures and humidity levels that aren’t ideal for paint to dry in, paint blisters, or bubbling areas, aren’t just unsightly, they’ll also lead to peeling eventually.
Painting mistake #3: Wrinkling paint
Another woe of temperature and humidity issues, thick paint that doesn’t have the opportunity to dry as quickly as needed will often result in wrinkling. The surface of the paint dries while the layer underneath is still wet, causing movement that results in a wrinkled appearance.
Painting mistake #4: Dripping paint
It’s a liquid substance, so when applied too thickly, paint will inevitably drip. This leads to lines of running paint that are visible and create an imperfect appearance.
Painting mistake #5: Splatters on carpet
Spills happen when you’re painting, which is why it’s recommended to cover floors and furniture while the project is underway. If paint gets on the carpet and dries, it can be difficult to remove.
Painting mistake #6: Drips on trim or floorboards
Whether it’s from a spill or from running paint that was applied too thickly, paint can get on the floorboards and wall trim. This makes the end result look sloppy and unprofessional.
Painting mistake #7: Ceiling spots
When you get a little too careless while painting a wall, you could mistakenly push your paint roller right up to the ceiling and leave a roller mark on it. Unless your ceiling will eventually be the same color as the wall you’re painting, this is a big problem.
Painting mistake #8: Stuck painter’s tape
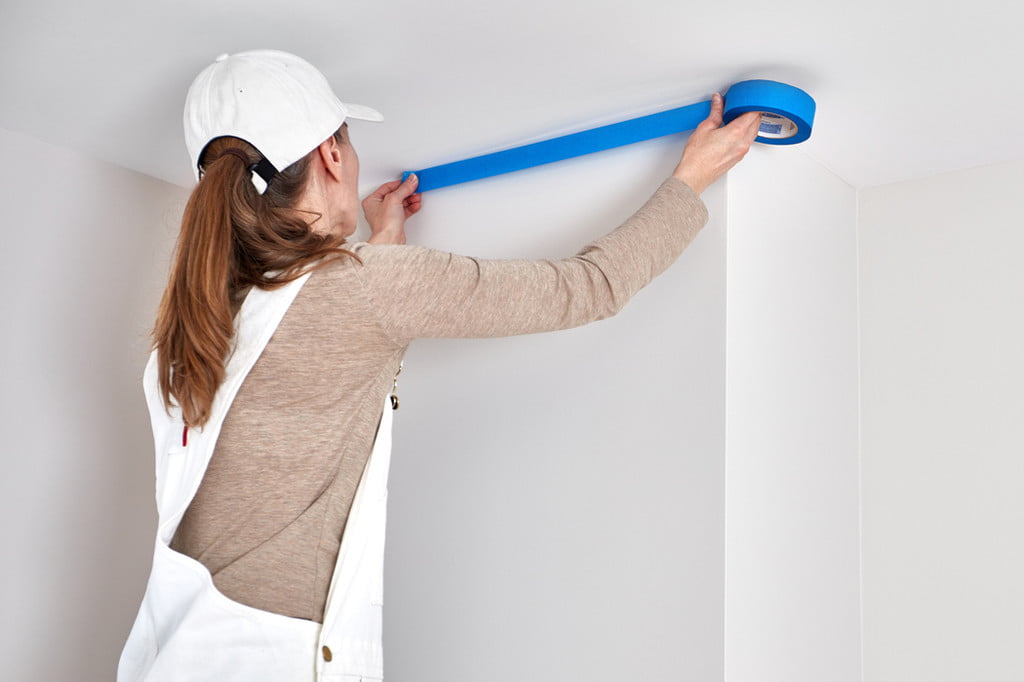
Using painter’s tape is essential to protecting the areas of the wall or trim that will not be painted. However, if painter’s tape is left on too long after the paint dries, it could adhere too strongly. When you go to remove it, the tape could pull off chunks of the new paint.
Painting mistake #9: Brush or roller marks
One of the most common imperfections seen after a wall is painted is brush marks. These could be the result of a few different issues, including using too much or too little paint per stroke, using a low-quality paintbrush or roller, or not stirring paint properly before slapping it onto the wall.
Painting mistake #10: Lint, dust, or hair
It’s important to clean walls and trim before painting and also keep brushes and rollers clean and free of dust and other large particles. If debris gets into the paint or on the brush and rollers, it will get painted onto the wall and be visible once the job is finished.

How to fix painting mistakes on walls
Now that we’ve covered the most common painting mistakes, let’s address how to fix them. While these remedies require a bit of extra work, they’re much easier than starting again from scratch.
Scrape, sand, and touch up problem spots
Some problem spots can be addressed with a paint scraper or sandpaper and a quick touch-up. This method is great for issues like:
- Blistering paint
- Wrinkling paint
- Dripping paint
- Spots on floorboards and trim
- Brush or roller marks
- Lint, dust, and hair
Step 1: Wait until the paint is completely dry.
Step 2: Use a paint scraper or sandpaper to scrape or rub away the imperfection.
Step 3: Wipe away any dust that the action produces.
Step 4: Be sure your paint is adequately stirred and touch up the area with a paintbrush. Take care to blend the paint properly when touching it up.
An easy cleaning method for carpet spots
If paint spills on your carpet and dries, you can probably get it out without calling a professional carpet cleaner.
Step 1: Mix hot water with dish soap in a medium sized bowl.
Step 2: Pour the mixture on the stained carpet to saturate the spot and let it sit for a few minutes. As it sits in the moisture, the dried paint will soften a bit.
Step 3: Scrape the paint off the carpet fibers with a knife or blade.
Remove stuck painter’s tape the right way
When you notice that your painter’s tape is stuck, don’t try to force it off. Instead, use a utility knife to carefully cut through the paint at the edge of the tape where it meets the wall. This will free up the tape and prevent it from pulling pieces of dried paint off with it.
If you’ve already yanked off the stuck tape and taken a chunk of dried paint with it, don’t worry. You can use the sanding method outlined previously and touch up the damaged area.
Add an additional layer of paint
For some issues, like uneven coverage or patchy areas, simply adding an additional layer of paint will solve the problem. That additional coat will make the paint more opaque and give a flawless-looking result.
Painting is a big job, but it’s one that is incredibly rewarding. While beginners in the DIY world can accomplish the task pretty easily, painting mistakes are common and can be disappointing. Instead of throwing in the towel and living with an imperfect paint job, try these remedies and get the flawless result you deserve.


