How to clean a humidifier the right way

If you live in a hot and arid climate, or if your winters tend to strip the air of its moisture, you probably get a lot of use out of your humidifier. While the relief of that moistened air can help cure your dry throat and even keep seasonal allergy symptoms in check, the added humidity in the air isn’t always free of toxins and allergens. Dirty humidifiers make for dirty air, so we’re going to review when and how you should clean your humidifier so that you can breathe cleanly with confidence.
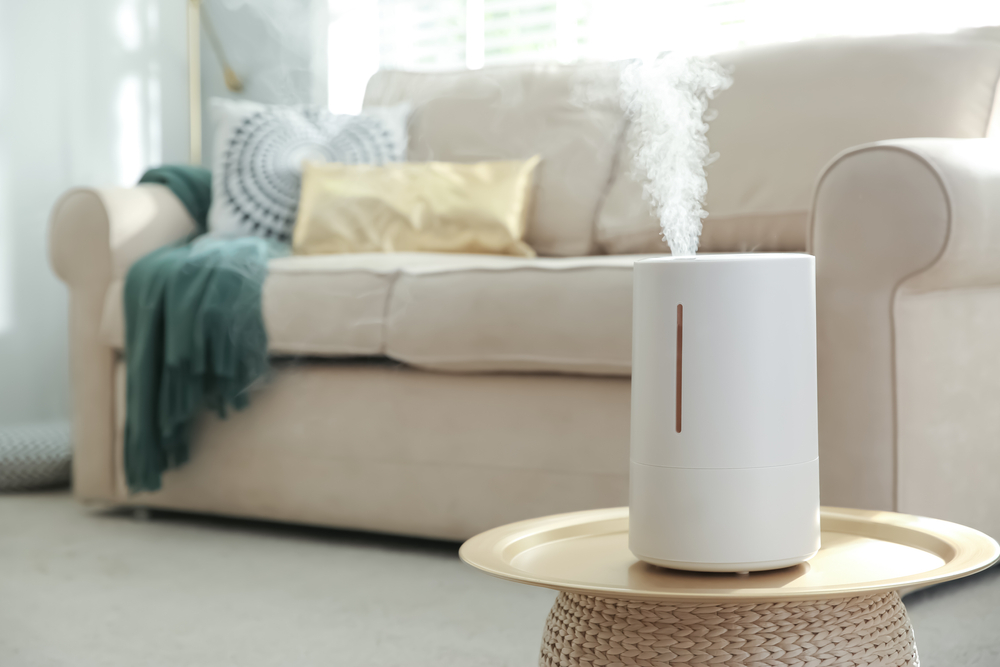
humidifier on accent table in bright living room

Why clean your humidifier?

Water is a breeding ground for bacteria and mold, so a machine full of standing water can circulate these growths into the air. Cleaning your humidifier properly and regularly can reduce the risk of bacteria and mold growth to keep you and your family breathing safely. Proper cleaning also rids your humidifier’s components of mineral build-ups, keeping your machine running smoothly for longer.

Related Videos

How to clean a humidifier: Daily upkeep

While it’s not necessary to give your humidifier a deep clean or disinfect every day, there are some steps you should take on a daily basis that will keep your machine in good working order and help to fight off harmful bacteria.

What you’ll need:

  • A clean, dry microfiber cloth

Instructions:

  1. Shut off and unplug your humidifier.
  2. Empty basin and tank of water.
  3. Using the dry microfiber cloth, wipe down all areas and components, including the basin, the tank, and even the air vents, to soak up all water droplets.
  4. Reassemble the unit, plug it back in, and turn it back on.

How to clean a humidifier: Weekly maintenance

Experts recommend that you disinfect your humidifier at least once per week (if you’re using the machine regularly) to eradicate any bacteria, mold, or mildew growth before it disperses into the air.

What you’ll need:

  • 4 tbsp white vinegar or 1 tbsp chlorine bleach
  • 1 gallon distilled water, warmed
  • A small toothbrush or nylon brush
  • A clean, dry microfiber cloth

Instructions:

  1. Shut off and unplug your humidifier.
  2. Empty the tank and reservoir.
  3. Check your humidifier’s manual to determine if you can use bleach to clean the machine’s components.
  4. If so, mix 1 tbsp of chlorine bleach with 1 gallon of warm water. If the manufacturer advises against using bleach, mix 4 tbsp of white vinegar with 1 gallon of warm water.
  5. Pour your solution into the humidifier’s water tank.
  6. Shake the tank around to ensure the solution reaches all the internal components.
  7. Replace the tank and allow it to drain into the reservoir.
  8. Let the solution sit in your humidifier for 15-30 minutes.
  9. Pour out the solution.
  10. Use a small brush to clean the crevices and components to rid your humidifier of mineral buildups and deposits.
  11. Rinse both the tank and the reservoir with clean water until the smell of bleach or vinegar is no longer lingering.
  12. Use your microfiber cloth to thoroughly dry the tank, reservoir, and any other wet components.
  13. Reassemble the unit, plug it in, and turn it on.
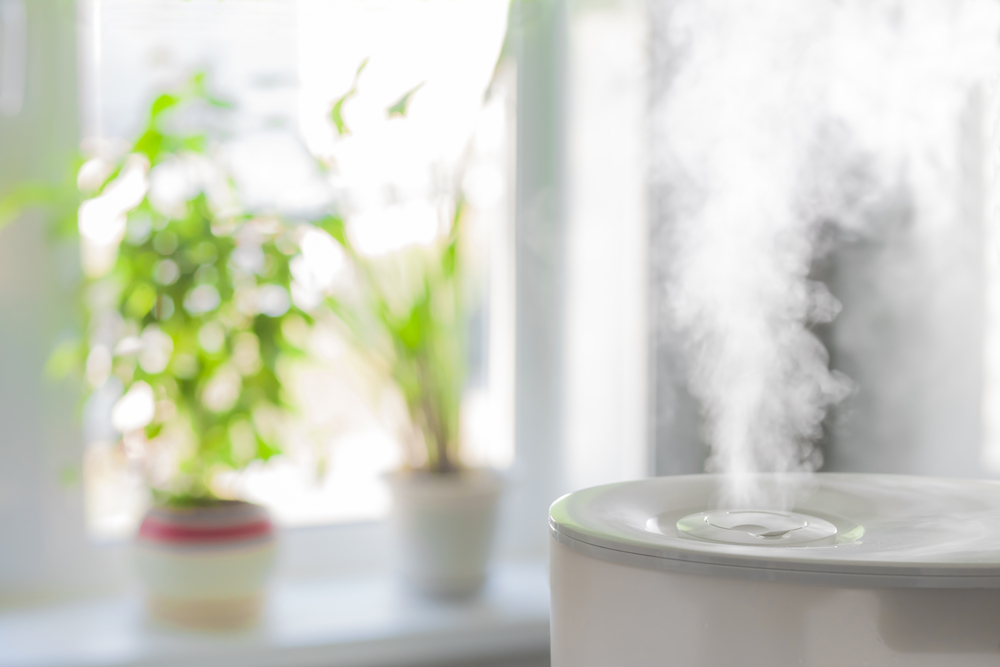
closeup of humidifier steam with house plants in the background

Tips for using and cleaning humidifiers

In order to prolong your machine’s life and keep your air clean, review these tips for using and cleaning your machine.

Check the manufacturing manual

Before using harsh chemicals like bleach, be sure to check the manufacturing manual. Depending on the model you have, the manufacturer may advise against using certain cleaning agents and, instead, have specific cleaning instructions for your machine.

Never leave water sitting

If you’re not using your humidifier, empty the tank and reservoir. Standing water promotes bacteria growth, which will make its way into the air when you use the machine next.

Use distilled water

Tap water contains added minerals that are good for your body but problematic for your humidifier. As the water evaporates, the minerals remain, creating a film on the machine’s components. This film can build up into hard deposits that could eventually block water flow or damage the humidifier. Using distilled water reduces the presence of these minerals, keeping your humidifier in good working order.

Be sure all pieces are dry before storing them away

When the dry season comes to an end, you’ll likely store your humidifier away until it’s time to use it again next year. Before you pack it up, however, be sure to empty the water and use a dry, microfiber cloth to remove any lingering droplets.

Humidifiers are easy and convenient ways to add some moisture back into the air during dry seasons. Humid air won’t do you much good if it’s filled with irritating allergens and bacteria, so make sure your machine is clean and disinfected at all times. With daily upkeep and weekly maintenance, you can rest assured knowing your humidified air is clean and safe for the whole family.

Editors' Recommendations

These are the best plants to put in your shower for a nature-inspired sanctuary
Adding a plant to your shower benefits both you and the plant
Bathroom with orange walls

Bathroom plants are a rising trend, and for good reason. Who wouldn't want to add a touch of refined nature or create a cozy farmhouse feel in their bathroom? Placing a plant in the shower, however, might seem a bit odd. The truth is, there are many benefits to having a plant in your shower, both for you and for the plant itself. We're going to discuss some of these benefits, and we're going to give you some ideas for the best plants to put in your shower. Once you've added a touch of nature to your shower, you'll wonder why you didn't do it sooner.

Why put plants in your shower?
Above and beyond adding a bit of color to your dim shower, there are some health and environmental benefits to keeping plants in your shower.
Less unwanted moisture
It's no secret that bathrooms tend to be hot spots for humidity. Excessive amounts of moisture, however, can have some adverse effects. Mold can grow around your bathroom, the paint on the walls can peel, and certain nasty bugs are attracted to moist places. A shower plant can help reduce unwanted moisture in your bathroom and minimize some of these issues. Since plants need water, they suck it right out of the air, providing the added benefit of not having to water the plant as often.
Cleaner air
You probably know that plants pull carbon dioxide out of the air and emit oxygen, right? But did you know that while this process is taking place, the plant is also filtering the air and pulling toxins out of it? With all of the cleaning products, hair products, and other nasty molecules that leave toxins in your bathroom's air, having a shower plant will allow you to breathe a bit easier and healthier.
Mental health benefits
Having indoor plants comes with numerous health benefits, but the most significant are the benefits to your mental health. We all know that plants are therapeutic, and studies have shown that plants help with stress relief, energy boosts, and even increased concentration and productivity. Why not reap all these mental health benefits right at the start of your day while you shower in the morning?
Elevated decor
Let's face it, indoor plants are beautiful, and they add so much charm and character to any room. Why not apply that same philosophy to your bathroom and shower? Having a plant in your shower is not only trendy and aesthetically pleasing, but it will leave you feeling like you're showering in the tropics.
The plants love it
Putting a plant in the shower not only benefits you, but it also benefits the plant itself. Many plants thrive in humid environments, so you'll see them flourish in your bathroom. If you tend to forget to water your plants for long periods of time, having them in an already moist area will allow you to feel less guilty about neglecting them.

Read more
Do you need to wash walls before painting? The honest truth
What you need to know before you paint your walls
the best white acrylic paint

While there are many mistakes that can be made during a DIY painting project, one question many homeowners have is whether they really need to wash walls before painting. It's a cumbersome task, so is it really necessary?

The answer is yes. Having a clean, dry wall before slapping down that paint can prevent all sorts of cosmetic and even health issues down the road. Of course, there are some rooms in your house that need more thorough cleaning than others. If you're ready to paint, here's how you should wash your walls first.

Read more
How to remove old caulk: A 4-step guide to get this tedious job done quickly
This is how to remove old caulk the right way before slapping on the new stuff
how to remove old caulk shutterstock 1249102075

Sealing certain areas in your home against both moisture and escaping air is a good practice for preventing costly loss and damage, and caulk is a tried and true sealant to use. Whether it's used in the bathroom, on windows, or on your welcoming front door, caulk can not only get grimy and stained after a while, but it can also start to break down and lose its effectiveness. Re-caulking is a common practice, but you need to remove the old gunk before applying the new stuff. Here's a guide for how to remove old caulk.

Why should you remove old caulk?
It's a lot of work to remove old caulk, so a lot of homeowners wonder if they can simply skip this step. Applying new caulk over the old material, though, is actually pretty useless. Caulk doesn't adhere to itself, so you'll eventually end up with a poorly sealed area that could contribute to water damage and poor insulation.
How do you soften caulk for removal?
While you can forgo the use of chemicals and simply use a sharp caulk-removing tool to cut and scrape off the old caulk, chipping away at hardened caulk takes a lot of elbow grease and quite a few hours. Applying a caulk remover softens up the material and makes it easier to lift from the surface in bigger pieces. This will save you a lot of time and effort.

Read more