
Choosing the right grout for your tiling project can significantly impact both the aesthetic and durability of your work. The debate of sanded vs. unsanded grout is a common one among DIY regrouting enthusiasts and professionals alike. That’s why we are going to explore the differences between these two types of grout, discuss the best applications for each, and provide tips on care and cost considerations.
Sanded vs. unsanded grout: What’s the difference?

Sanded grout is composed of a cement-based mix that includes sand particles. The addition of sand helps make the grout more durable and less prone to shrinking, since the sand particles in the grout provide additional strength, making it less likely to crack over time.
Unsanded grout, on the other hand, is a cement-based mix that doesn’t contain sand. It’s smoother and stickier than sanded grout, and without the sand particles, it provides a smooth and polished finish, which is ideal for certain aesthetic applications.
When to use sanded grout

Floors
Sanded grout is an excellent choice for tile flooring applications. The added durability provided by the sand particles ensures that the grout can withstand heavy foot traffic without deteriorating quickly. Whether you’re installing tiles in your kitchen, bathroom, or living room, sanded grout is a reliable option for these high-traffic areas.
Wide grout lines
If your tiling project involves grout lines that are 1/8 inch or wider, sanded grout is the way to go. The sand particles help fill the larger spaces effectively, providing a stronger bond and a more stable surface. This is particularly important in areas where the tiles are subject to movement and pressure, such as floors and large wall installations.
Risk of cracking
In situations where there is a risk of the grout cracking due to movement or pressure, sanded grout is a better option. The sand particles help reinforce the grout, making it more resistant to cracking and other forms of damage. This is especially useful in outdoor patio projects or areas with fluctuating temperatures and humidity levels.
When to use unsanded grout
Vertical surfaces
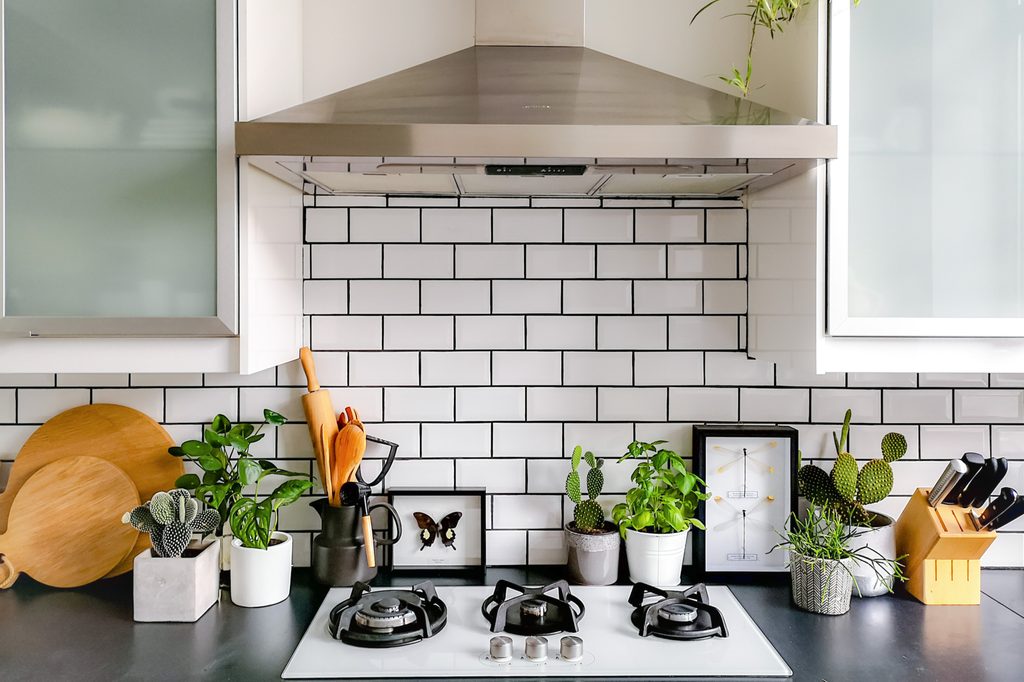
Unsanded grout is ideal for vertical surfaces, such as walls and new kitchen backsplashes. Its smoother consistency allows for easier application and better adhesion to vertical tiles. Because it doesn’t contain sand, it’s less likely to slump or sag during application, resulting in a cleaner, more polished finish.
Narrow grout lines
For grout lines that are less than 1/8 inch wide, unsanded grout is the best choice. The fine texture of unsanded grout allows it to fit into these narrow spaces more easily and creates a strong bond. This is particularly important for intricate tile patterns and designs where precision is key.
Scratchable surfaces
When working with delicate surfaces such as glass, marble, or limestone, unsanded grout is the safer option. The absence of sand particles means that there is a lower risk of scratching these materials during application. This is crucial for maintaining the pristine appearance of your tiles and ensuring a professional-looking finish.
Sanded vs. unsanded grout: Care tips

Cleaning
Both sanded and unsanded grout require regular cleaning to maintain their appearance and prevent dirt and grime buildup. Use a pH-neutral cleaner and a soft brush to clean your grout lines. Avoid using harsh chemicals or abrasive tools, as these can damage the grout and surrounding tiles.
Sealing
Sealing your grout is an essential step in protecting it from stains, moisture, and damage. Sanded grout, due to its porous nature, typically requires more frequent sealing than unsanded grout. Apply a high-quality grout sealer according to the manufacturer’s instructions to ensure the longevity of your grout.
Maintenance
Regular maintenance is key to keeping your grout looking its best. Inspect your grout lines periodically for any signs of damage or wear. Address any issues promptly to prevent further deterioration. For sanded grout, pay extra attention to high-traffic areas and reapply sealer as needed.
Sanded vs. unsanded grout: Cost

Sanded grout cost
Sanded grout is generally more affordable than unsanded grout. The addition of sand particles reduces the overall cost of the grout mix. This makes sanded grout a cost-effective option for larger projects, such as flooring and outdoor installations. The exact cost can vary depending on the brand and quality of the grout, but sanded grout typically ranges from $0.50 to $3 per pound.
Unsanded grout cost
Unsanded grout is slightly more expensive due to the finer materials used in its composition. The absence of sand particles means that the grout mix is smoother and more refined, which can increase the cost. Unsanded grout is usually priced between $1 and $4 per pound. However, its superior finish and suitability for delicate surfaces can make the extra cost worthwhile for certain projects.
In the debate of sanded vs. unsanded grout, the right choice depends on the specific requirements of your tiling project. Sanded grout offers durability and is ideal for wide grout lines and high-traffic areas. Unsanded grout, with its smooth finish, is perfect for narrow grout lines and delicate surfaces. Understanding the differences and applications of each type of grout will help you achieve a professional and lasting result. Whether you’re working on a floor, wall, or intricate mosaic, choosing the right grout is essential for the success of your project.


