You want your home's exterior to look clean and well kept, right? If your cedar siding is looking a bit worn, you may be wondering what your options are for giving it a facelift. But can cedar be painted?
We've put together a guide that includes everything you need to know about cedar siding and how to paint it successfully. So, whether your once-glorious siding is looking a little worse for wear, or you just want to try something new, painting cedar siding can be a great way to give your home a fresh look without removing and replacing all of your home's exterior materials.

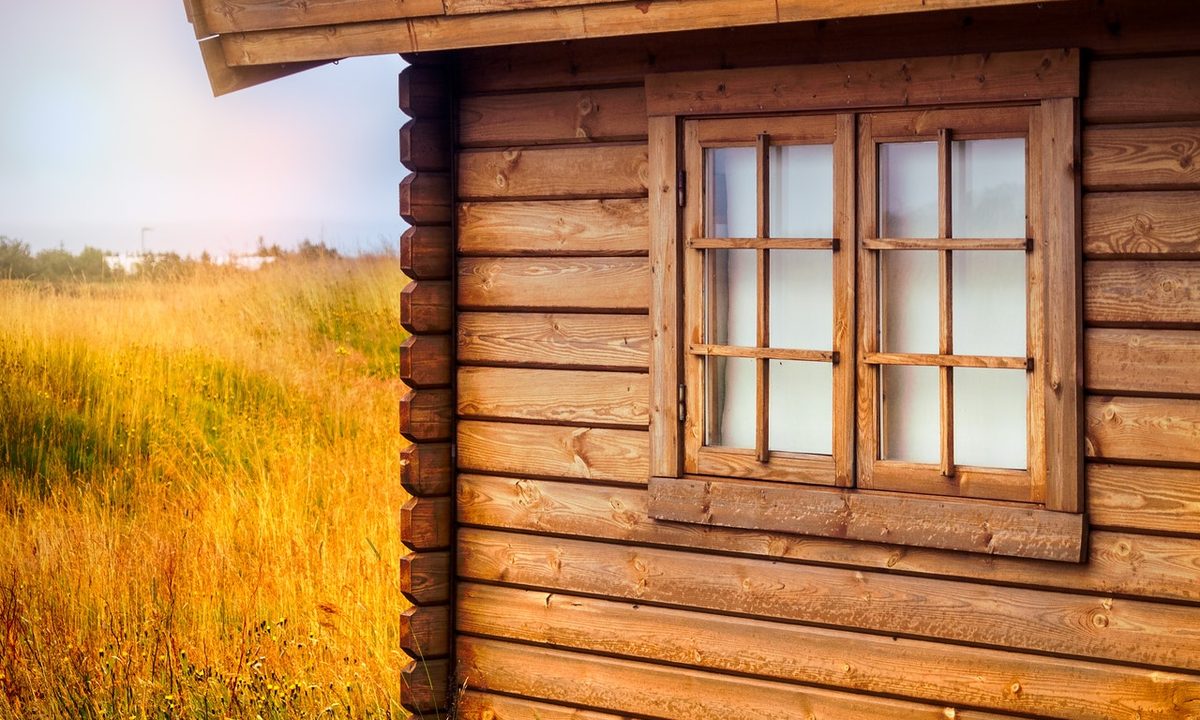
Why cedar siding is so popular
Cedar siding gives your home a classic, timeless appearance that will never go out of style. With several varieties to choose from, including red cedar and white cedar, your siding will match your style perfectly. Not only is it beautiful, but cedar siding also creates excellent heat and sound insulation, so your home is more energy-efficient and peaceful.
It's environmentally friendly.
If you constantly aim to keep your home as green as possible, cedar siding is an excellent choice for your exterior. It's completely biodegradable, so when you do decide to replace it down the road, it won't harm the environment. Cedar trees are also among the fastest-growing trees, so you can rest easy knowing your home's siding hasn't contributed to deforestation.
It has a natural resistance to the elements and bugs.
Aside from its aesthetic appeal and environmental benefits, cedar siding has qualities that will benefit you when it comes to maintaining your home's exterior. Cedar has a natural ability to resist warping, swelling, rotting, and decay, so you'll need to replace it far less often than you would with other types of wood siding. Cedar also naturally protects itself from insects like termites and prevents infestations and pest attacks.

How to paint cedar siding the right way
When painting cedar siding, the prepping process is vital. Cutting corners or skipping steps during your prepping could lead to poorly adhering paint or even damaged cedar siding. It's painstaking, but your paint job will last for years to come if you're diligent in your prep work.
Step 1: Examine your cedar siding.
Before diving in, you'll want to take a close look at your cedar siding and check for some specific types of damage. Mold and mildew will need to be cleaned and removed before painting, and you'll need to determine if there is any excessive peeling on the previous coat of paint.
If the existing paint on your cedar siding is peeling, it's probably due to previously improper preparation, priming, or painting. It's possible to re-paint peeling siding, but be aware that the process for prepping cedar with peeling paint is fairly labor-intensive. It's not as simple as just slapping up a new coat of paint.
Step 2: Power wash, scrape, and sand the old paint.
If the existing paint is especially old and peeling, you'll need to remove all of the paint in its entirety before moving on in the process. You can use a power washer to get the majority of the old paint off, and in instances where mold or mildew is present, you can use a siding cleaner in conjunction with the power washer, which will remove mold and mildew easily.
Now, it's time to scrape and sand. Using a paint scraper and sander, scrape off any paint that the power washer could not remove. This will be a lengthy process, and it will require a lot of exertion, but you'll thank us when your new paint job is fit to last for years.
Step 3: Prime the cedar siding for good paint adhesion.
Natural woods like cedar must be prepped before they are painted, or the paint will have trouble adhering. Cedar is notorious for its tannins — the sap that seeps through the paint — and this seeping can lead to ugly stains that expose themselves, even through layers of paint.
Use an oil primer that is ideal for cedar, or a latex-based paint that contains stain-blocking properties. The right primer will trap in tannins and prevent such stains from appearing. A two-coat priming system works best.
Step 4: Choose the best paint for the job.
The type of paint you use on your cedar siding needs to protect it from weathering and other damages. Acrylic-based paint is recommended when painting cedar siding since it looks great and also offers the protection the natural wood needs. Acrylic paint also has strong adhesion abilities and is even mildew-resistant, making it a perfect fit.
Step 5: Start with simple strokes.
When it's time to start painting, we recommend hand-brushing the paint onto the siding, rather than spraying or rolling the paint. Because cedar is so porous, it requires more paint to ensure full coverage, and this is most often achieved by hand-brushing.

How to know when it's time to replace cedar siding
Painting your cedar siding is much easier than replacing it, but there may come a time when your siding is too far gone to be revitalized with paint. Knowing when it's time to replace it depends on several factors. Here are some indicators to consider:
Physical condition: Inspect the cedar siding for signs of damage, such as cracks, rot, or warping. If the siding is extensively damaged or structurally compromised, replacement may be necessary.
Paint peeling or fading: If the paint is peeling, flaking, or significantly faded, it may be an indication that it's time for a fresh coat. However, frequent repainting can only be a temporary solution, and if the siding requires constant repainting, replacement might be a more cost-effective solution in the long run.
Maintenance and repairs: Consider the level of maintenance and repairs required to keep your siding in good condition. If the siding demands constant upkeep, frequent repairs, or ongoing issues with pests or moisture, it might be worth considering replacement.
Age of the siding: The age of the cedar siding can provide insight into its condition and longevity. If the siding is nearing the end of its expected life span, replacement might be a wise choice to ensure the long-term durability and aesthetics of your home.
Personal preference: Finally, consider your personal preference and the desired appearance for your home. If the current cedar siding no longer aligns with your aesthetic goals, a replacement can offer an opportunity to achieve the desired look.
Is your once-gorgeous cedar siding looking drab, weathered, or damaged? Are you just looking to give your home's exterior a facelift? Painting your cedar siding is a creative way to add beauty to your home's exterior. While the prepping process for painting cedar is vigorous, it's also necessary to ensure excellent adhesion and a pristine finish. Tackle your cedar painting project today to restore your home's classic exterior to its former glory, and enjoy the beauty and benefits of your cedar siding for years to come.


