Gardens are a lot of work. If you have a garden, you are surely aware that the work is well worth it. Gardens are rewarding, whether they are filled with beautiful plants and flowers for you to look at or produce fruits and vegetables for you to eat. Choosing plants for your garden may take up a lot of research, planning, and effort, but regardless of what you fill your garden with, you may be looking to add some decoration that is also functional to the landscape. It is also possible that you don’t have a yard or room in your yard for a whole garden. No matter what your current garden situation is, repurposing pallets into gardenscapes is a great way to upcycle old pallets and add some greenery to your life. If you’ve never thought of wooden pallets as decorations, now is the time to consider turning old wood pallets into amazing gardenscapes. This trend is popping up everywhere, and there are a ton of cool ideas that you can try out. Pallets are cheap, and sometimes free, making this a great project for people on a budget or for people who want to try something new without risking a lot of money.
Vertical Gardening
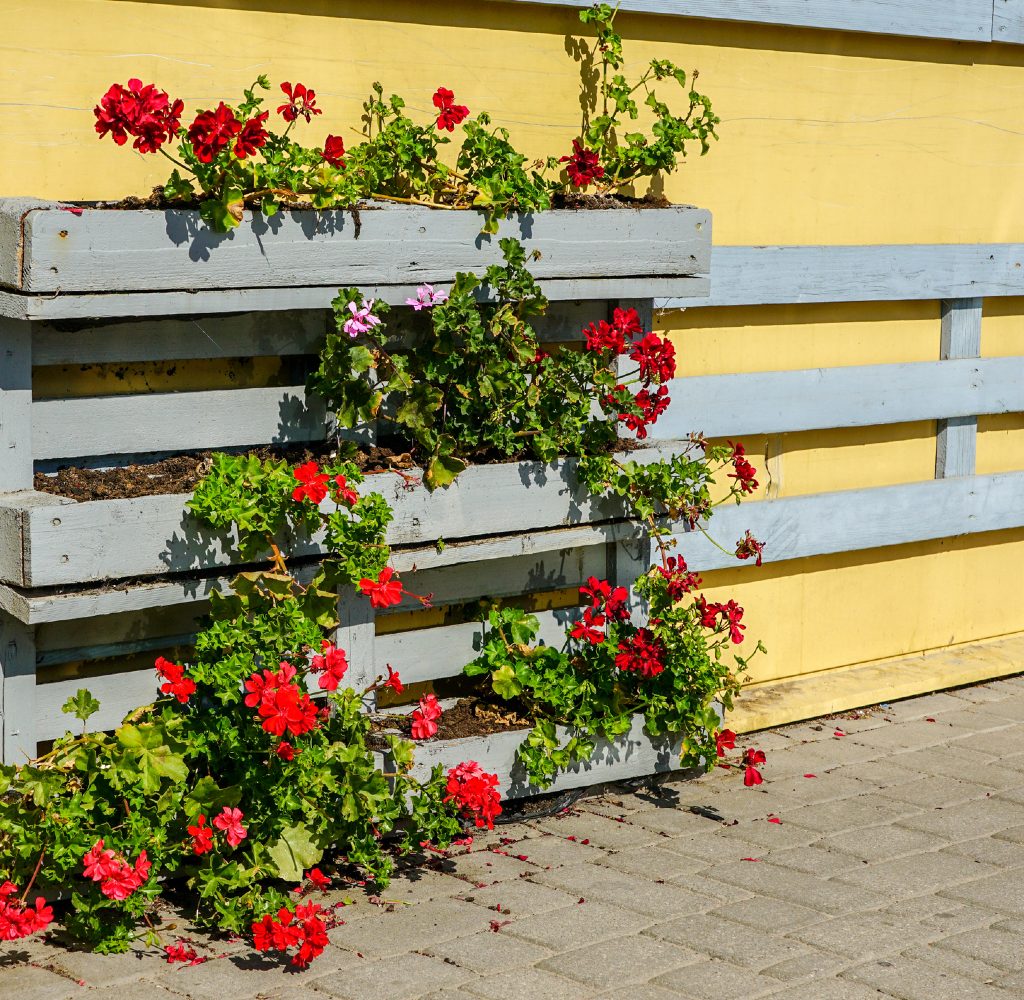
Vertical gardening is perfect for people who don’t have a ton of space and pallets are a great way to start a vertical garden. Turning the pallet into planters for herbs or flowers is a fairly easy DIY project. Begin by stapling (or nailing) landscaping fabric to the back of the pallet and then fill the pallet with soil. Once you stand the pallet up, you can plant whatever plants you’d like in the soil. Feel free to paint or stain the pallet before you fill it with plants if you want some added color in your garden. You can also stand the pallet up and fasten planters, pots, or jars to it. Once the containers are in place, fill them with soil and plant flowers or other plants in the containers. Both of these designs work well on apartment balconies or patios.
Raised Garden Beds
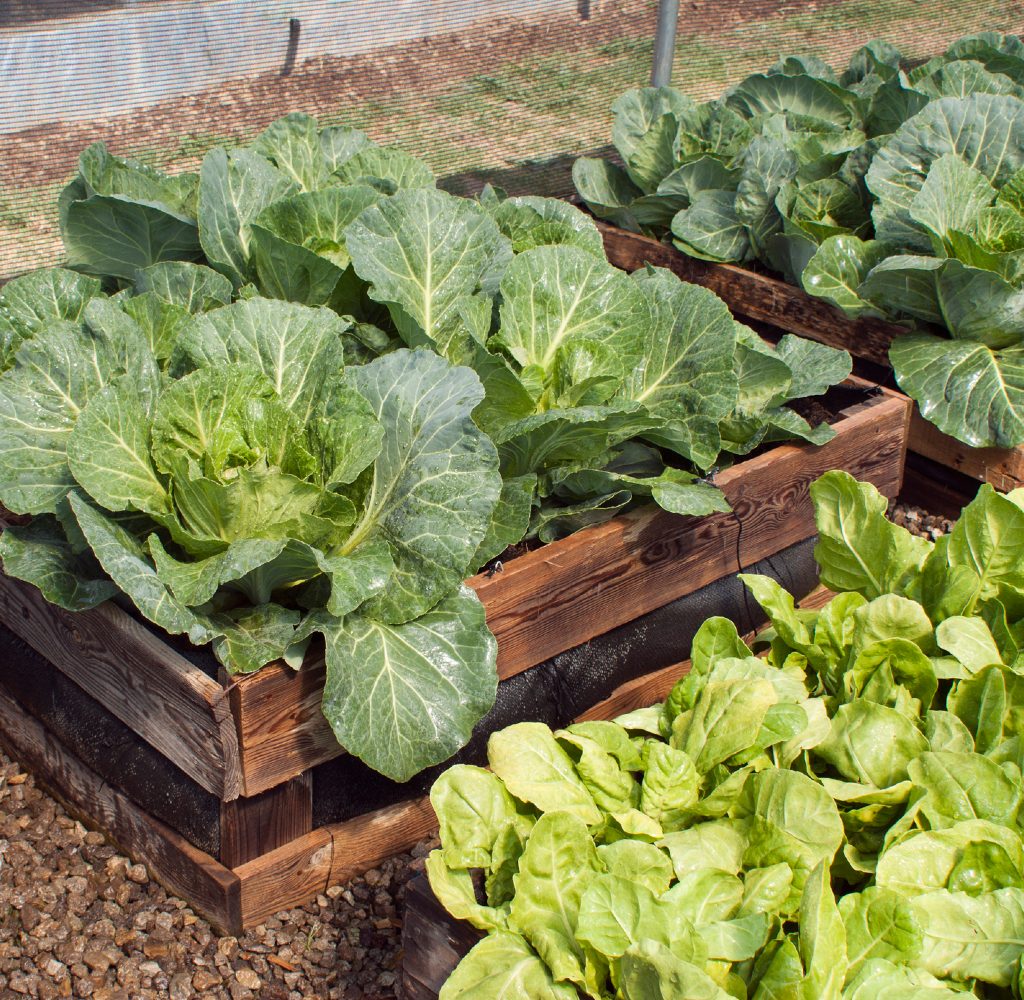
Old pallets laid flat can easily be turned into raised beds for flowers or vegetables by following almost the same steps as above for vertical gardens—first, staple landscaping fabric to the bottom of the pallet. Next, either fill the spaces with soil or small pots (square plastic pots work well for this) and plant as you normally would. These garden boxes take up a bit more space than a vertical pallet garden but are still a great way to garden with limited space.
Window Flower Boxes
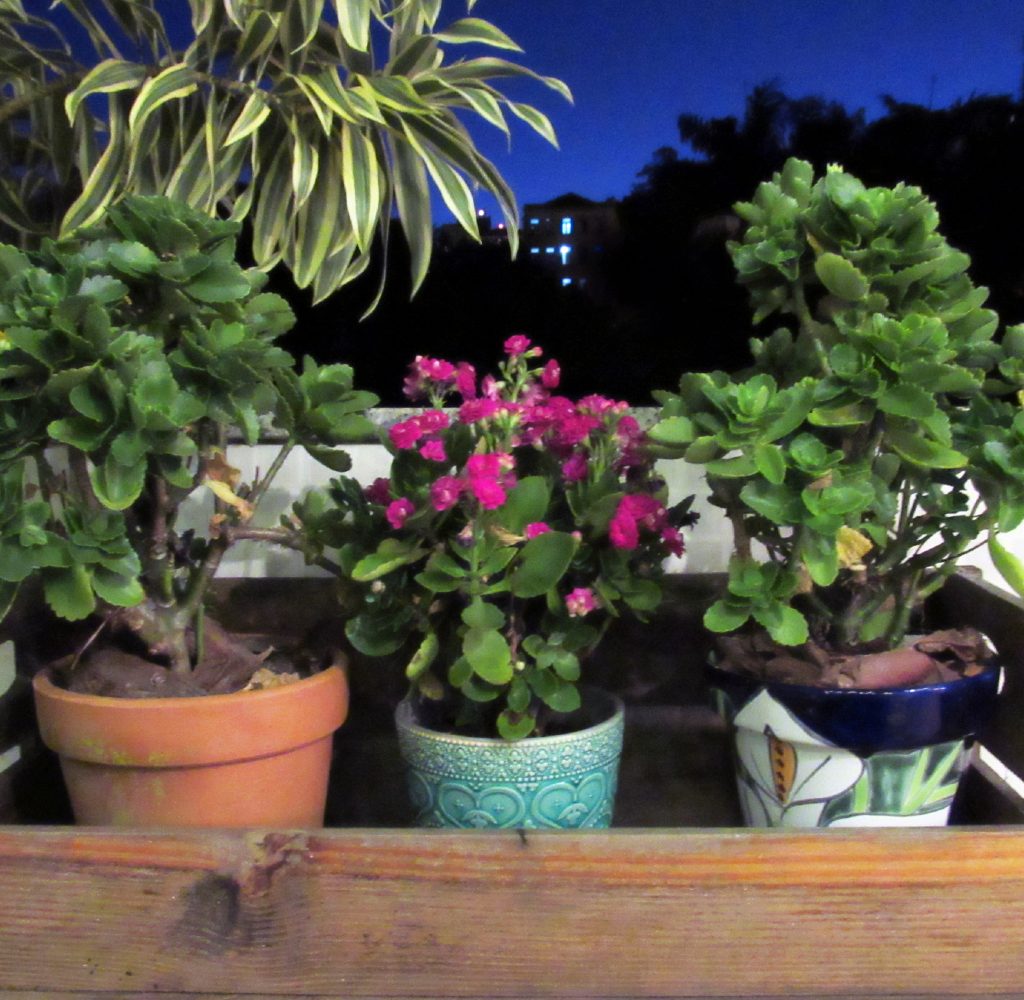
You don’t have to use the whole pallet to create beautiful gardenscapes from old pallets. Using some of the wood from old pallets is a great way to save money on lumber. To turn an old pallet into several window flower boxes, you will have to cut the pallet into rectangles. The best part of this project is that there is no need to measure anything since the pallet is already ‘divided’ into separate sections for you. Once you have disassembled your pallet into separate boxes, fill them with soil and start planting. You will have to mount the boxes under your windows, which can be done in several different ways depending on what kind of windows you have (shelf brackets work nicely for this project). Be sure that the boxes are adequately supported since they will get heavier when you water them.
Potting Bench
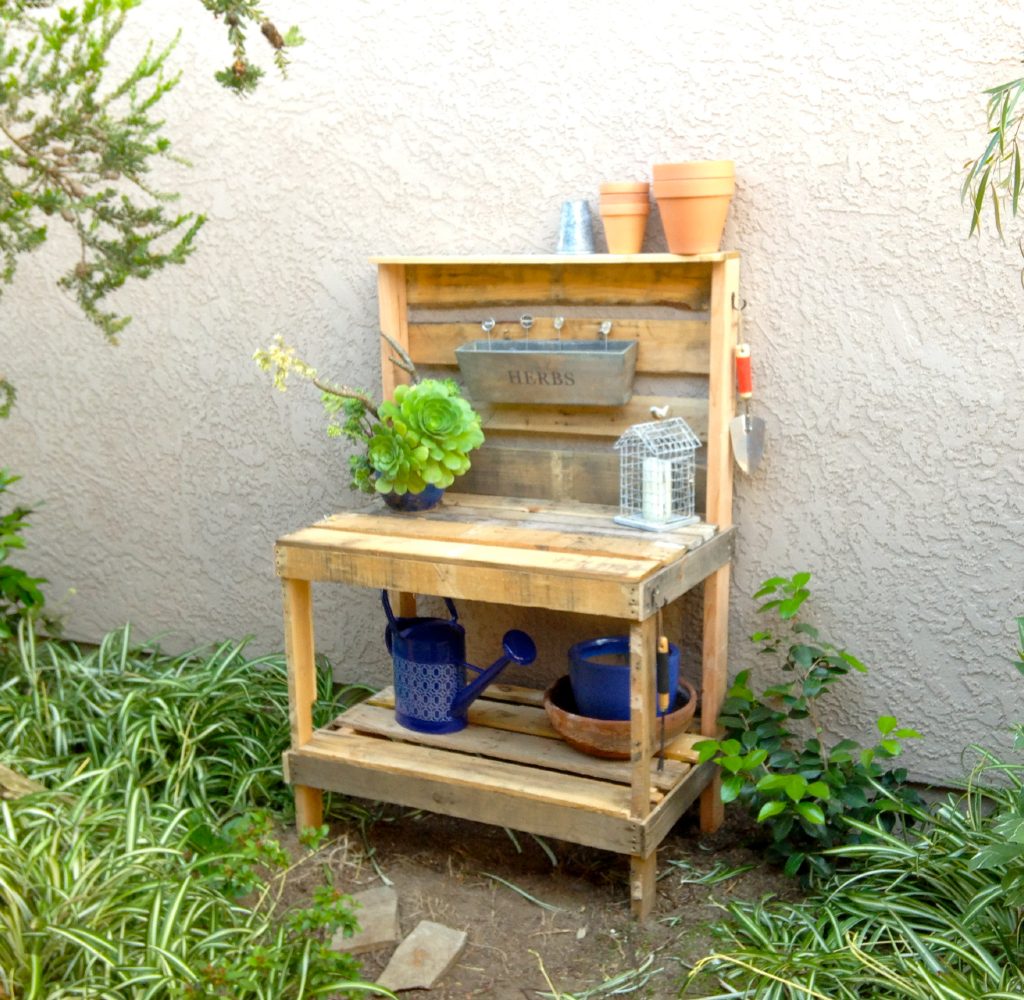
A potting bench is technically not a gardenscape, but it is a great way to repurpose old pallets and is used for gardening, so why not? Use as many pallets as you have on hand (depending on how big you want the bench to be) to make a workbench for all of your garden projects. The bench can hold extra pots, watering cans, garden tools, and more and give you a space to work on your potted plants. You can add hooks to the bench to hang tools and store extra items on the shelf below.


