So you’ve picked out the perfect pumpkin for this Halloween, and you’re ready to carve and decorate it. What should you do? How can you make this pumpkin better than all the rest from previous years?
We’ve rounded up some of the best hacks for this Halloween when carving your pumpkin.
Designing
Before you begin carving your pumpkin, you want to make sure you have a unique design!
Use a stencil
Print out a pumpkin design from online stencils and templates. Or, use a template in a pumpkin-carving kit. There are two ways to use a stencil to make designing your pumpkin a breeze! You can use pins to hold down the paper stencil and mark your cut. Place the pins along the lines of the stencil where you intend to cut your pumpkin. Once all of the pins are in place, pull them out and remove the stencil. You’ll now have the perfect dotted line to follow when carving your pumpkin!
Another option is to can tape the stencil in place and use an Exacto knife to cut out thin lines where you wish to carve. Be careful with this method! If you’re too forceful, you could tear your stencil!
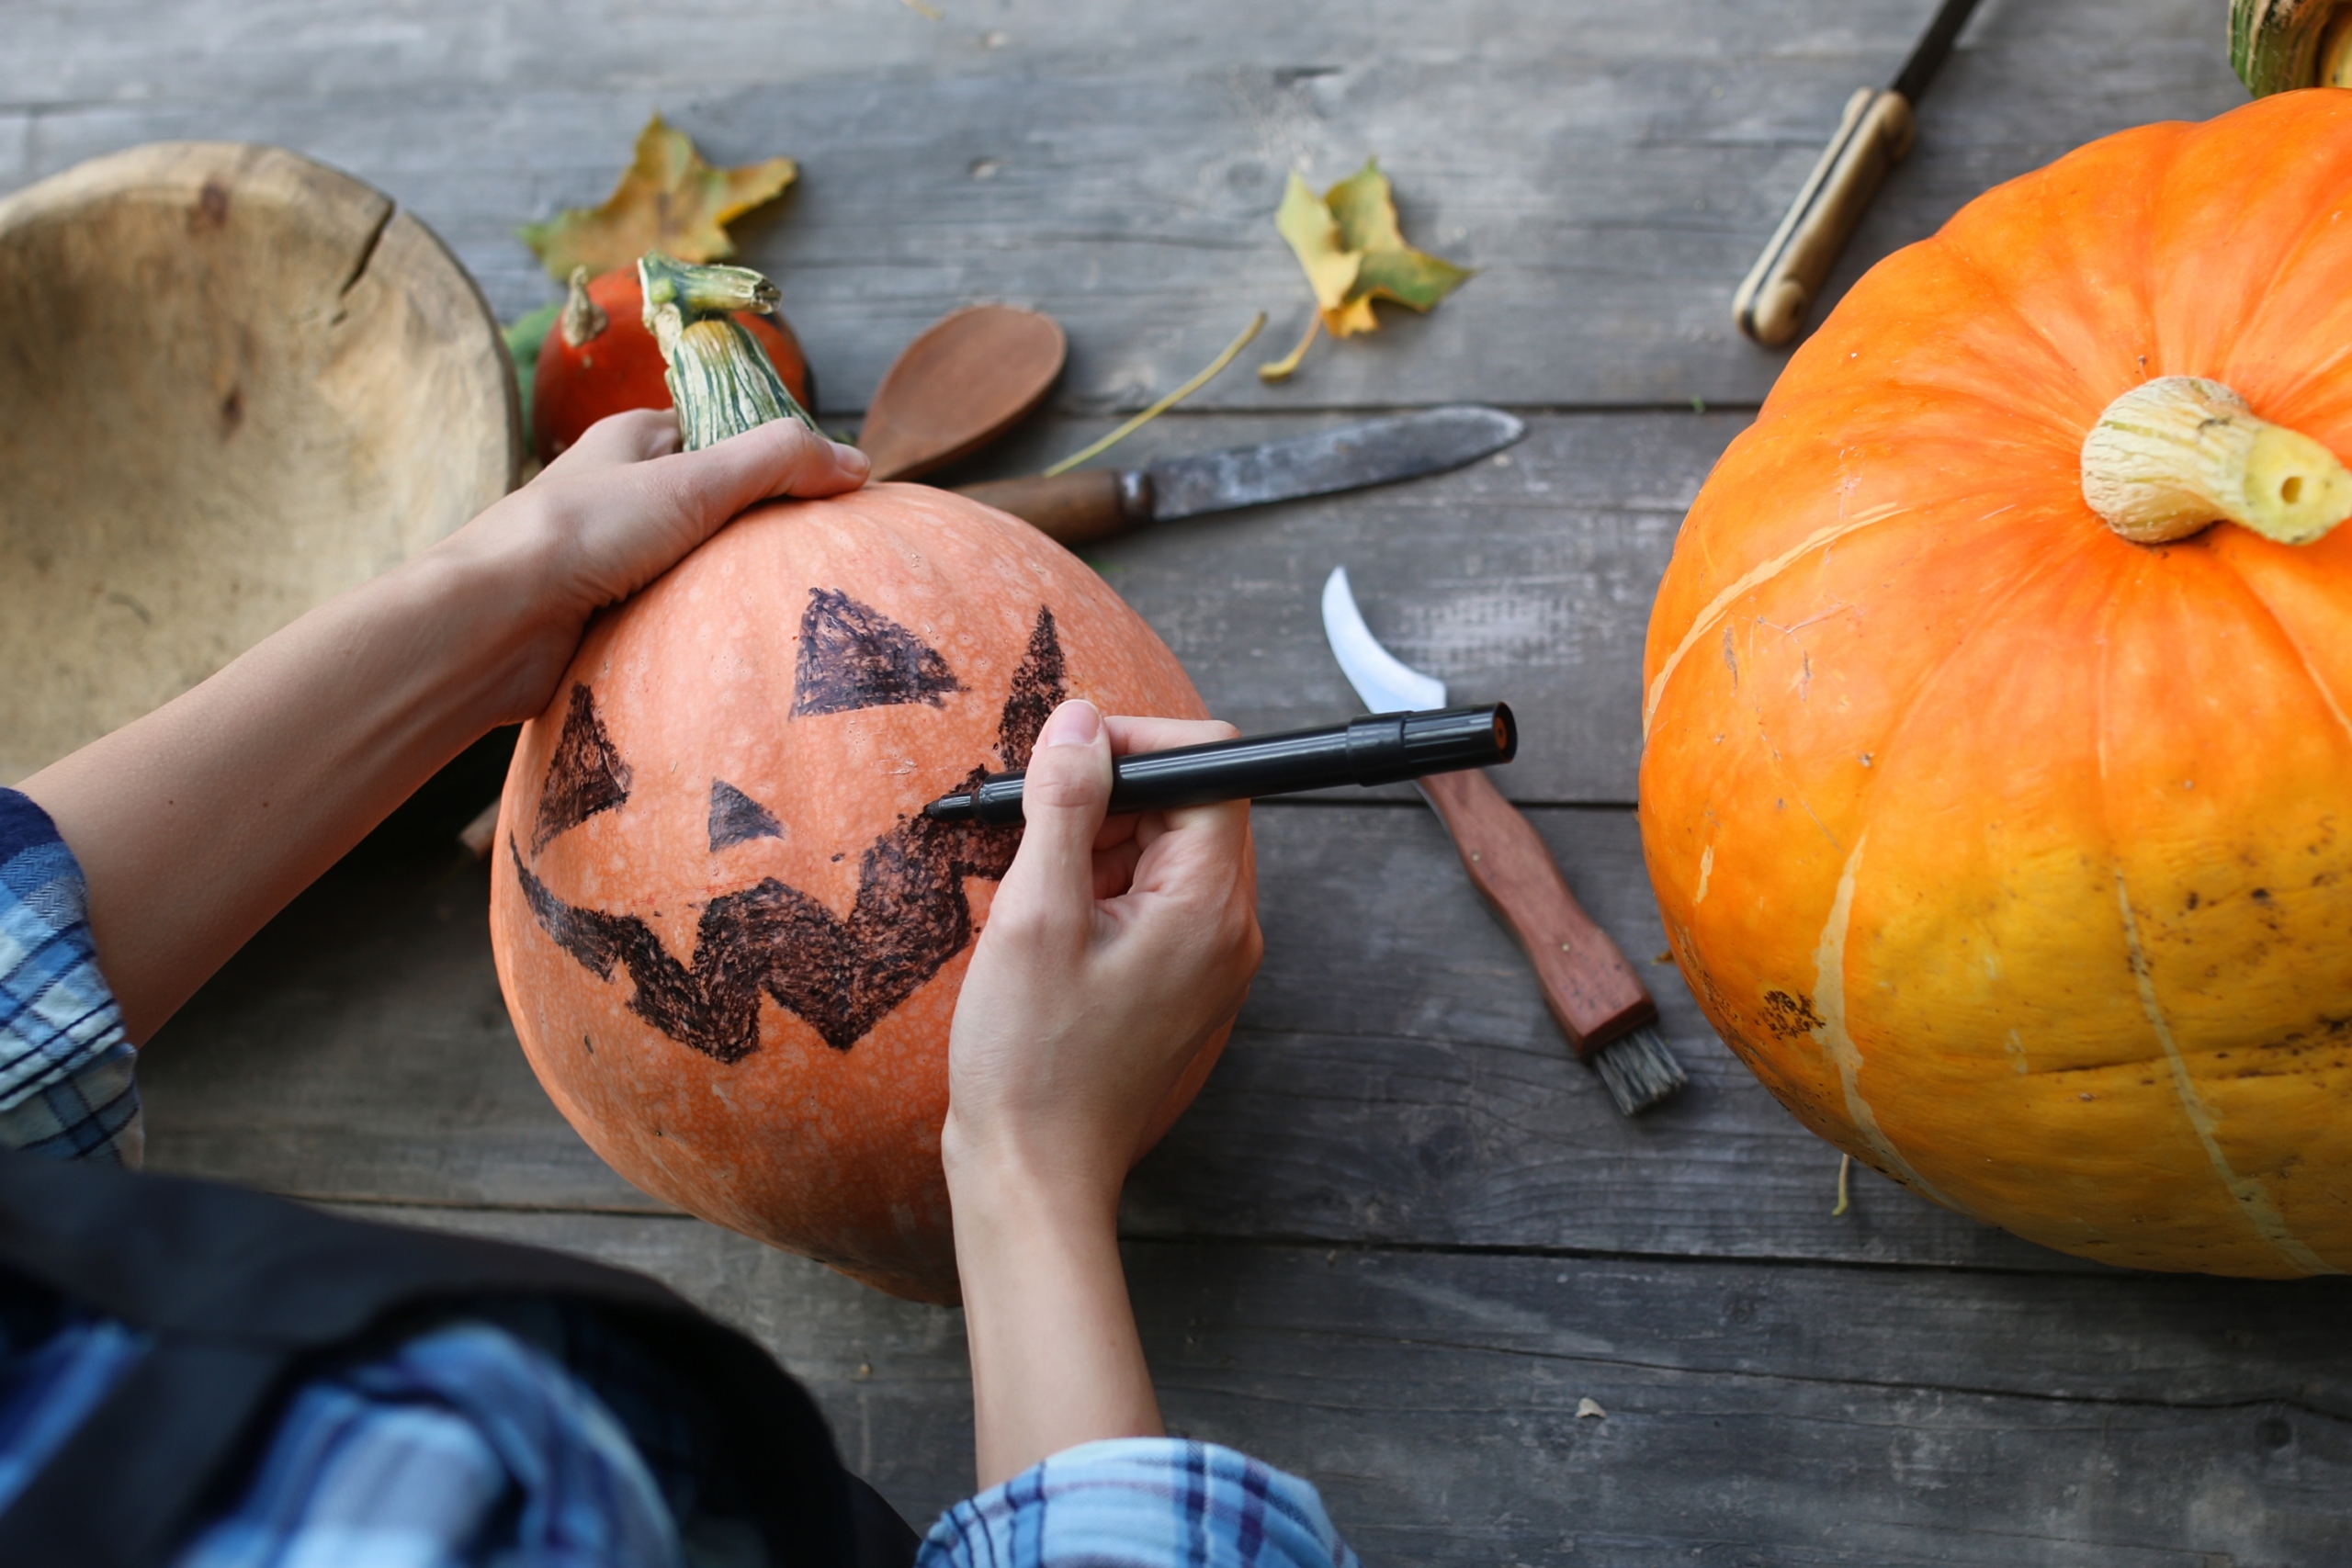
Most people use permanent markers when free drawing their pumpkin designs. The problem with this is that permanent marker is hard to wipe off, leaving behind unruly lines on your pumpkin that make it look less attractive. Dry erase markers allow you to make the lines you need for cutting but also wipe off easily! There’s no need to worry about slip ups or excess lines on your pumpkin when you finish carving.

Carving
When it comes to carving, there are a few hacks that can make the process much more comfortable.
A neat hack that has been circling the web recently is using a drill to carve unique pumpkin designs. Use drill heads of different sizes to create impressive carvings. From what we’ve seen, drills are excellent for making large, circular eyes or creating small circles when carving constellations. The ideas are endless. But drills make carving perfect circles of all sizes into your pumpkin a quick and simple task!
Cookie cutters are a great way to add perfect leaf shapes or other designs into your pumpkin without a lot of maneuvering. What’s great about using cookie cutters is that there are so many patterns to choose from. To do this with your pumpkin, place your cookie cutter where you want your design and use a mallet to tap it into your pumpkin. Then, press your thumbs into the pumpkin between the cutter until the chunk falls out. Remove your cookie cutter to enjoy the perfectly shaped cut out!
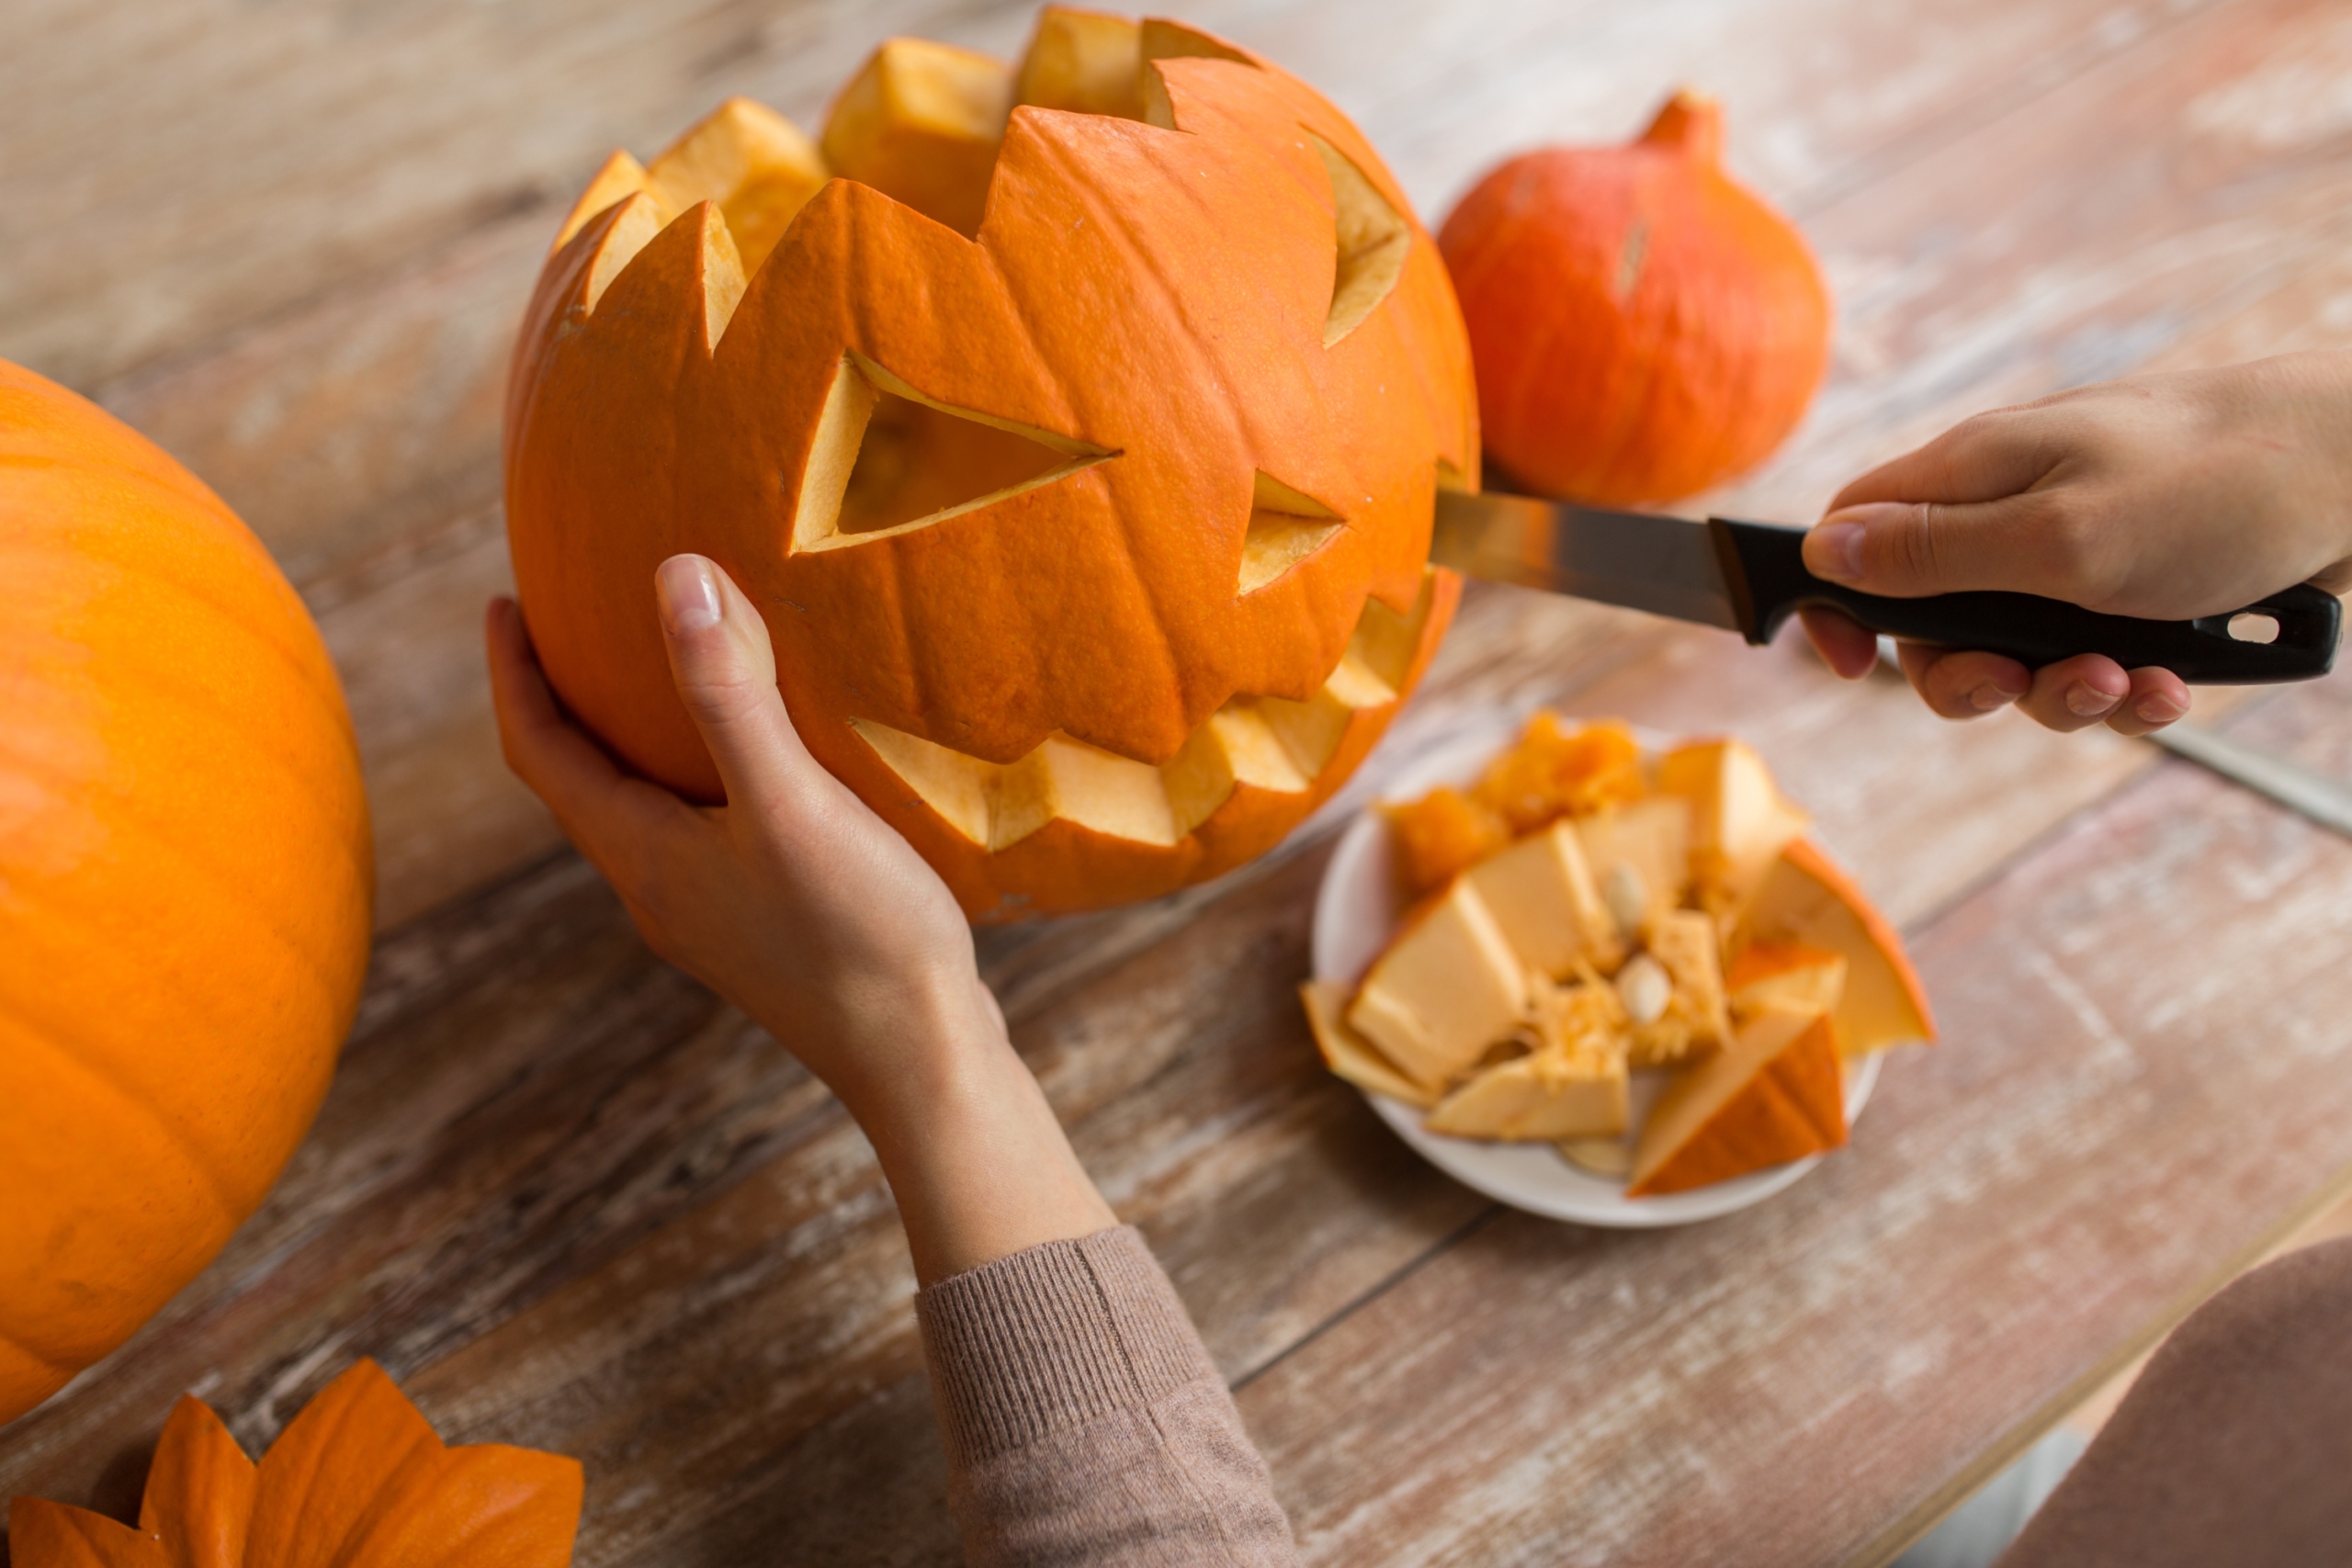
One of the most common hacks for cutting pumpkins is to cut from the bottom. This is because it makes carving easier and prolongs the life of your pumpkin. Cutting from the bottom allows you to hold the stem of your pumpkin to stabilize it while carving. Since the pumpkin is open at the bottom, it is less likely to cave in on itself prematurely as it does when cut from the top.
Often, the tools that come in pumpkin-carving ideas kits are meant for detailing rather than carving. If you need to make lines smoother or you need to shave off a few edges, smaller tools work wonders!
Lighting
One of the best parts about carving a pumpkin is putting the lights in and seeing the soothing glow at night.
You can opt for glowsticks rather than a traditional candle or battery-operated candle to add an eerie and colorful glow. Glowsticks emit soft and haunting light. The best part is that you can choose from various colors, meaning you can pair the perfect color with your carving.
Another idea for lighting is to use fairy or LED lights. These lights are whimsical and equally as bright as a candle. You can place them directly in your pumpkin or in a glass jar. The best part about lighting your pumpkin in this way is that these lights are wind-proof.

A few more suggestions
Aside from the above tips, here are a few more hacks to help make carving your pumpkin this year better than ever.
If you’re using a real candle inside your pumpkin, you can add cinnamon to the top of the inside of the pumpkin (below the stem, above the candle). Dab off any excess cinnamon and place your candle inside. The cinnamon will make your pumpkin spell like a fresh pumpkin pie!
An alternative to carving your pumpkin is to use paint instead. However, you can totally pair paint with a carving if you like! A few ideas can include:
- Using glow in the dark paint to create slime
- Painting a sugar skull on your pumpkin
- Using paint to make your carving eerier or haunting (add details!)
- Spray paint your pumpkin an unusual color like green or black to change up the design
Scooping out the inside of the pumpkin can be challenging and time consuming. One tip we have to ease this process is by using an ice cream scoop to pull out your pumpkin guts rather than using a spoon.
Put petroleum jelly on a Q-tip and wipe it across the places where you cut into your pumpkin. This will lengthen the amount of time your pumpkin stays fresh. The petroleum jelly stops the pumpkin from deteriorating too quickly, making it last throughout the entire spooky season!


