
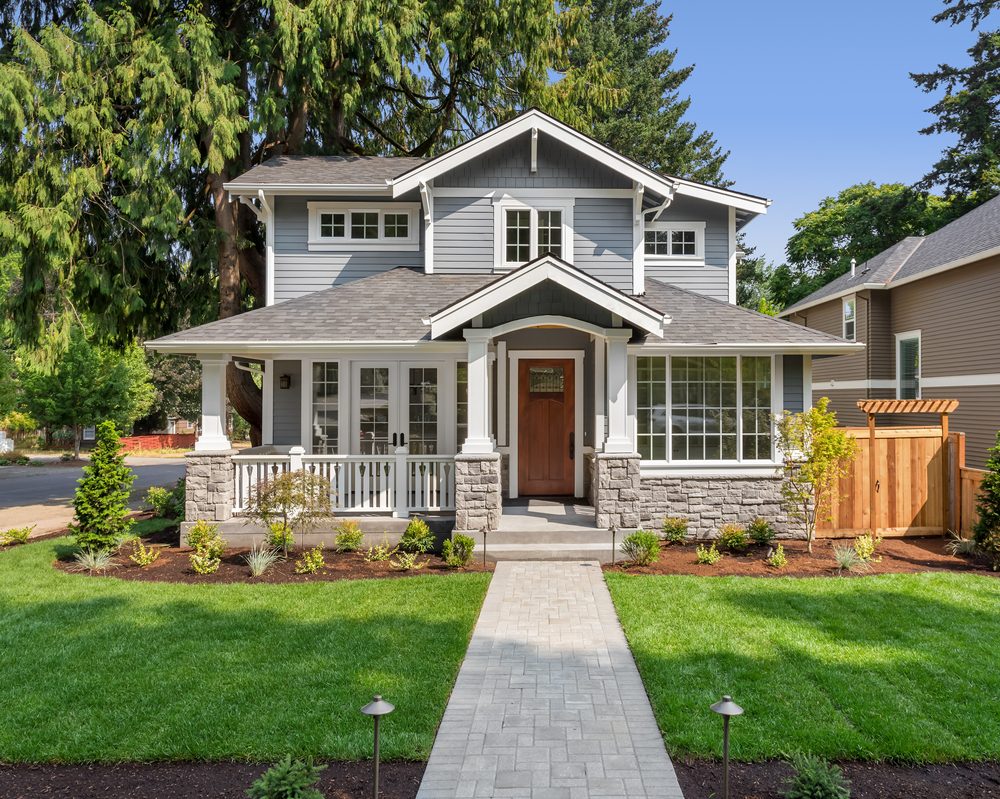
A pristine outdoor space makes the perfect backdrop for entertaining guests or just relaxing with the family. Even if you maintain your lawn well, various factors such as weather, animal activity, and soil acidity can lead to a yard that’s drab, bare, or otherwise less-than-beautiful. The good news is that you don’t have to hire a professional or spend a fortune to upgrade your outdoor space. You can beautify your yard with just a few cheap, simple front yard landscaping ideas that are DIY-friendly and won’t break the bank.
1. Create a pathway through your yard
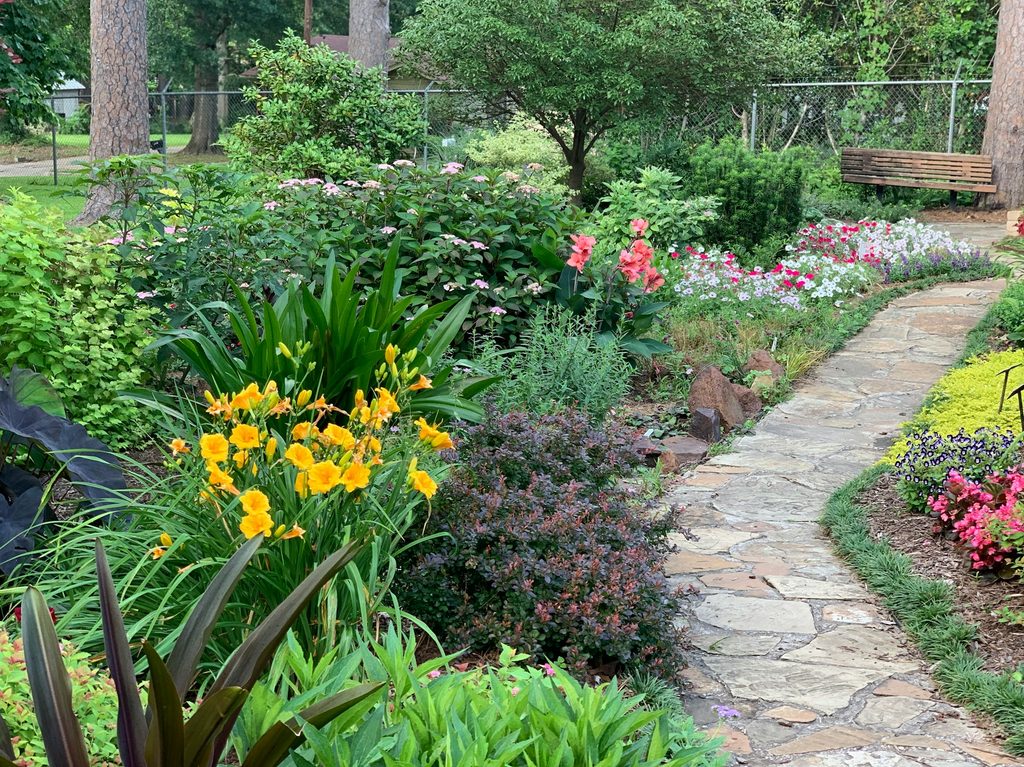
If your backyard is an unadorned, wide-open lawn, consider breaking it up with a pathway. You can install large stone steps, wooden planks, or even a gravel path lined with larger rocks to create a whimsical lane through the greenery. Whichever type you choose, a pathway upscales your yard, making it look a bit more organized and aesthetically pleasing.
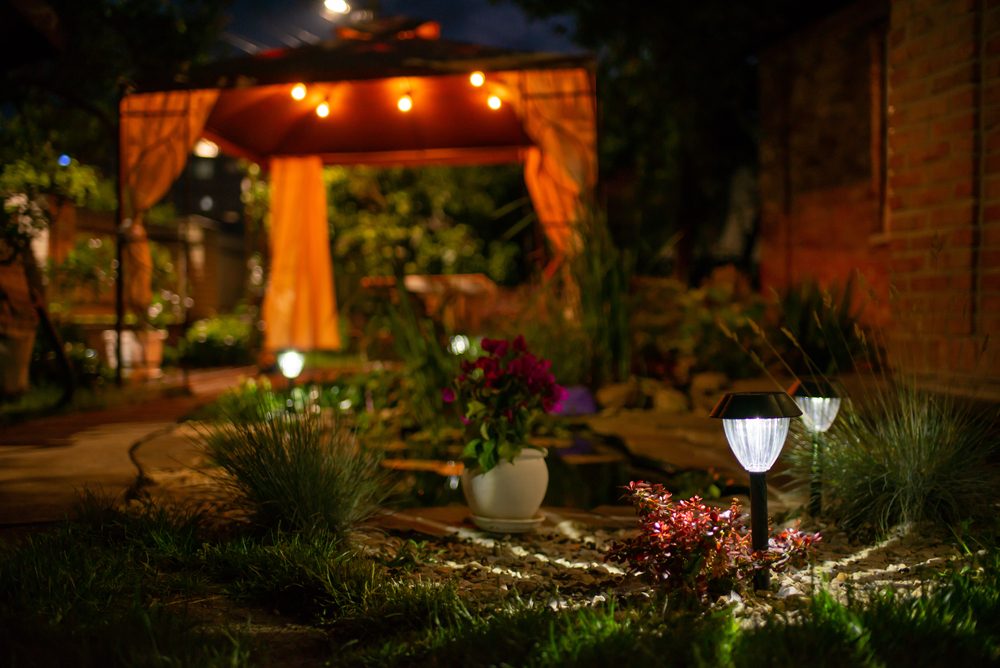
2. Upgrade your lighting
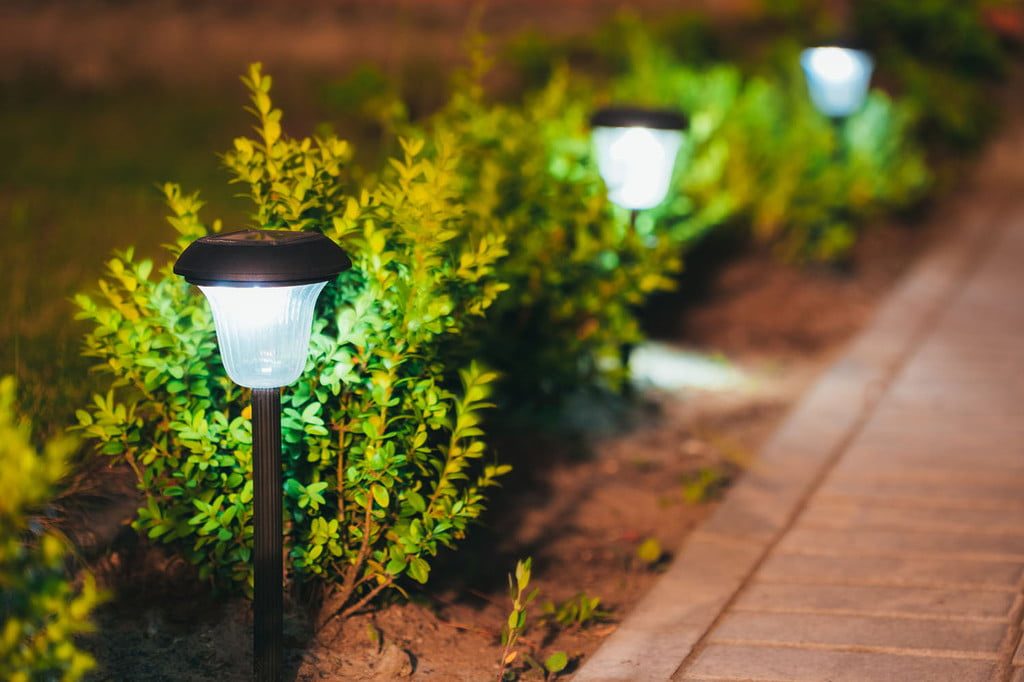
Make your outdoor space pop by installing some inexpensive, decorative lighting. If you have a pathway through your yard, lining the avenue with lights is a simple upgrade that also makes your yard safer to navigate at night. Further, try setting up shepherd hooks around the patio and hang outdoor lanterns or string lights across the space to add soft lighting to your next dinner party. Pro tip: Opt for solar-powered lights so you don’t have to replace any batteries.
3. Use mulch in your flower garden
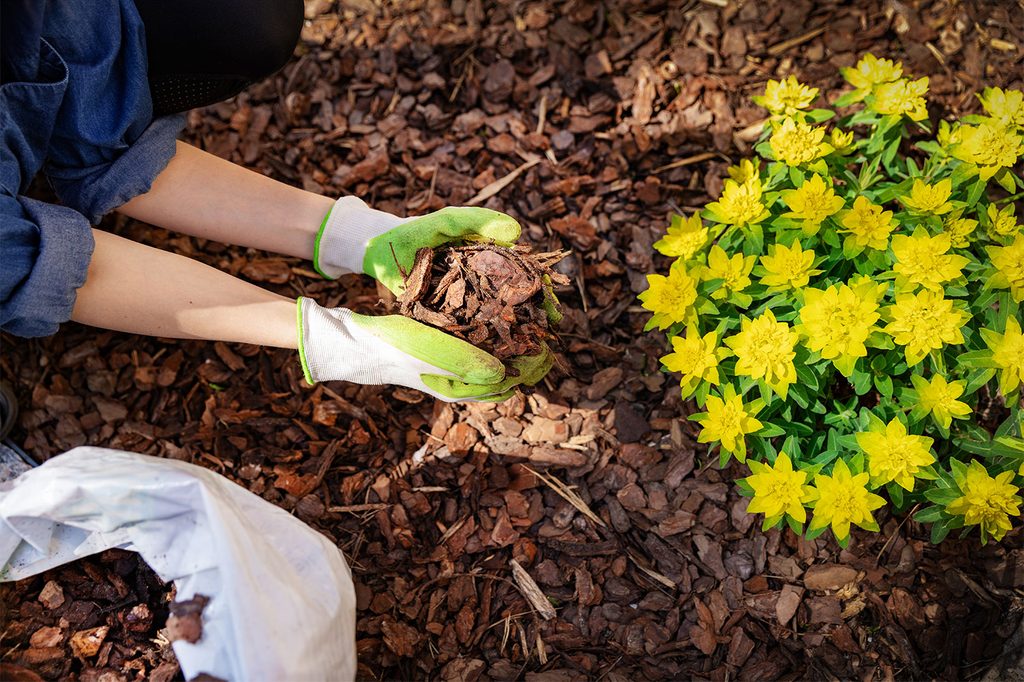
Not only does mulch upgrade the appearance of your garden, but it also controls weed growth, keeps the soil moist for longer, and even keeps the soil cooler to prevent overheating.
4. Turn bare yard space into a rock garden
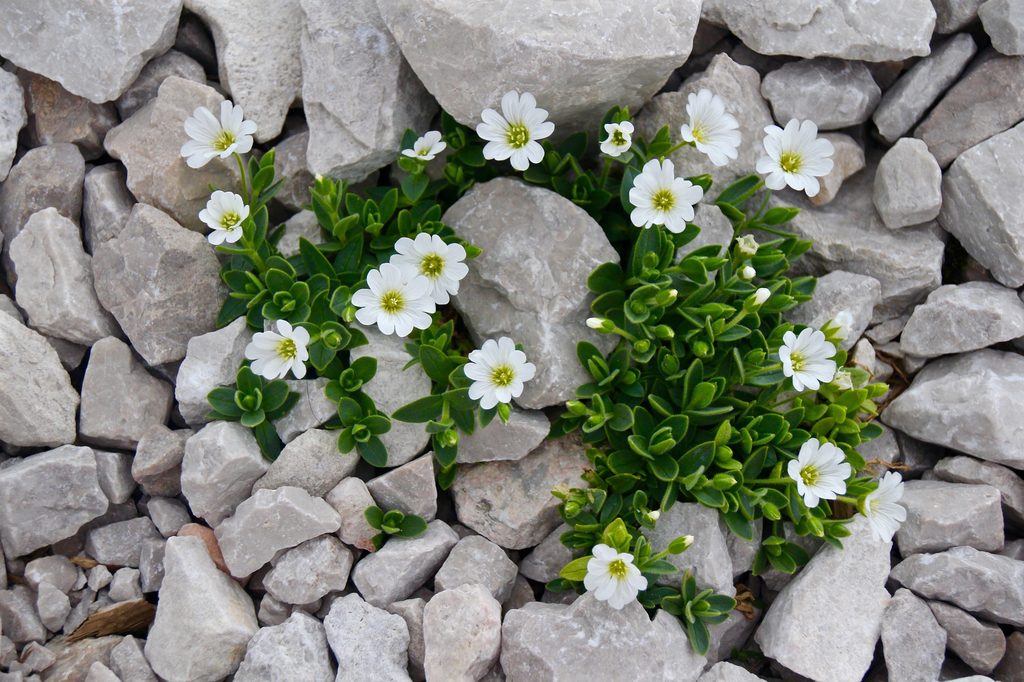
If you have bare space in your yard from a dead vegetable garden or slow-growing grass, cover this eyesore with a rock garden. Fill the space with beautiful, polished-looking pebbles and various succulents to give purpose to the bald space.
5. Create borders and edges
Even if you use an edge trimmer regularly, the ends of your lawn can still become messy and overgrown. Installing a wood, stone, brick, or metal border along the edges of the yard creates a cleaner and more polished appearance. Applying this method to your flower or rock garden can also keep mulch contained, preventing it from running off into the grass.
6. Paint your fence
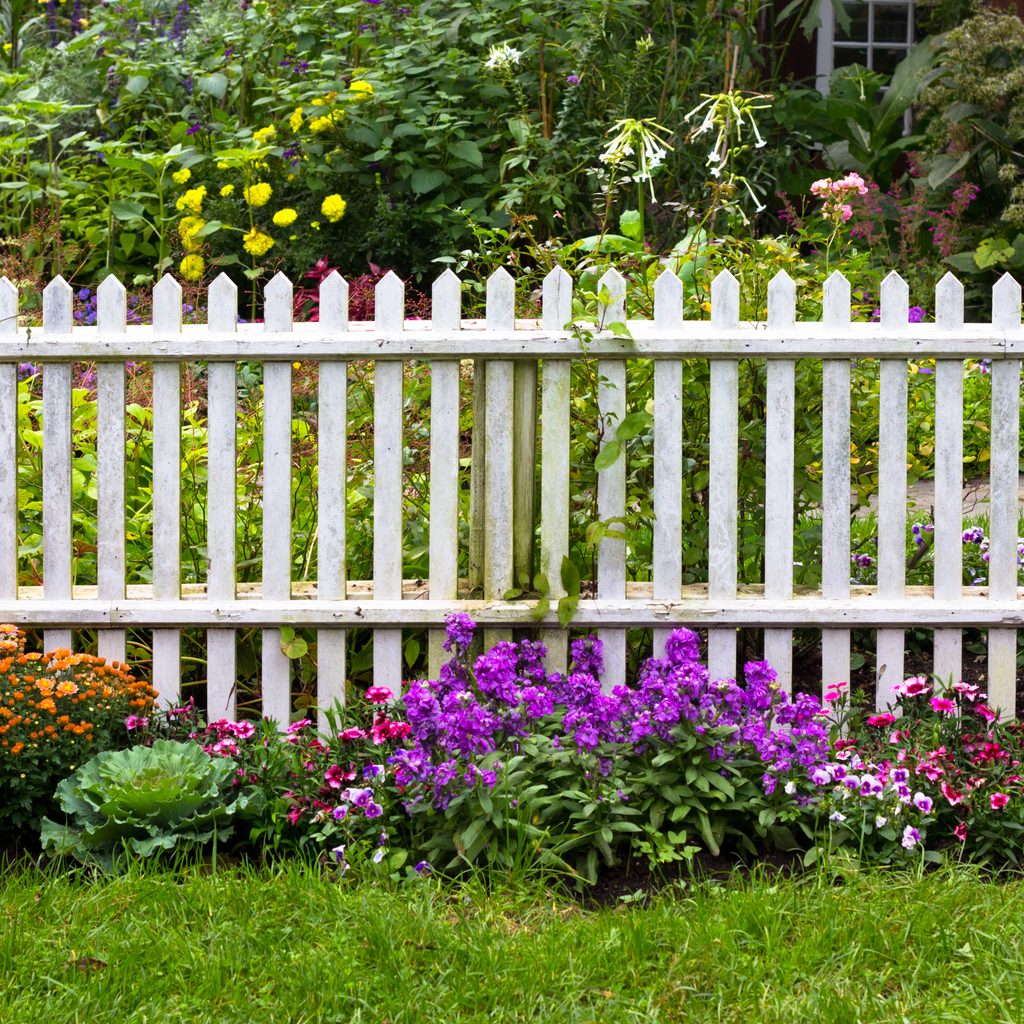
If your fence has started peeling or the once-vibrant color is now faded, a simple paint job can elevate your yard’s aesthetic appeal. We recommend showing off your personality with brightly colored paint for a pop of brightness and joy.
7. Decorate your garden
In addition to regular weeding, thinning, and pruning, try out these simple upgrades to make your garden truly stand out.
Install garden structures
Add decorative structures like trellises for your vining plants, brightly colored tomato cages, and even an arched steel arbor for your garden’s entrance.
Fill space with a vertical garden
If your garden is against the fence or the side of your house, maximize your growing area with a vertical garden. Simply buy a vertical pocket planter or hang small baskets on the fence to hold smaller plants. Herbs of any kind as well as succulents and ferns are just a few plants known to flourish in vertical gardens.
Upgrade your planters
Worn, faded, or damaged planters can significantly diminish the beauty of your garden. Take this opportunity to repot your plants into sparkling new planters, or repurpose old items, such as watering cans or wheelbarrows, into DIY planters.
8. Set up seating and lounging space
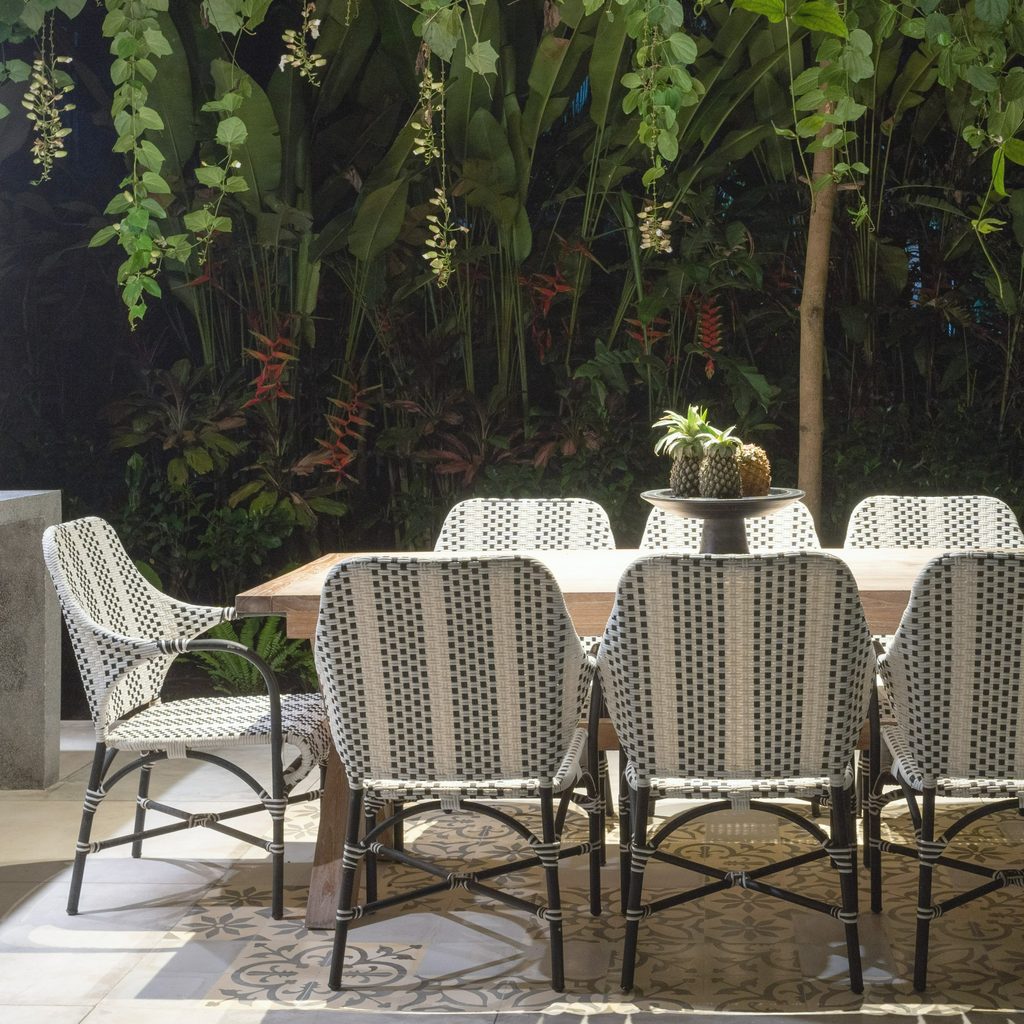
No true outdoor oasis is complete without plenty of leisurely seating space. Consider splurging on a patio set, hammock, or decorative garden bench so you can take full advantage of all your hard work. If you have a tree in your yard, purchase or build a tree bench all the way around the trunk for some added style and seating.
9. Install birdhouses and baths
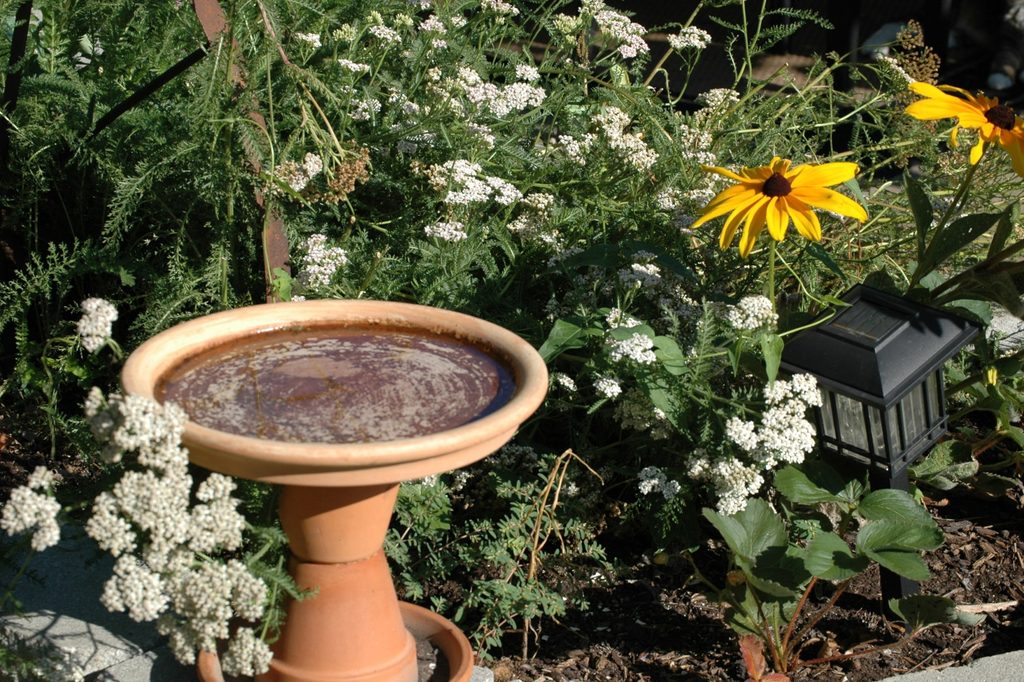
Birds can be the key to a flourishing garden since they eat the seeds of invasive weed,s as well as many insects that can damage your plants. Installing a birdhouse or birdbath encourages the presence of these beautiful creatures, and these structures also add a touch of charm to your yard.
10. Plant perennials
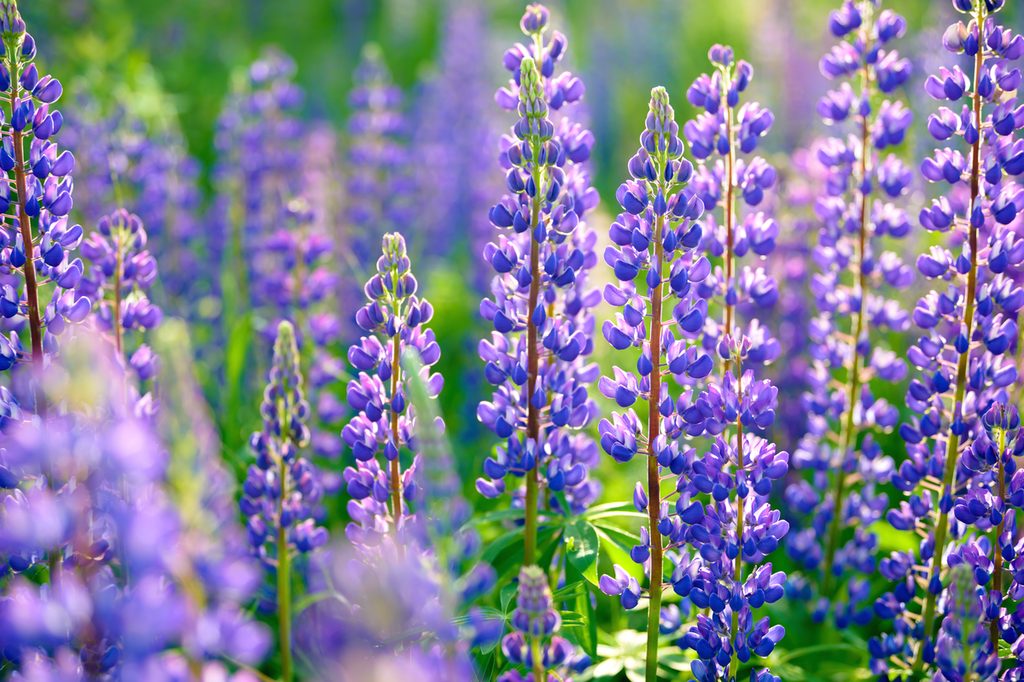
Planting gorgeous perennial blooms and other perennial plants offers an effortless and cost-effective solution to enhance your home’s outdoor aesthetic. Once established, perennials require minimal maintenance, saving both time and money, year after year. Their longevity means you won’t have to replant every year, ensuring a consistent and vibrant garden with little effort.
Perennials also adapt well to various climates and soil conditions, making them versatile choices for any garden. Their ability to multiply and spread also means you’ll quickly achieve a lush landscape without breaking the bank. With perennials, transforming your garden into a charming haven becomes an accessible and rewarding endeavor.
When the weather is gorgeous, you deserve to enjoy some time outdoors. Make the most of your time outside by upgrading your yard, transforming it into an oasis that you and your guests will never want to leave. Enhance your garden without breaking the bank with some of these easy and inexpensive landscaping designs.


